
Hello!! Dana, here with a new installment of Brew & Craft Your Stash! Brew some coffee or tea (or heck make a quick run to Starbucks!!) and prepare for some ideas using Glitter! If this is the first time you are seeing my feature or need a refresher, click here for my very first post, it gives a little background explanation of my feature!!!
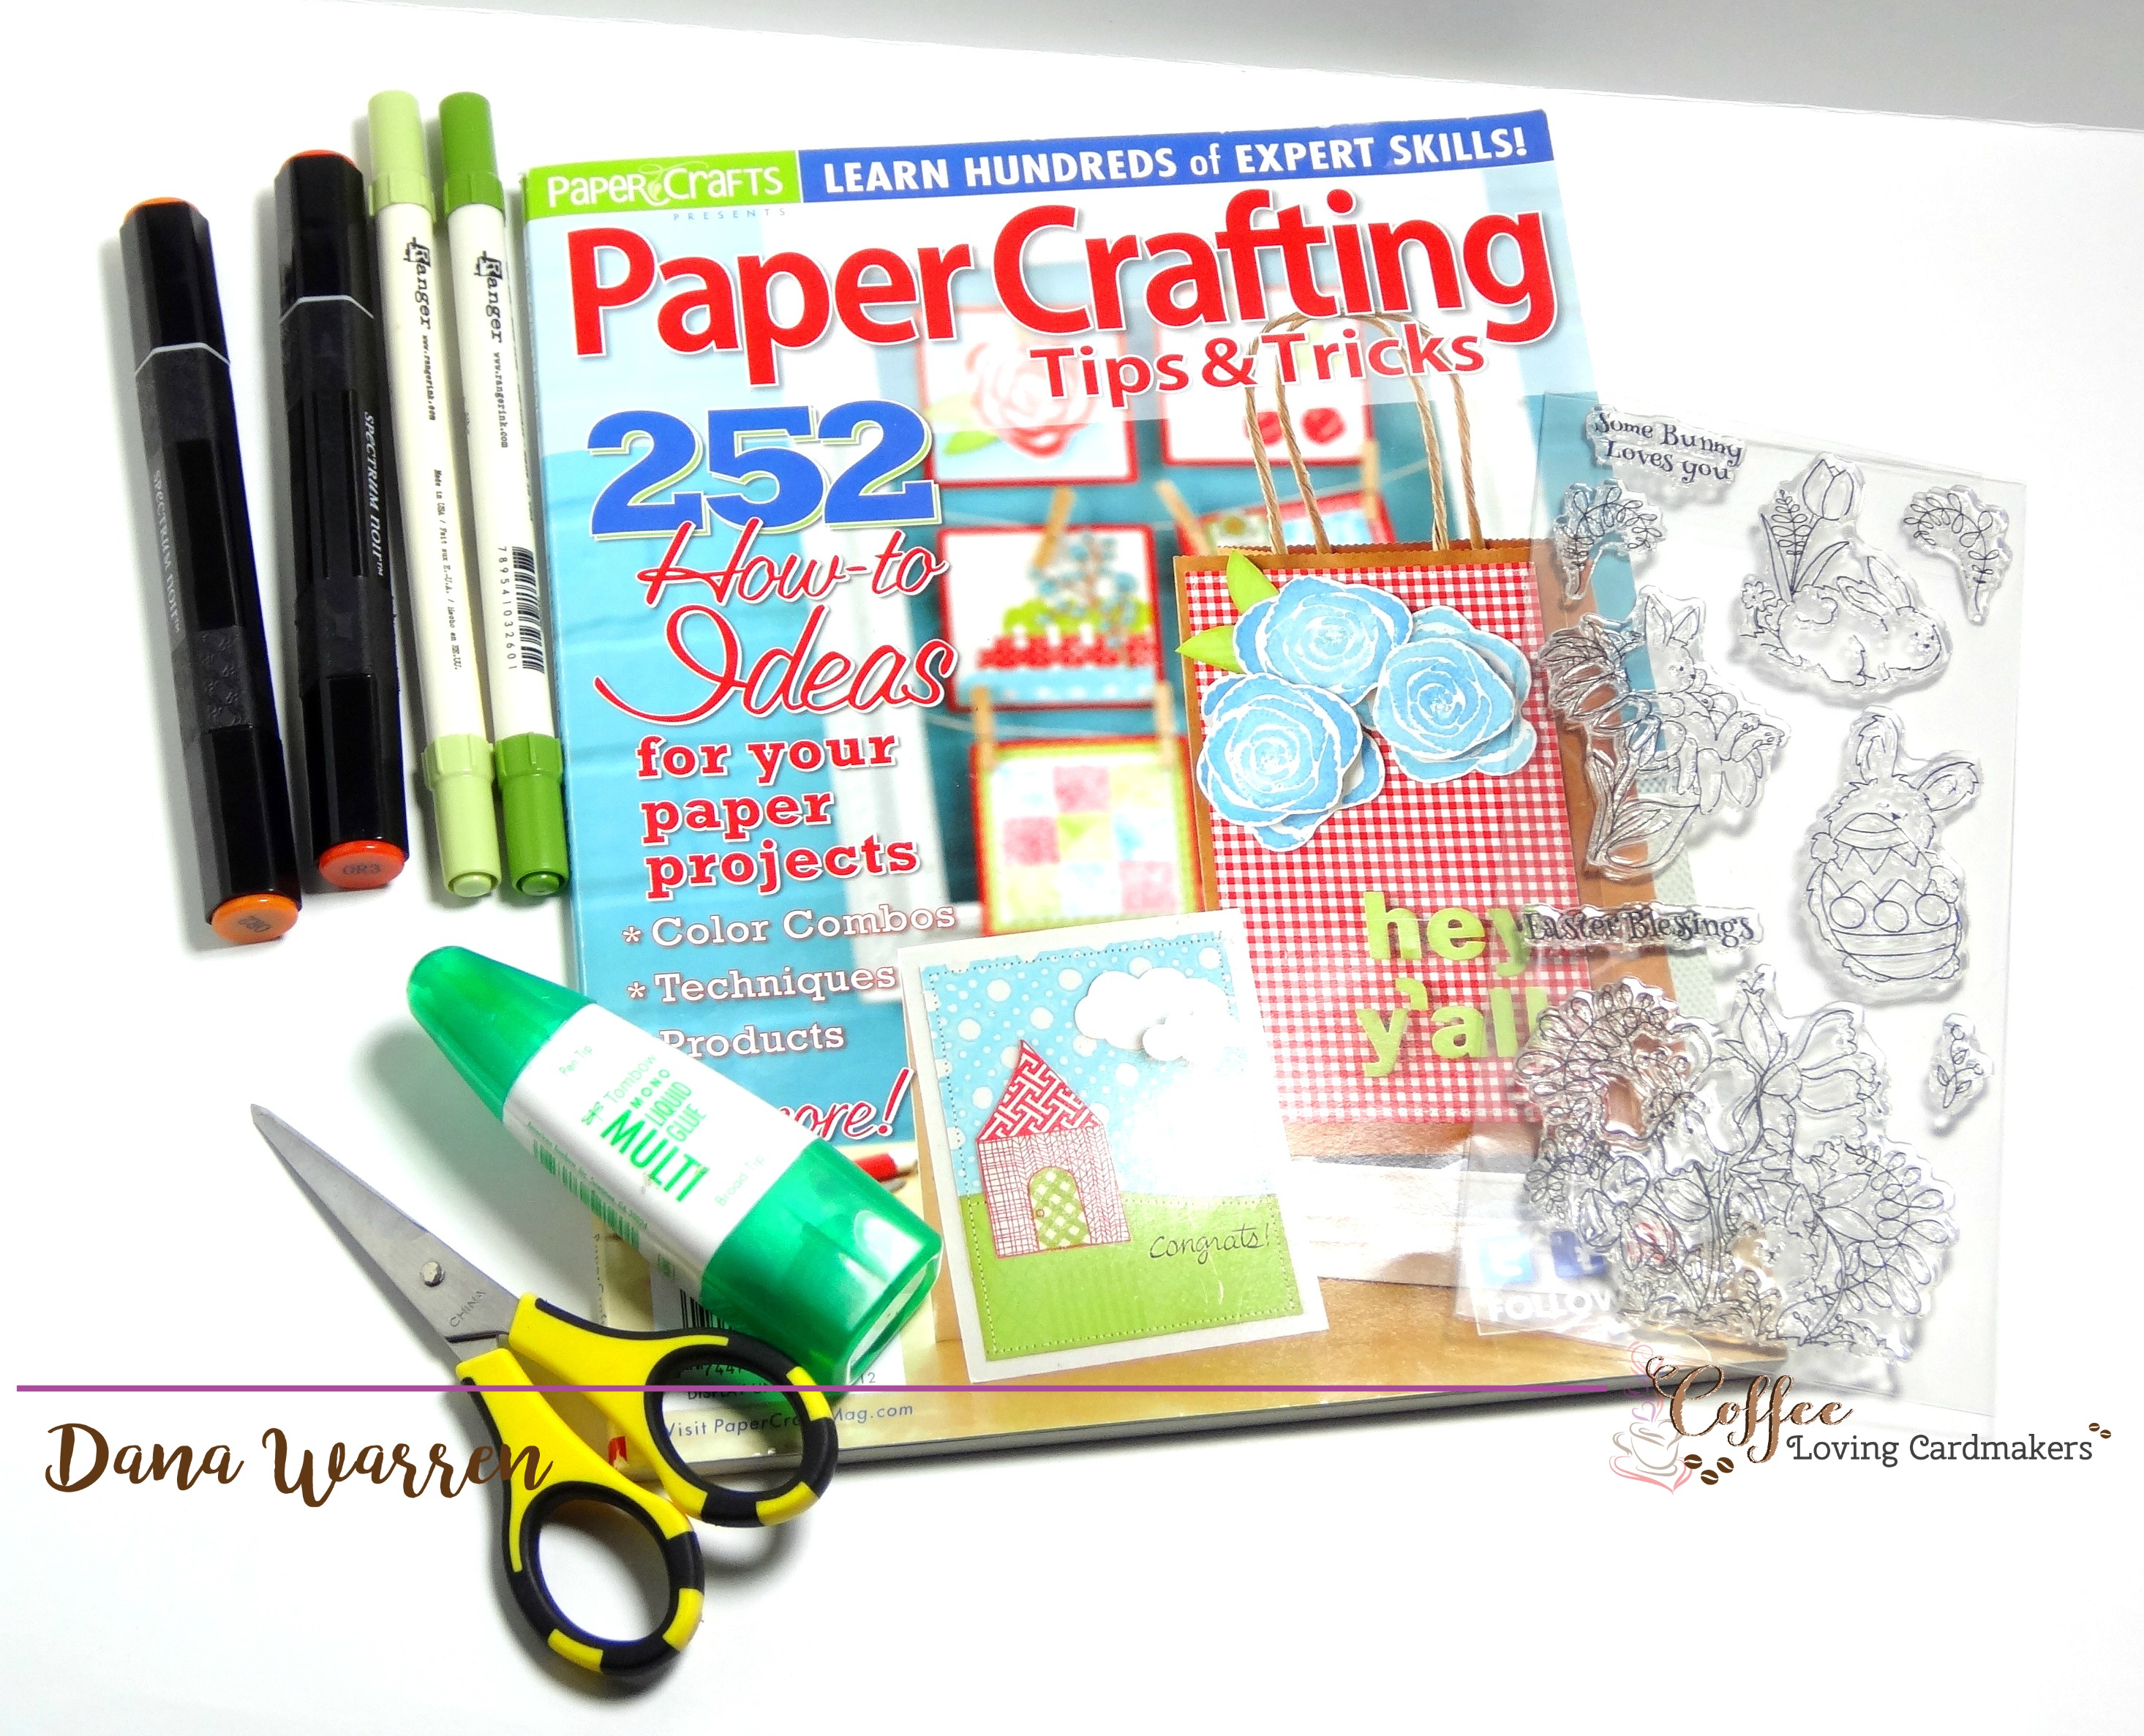
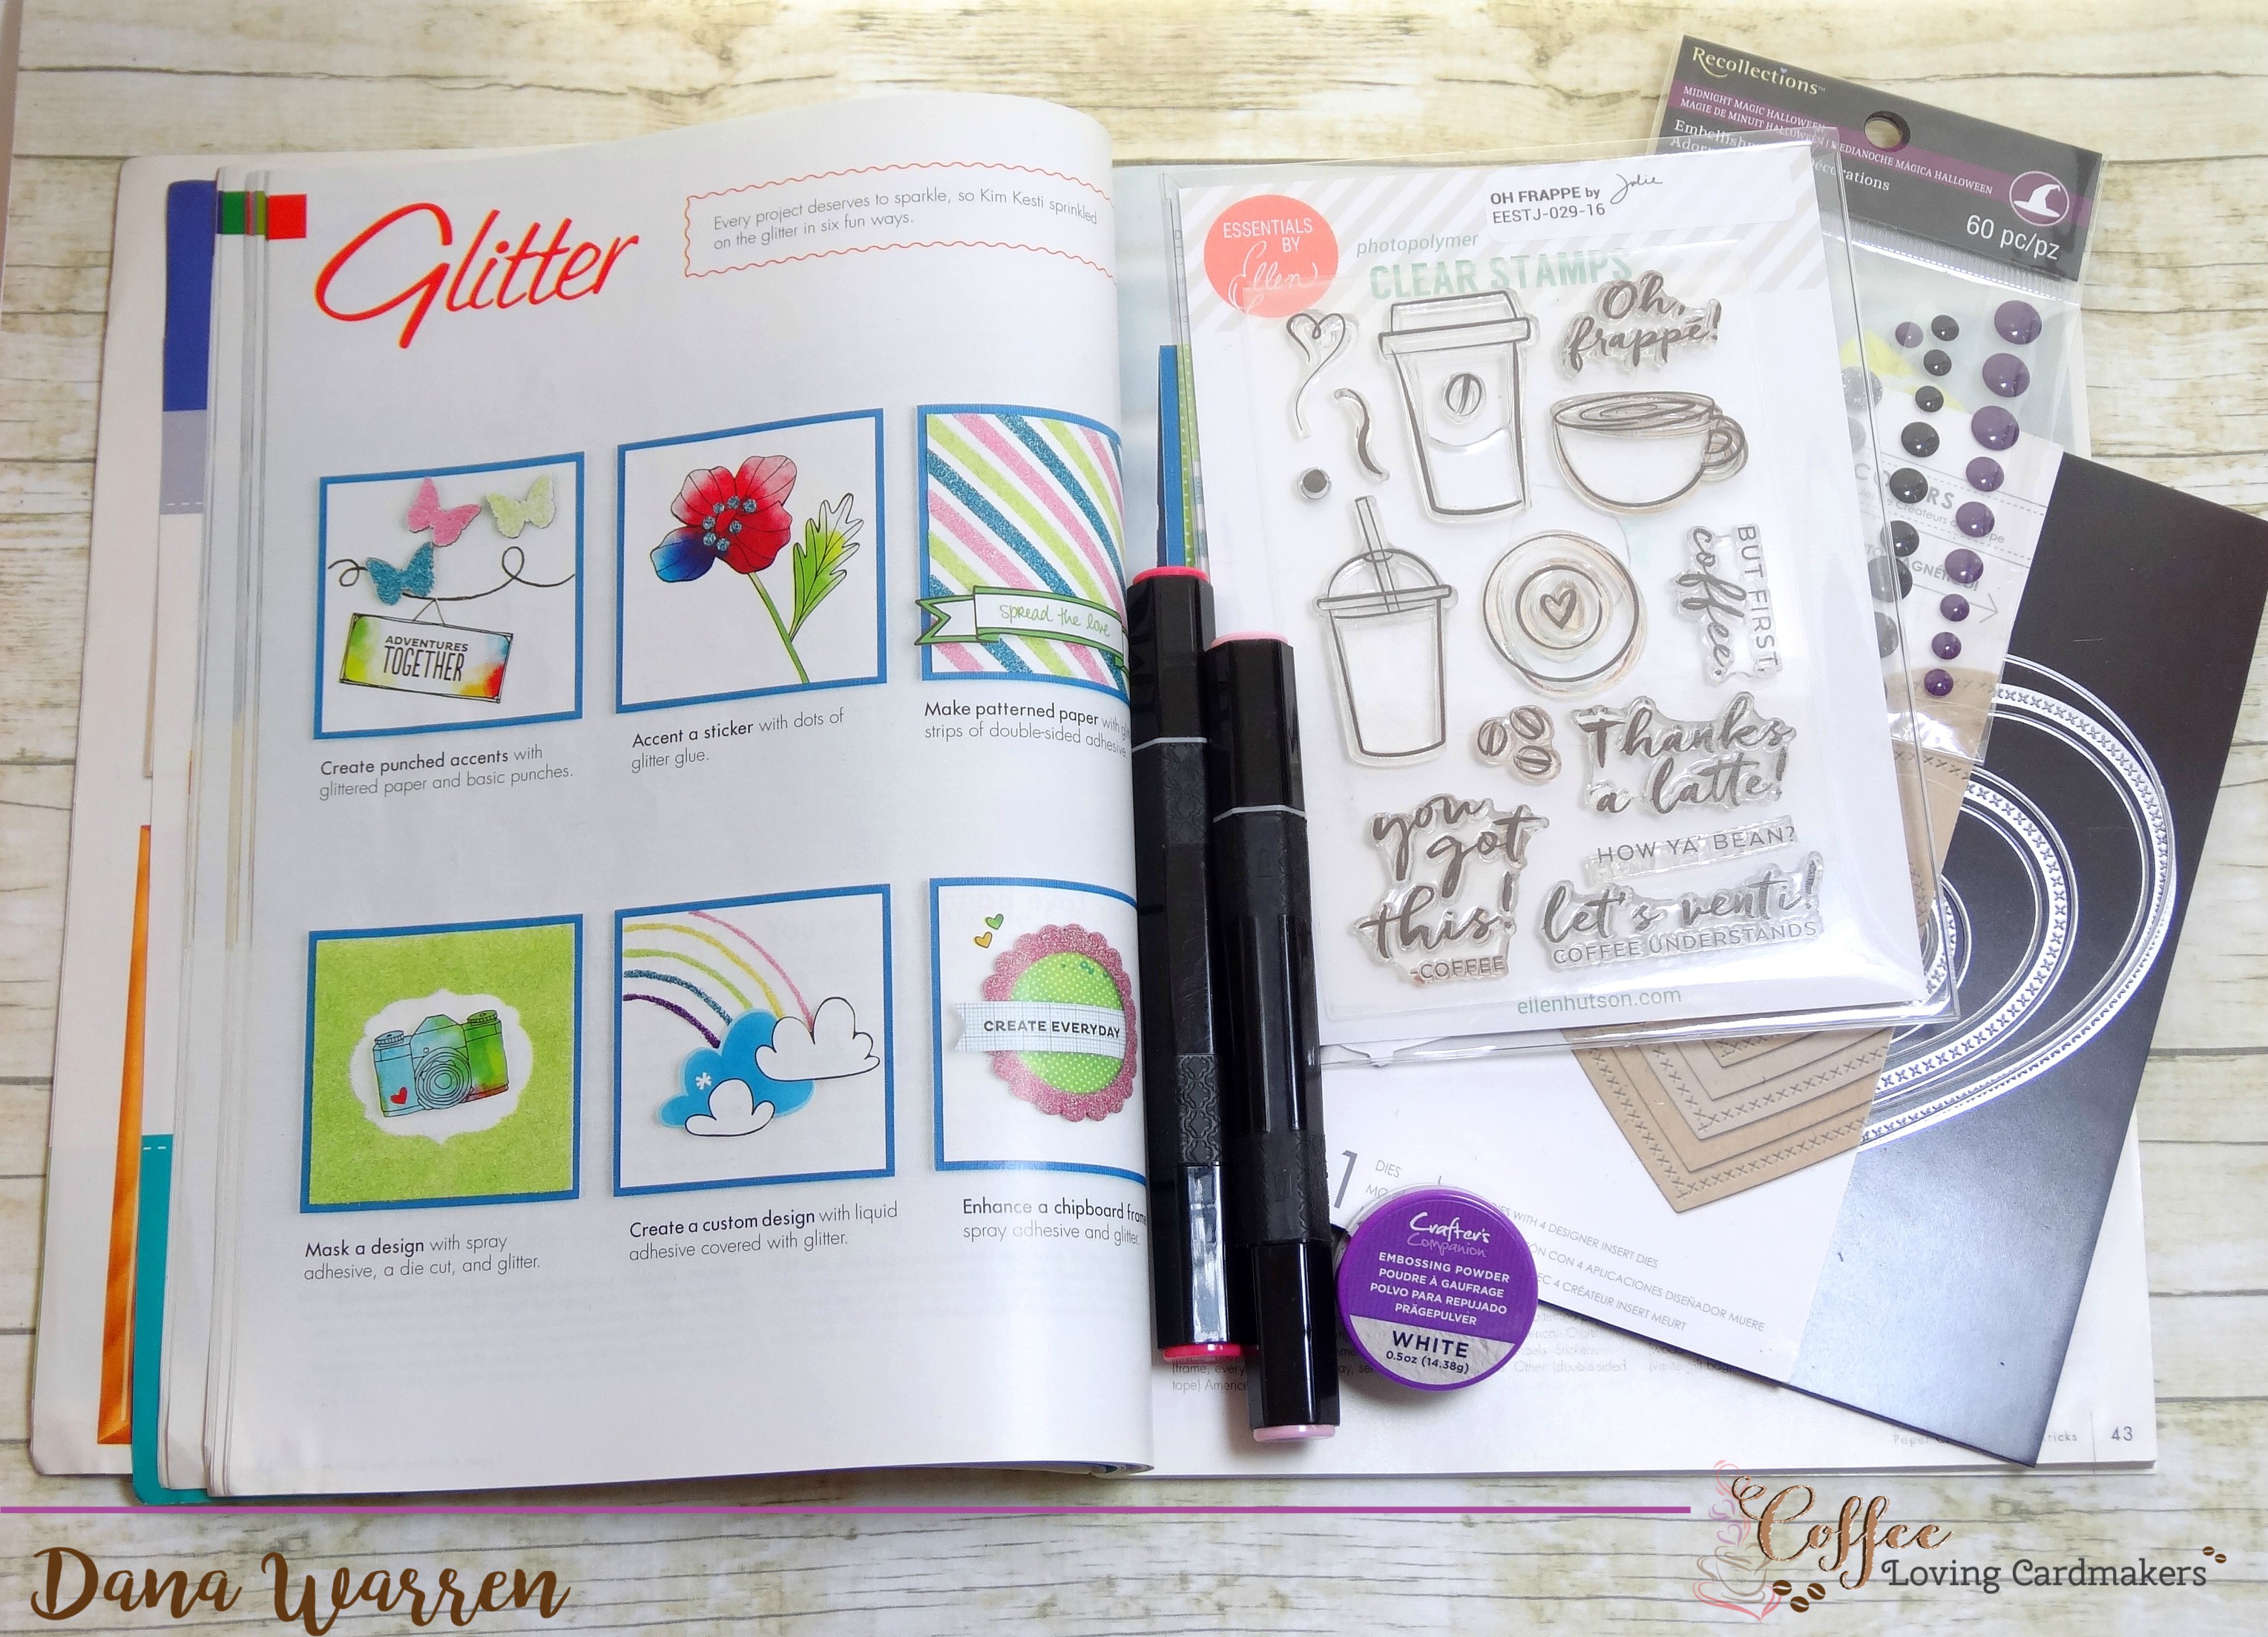
We have moved to the Creating with Product section of Paper Crafting Tips & Tricks 2012 Magazine. Kim Kesti has some great ideas using Glitter! They include:
- Create embellishments using punches and glitter cardstock
- Add dots or shapes to stickers or pattern papers
- Make custom pattern papers by making a unique pattern with double-sided tape and glitter
- Add a mask and then spray adhesive to make a custom glittered background
- Use liquid adhesive to draw unique custom designs, add glitter to make them sparkle
- Add spray adhesive to chipboard and add glitter
I didn’t bring any loose glitter with me to school, but I do have some glitter cardstock. If you are looking for some, I would suggest Crafter’s Companion Luxury Cardstock. The glitter doesn’t fall off with your die cut it or even touch it. It only has a slightly rough texture. For my project I used the Silver pack, it comes with glitter, mirror and matte mirror sheets.
My idea was to see if I could color the glitter, so I gave it a try with my Spectrum Noir Markers and it worked great!! To help me pick out colors and such I decided to play along with Ellen Hutson March Pin-Signs Challenge: Pantone Attitude Color Palette. Here is the inspiration board:
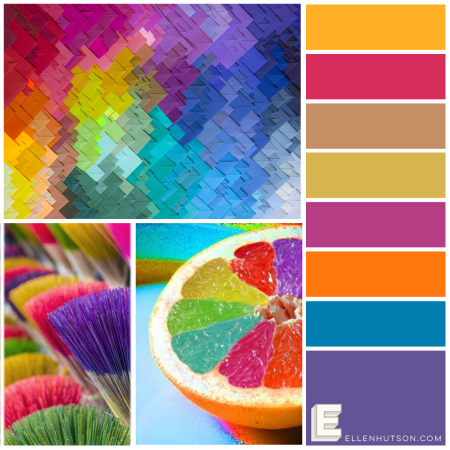
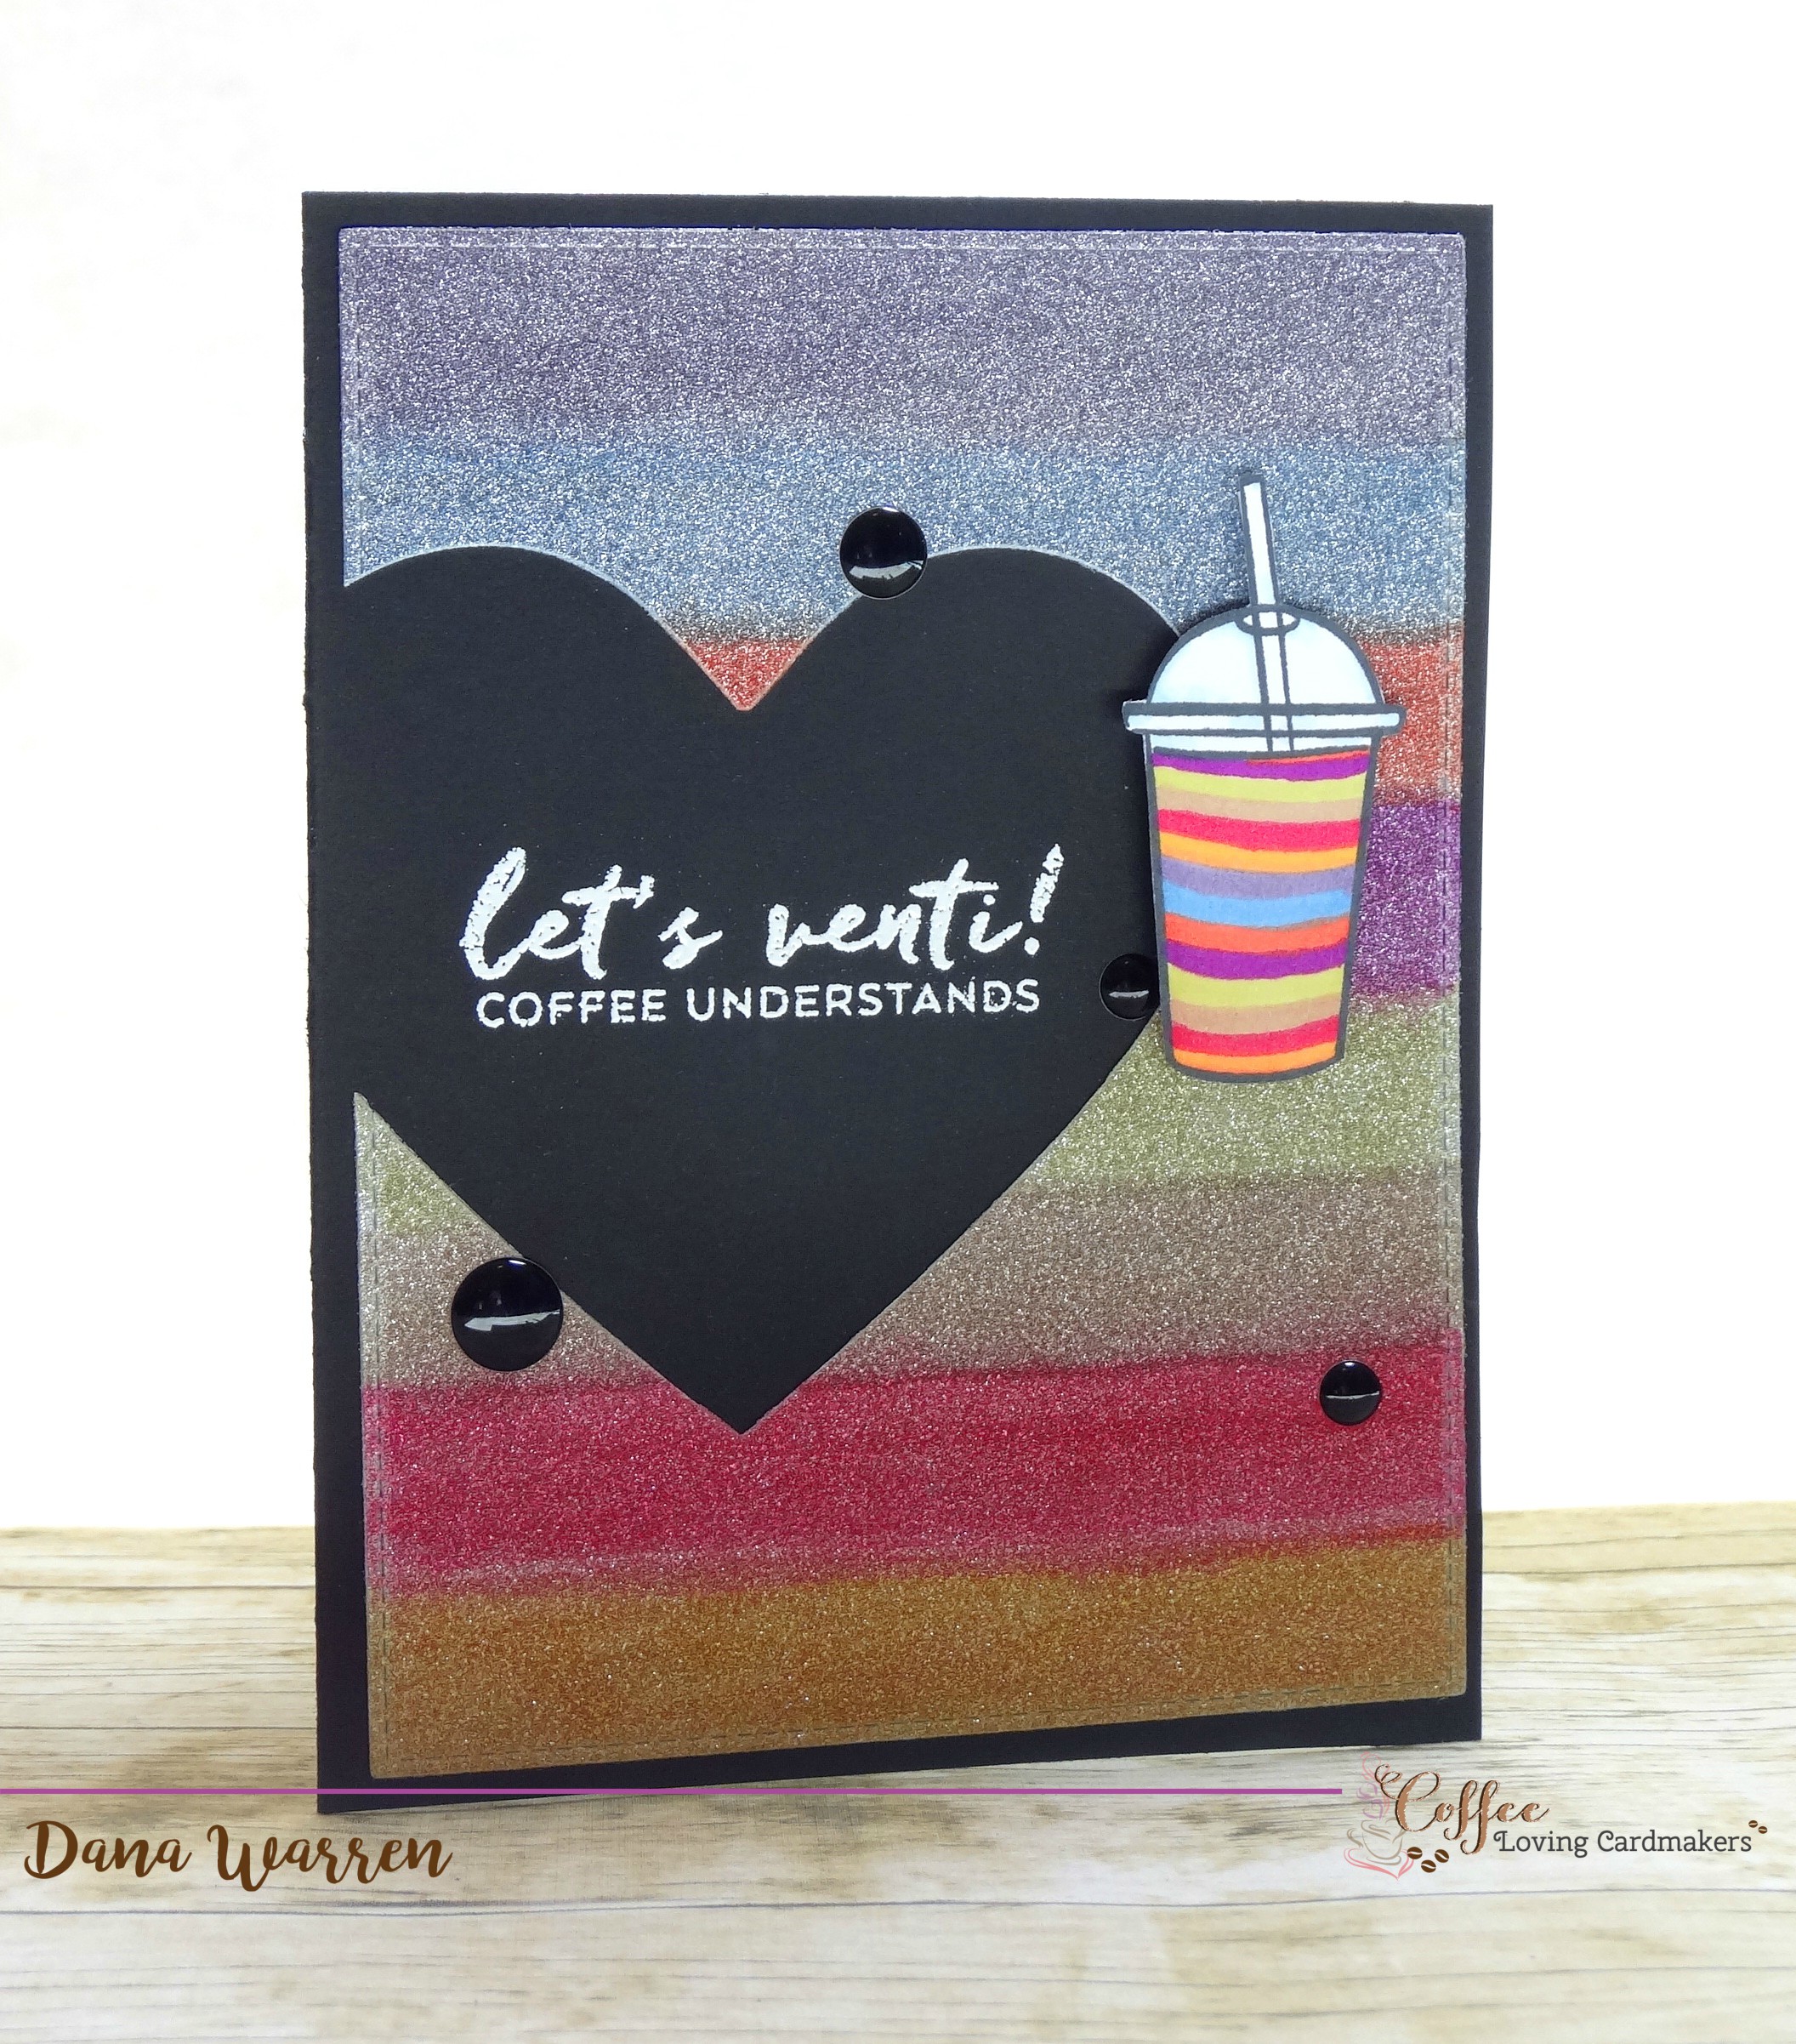
I picked out markers that came close to the colors along the side. First I used a stitched rectangle die to cut the glitter cardstock. Then I colored stripes with my markers. I used: DG2, GB3, LV2, MB3, MG4, OR3, PL3, TB4 Then I used Little B’s heart die to cut an off-center heart from the glitter cardstock. I’ll use the heart on another project!
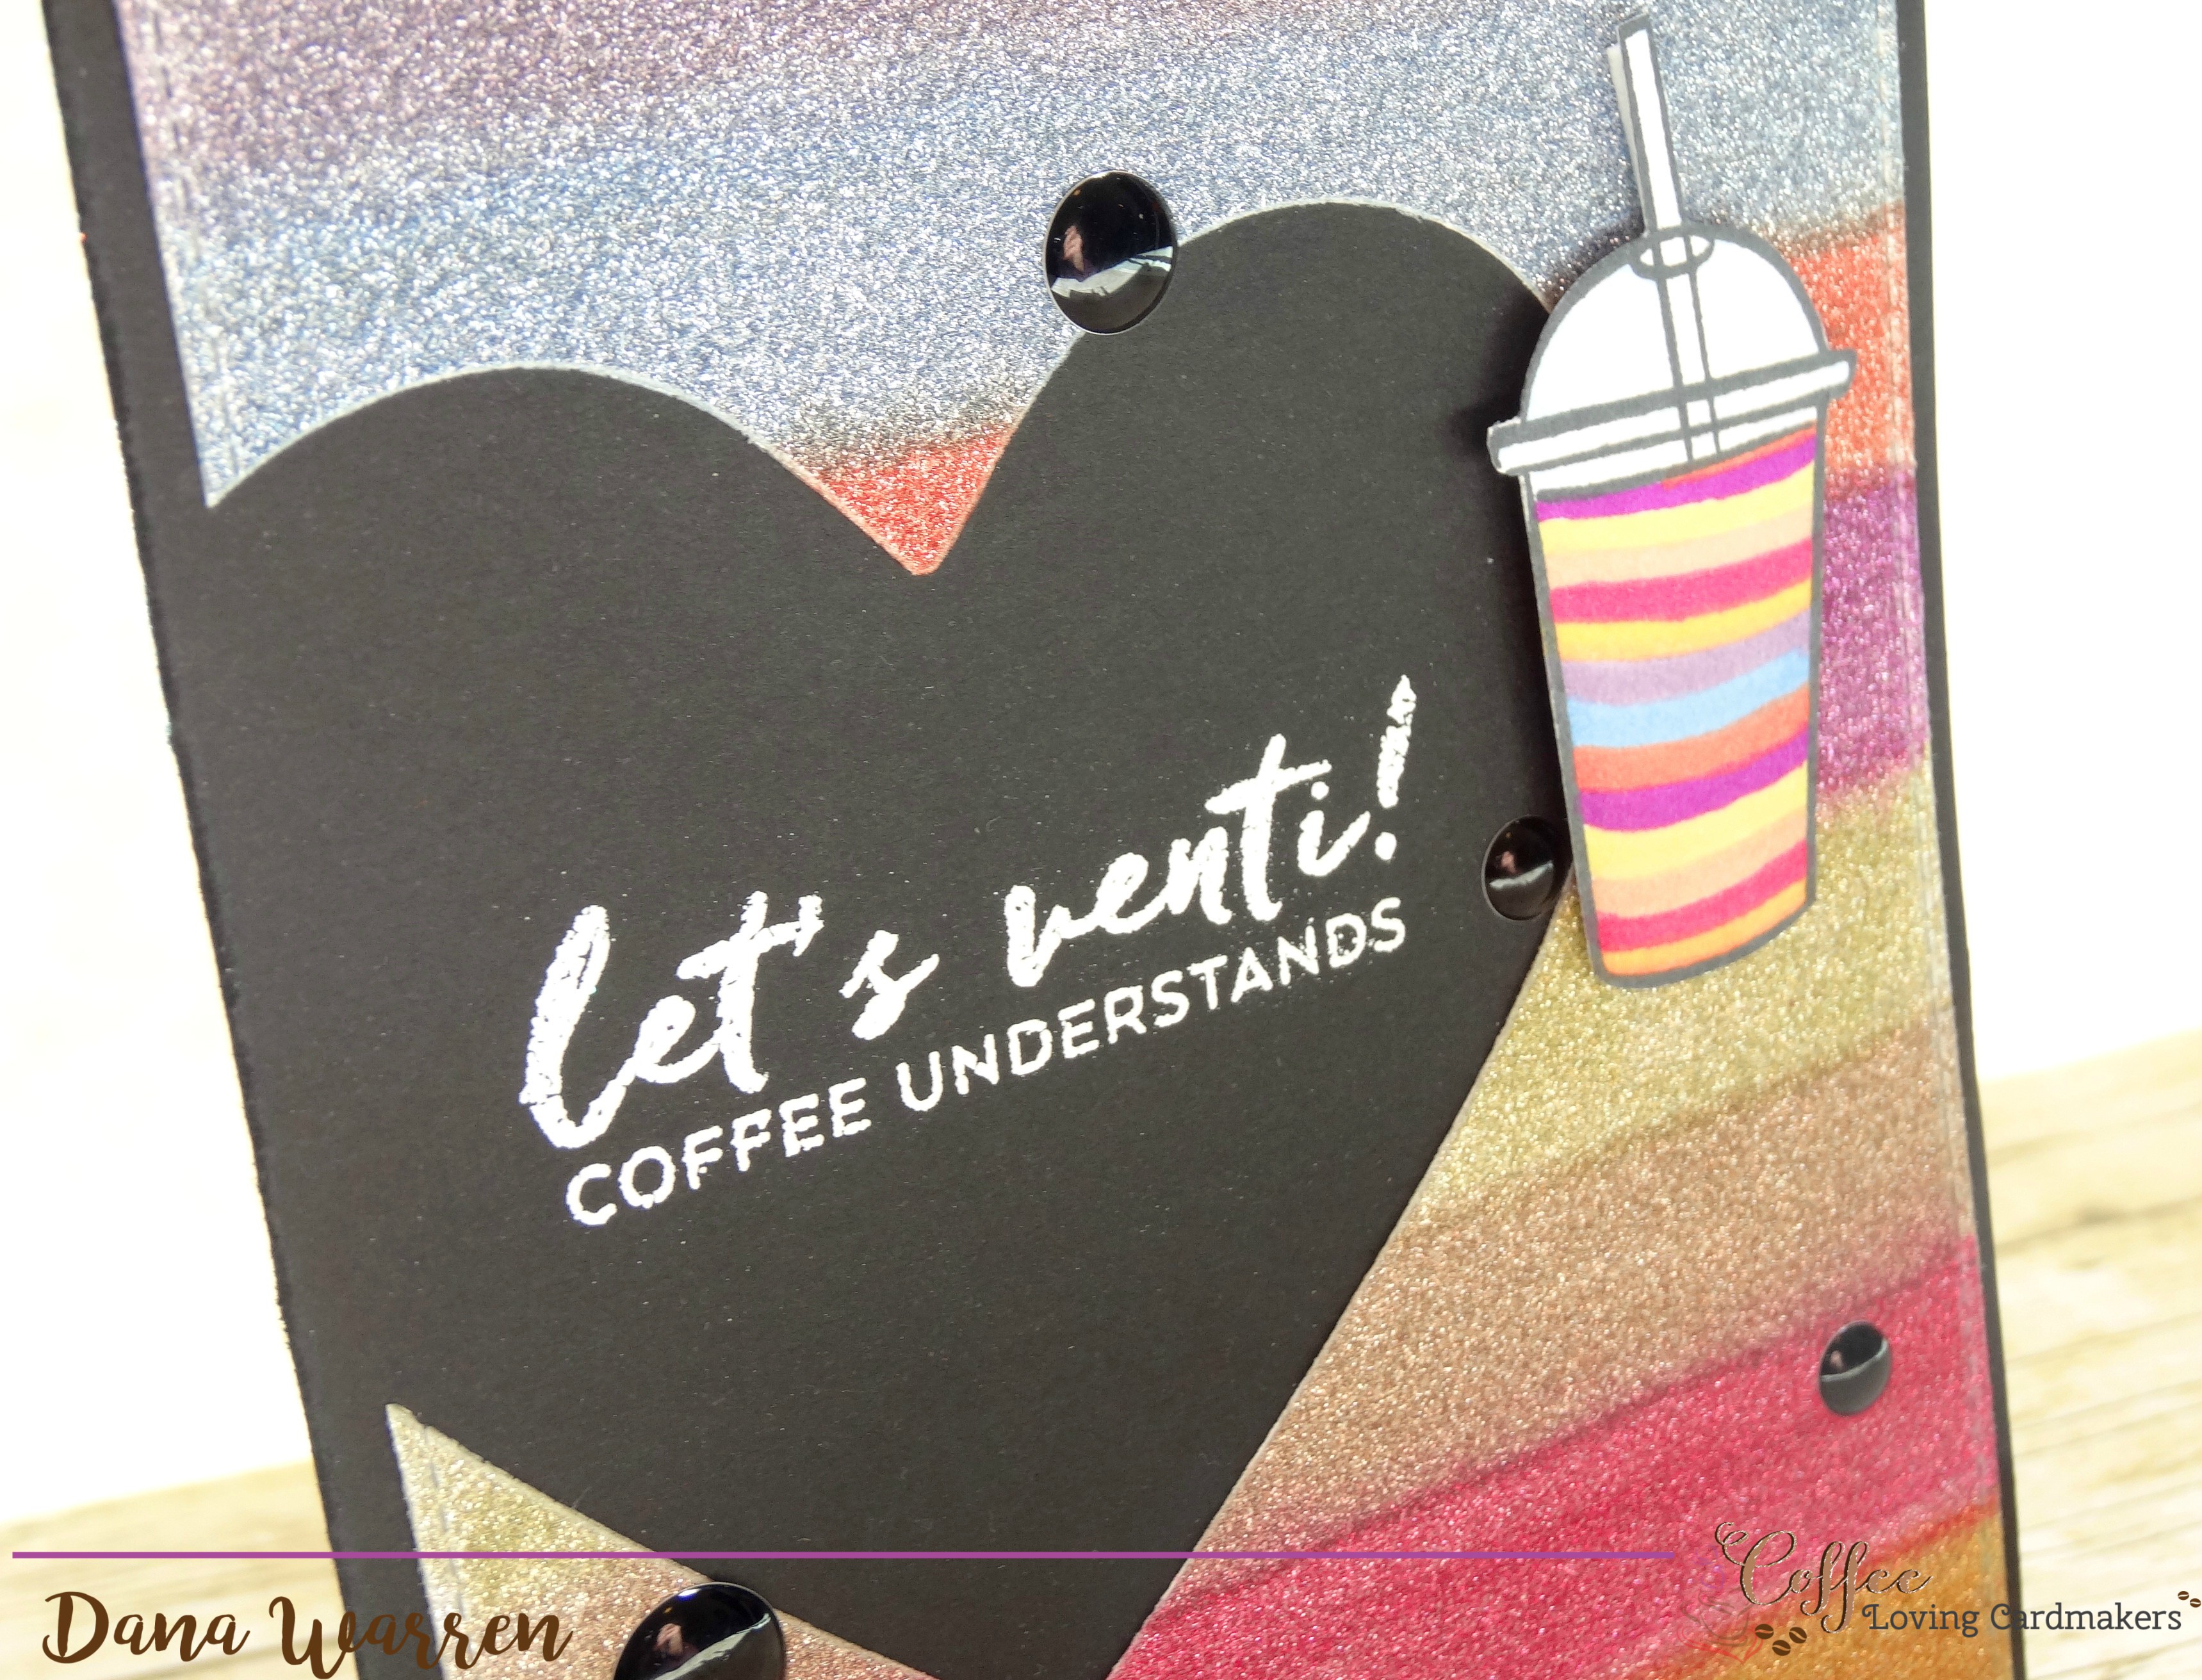
From Essentials by Ellen, Oh Frappe stamp set I stamped the coffee image. Then I used the same markers I used on the glitter to color strips on the cup. To add a little shadow to the top of the cup I used TB1 and the Blender Pen.
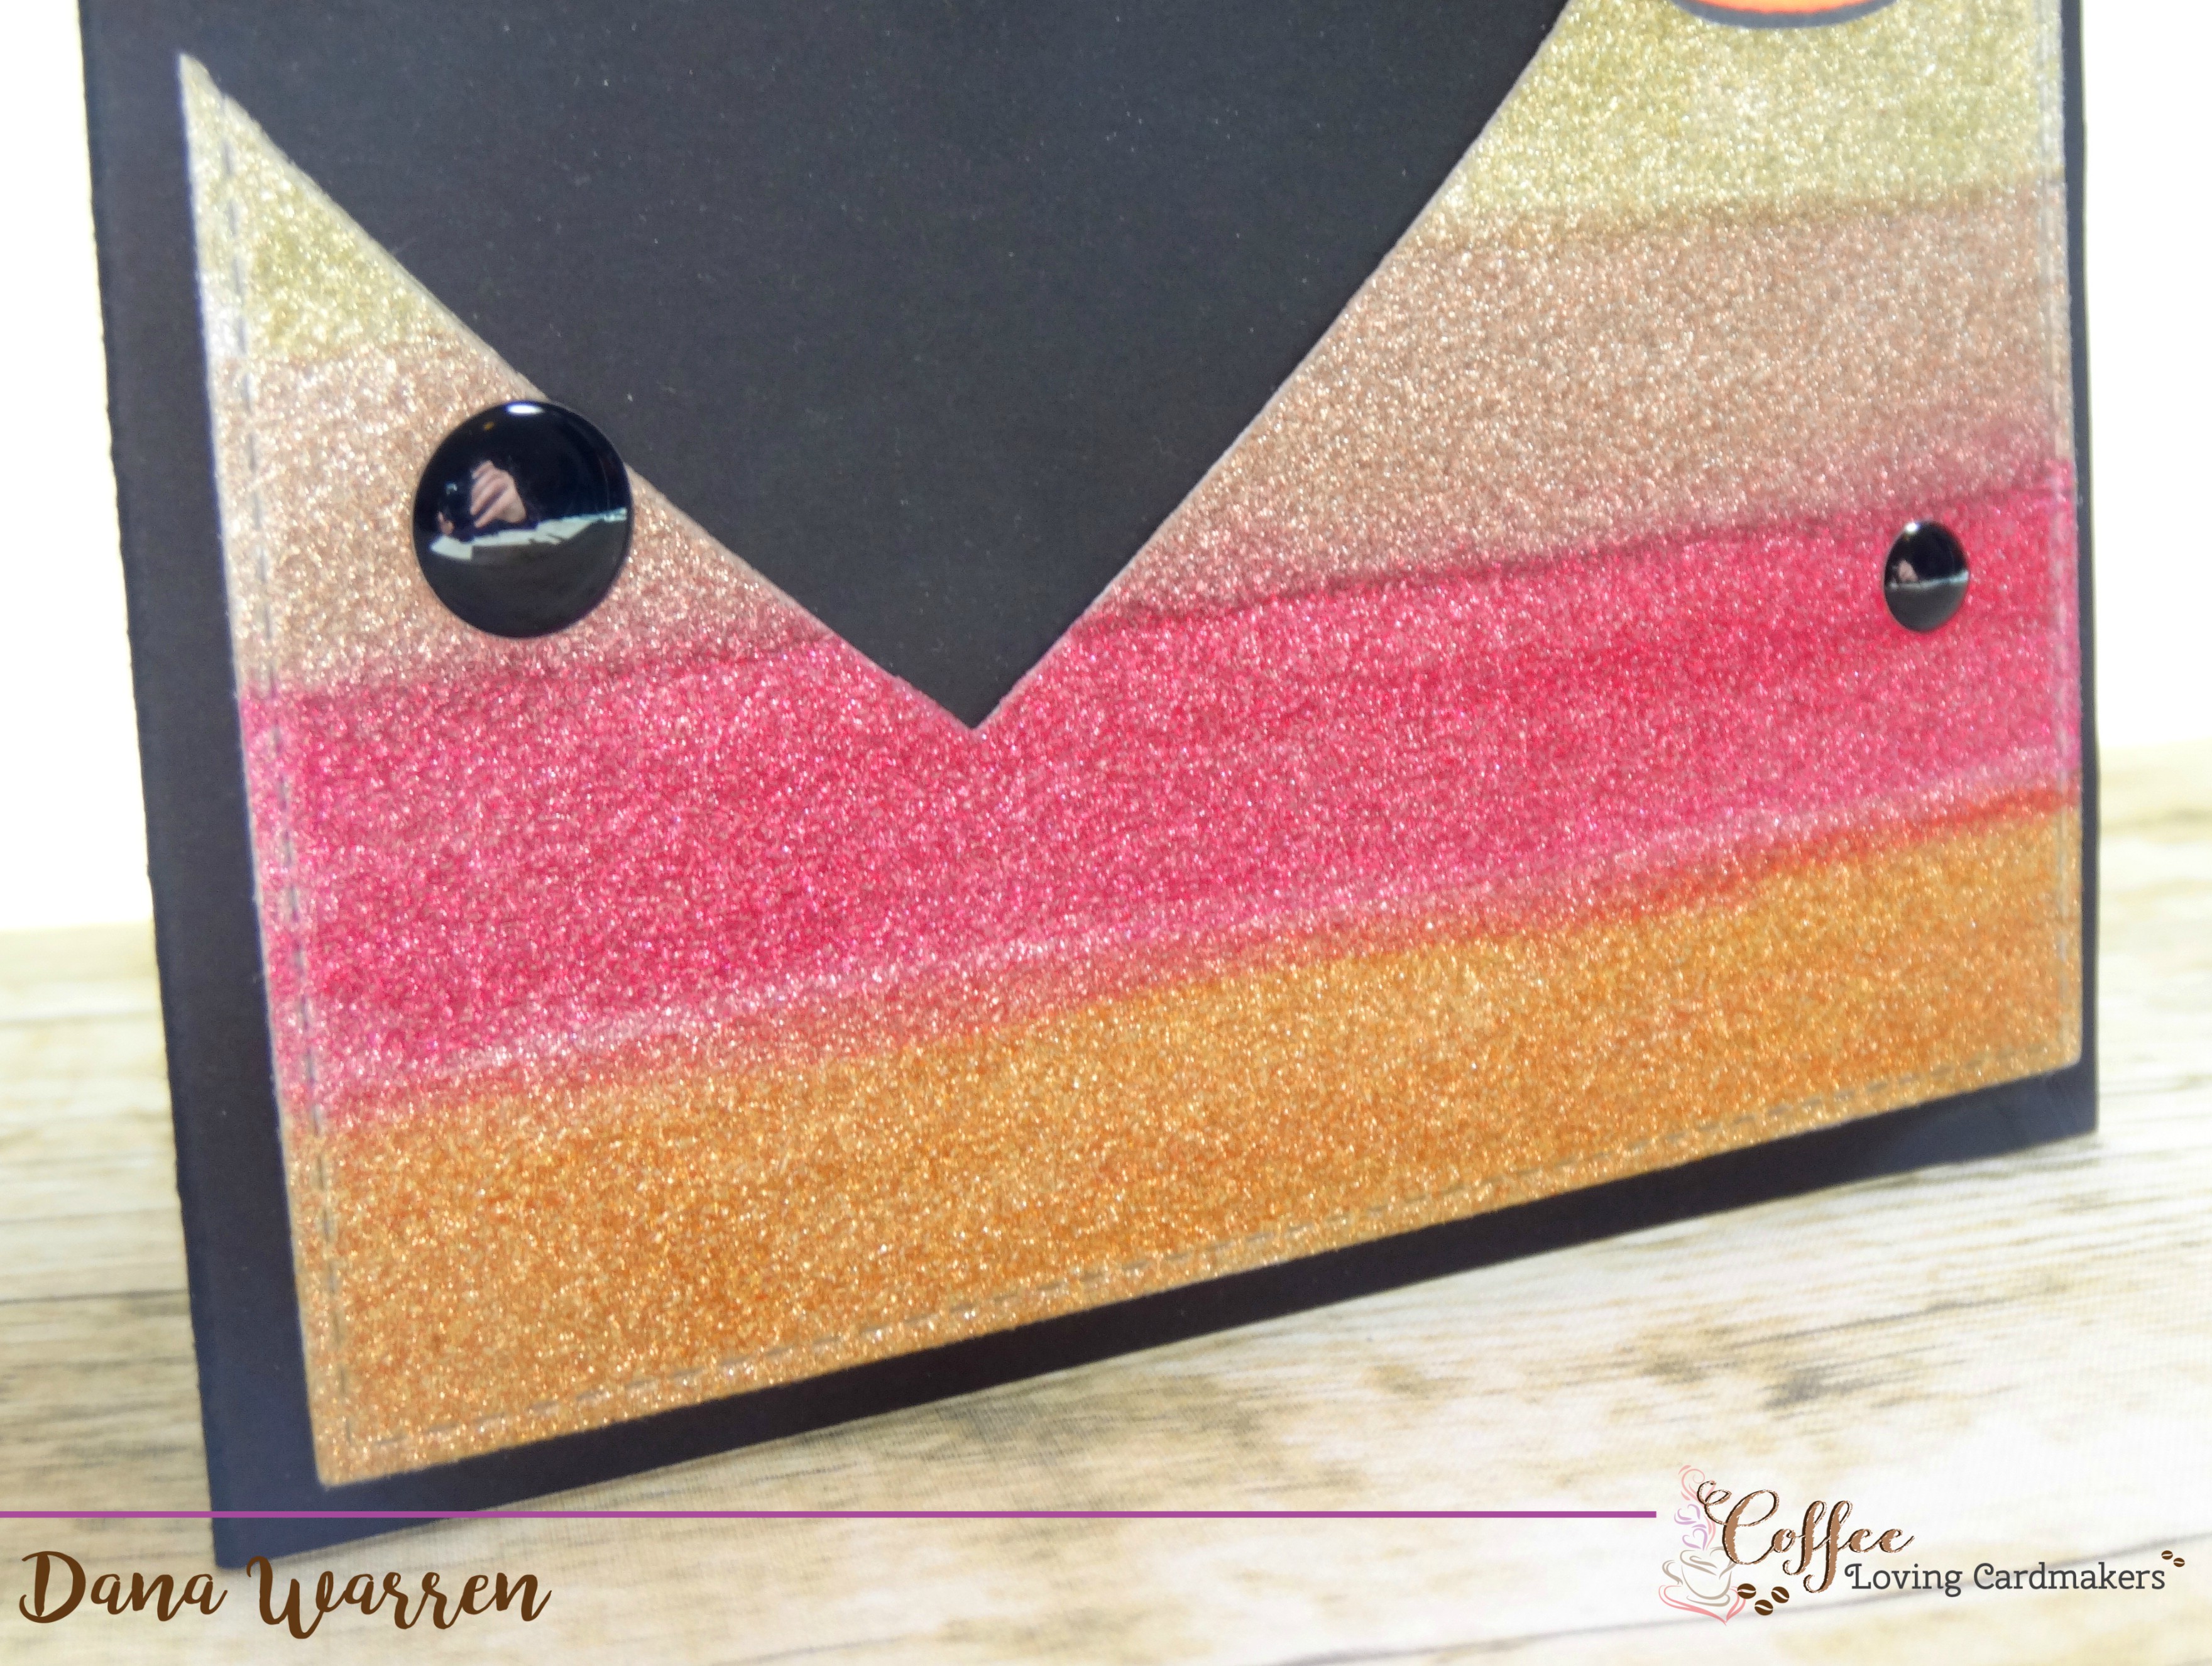
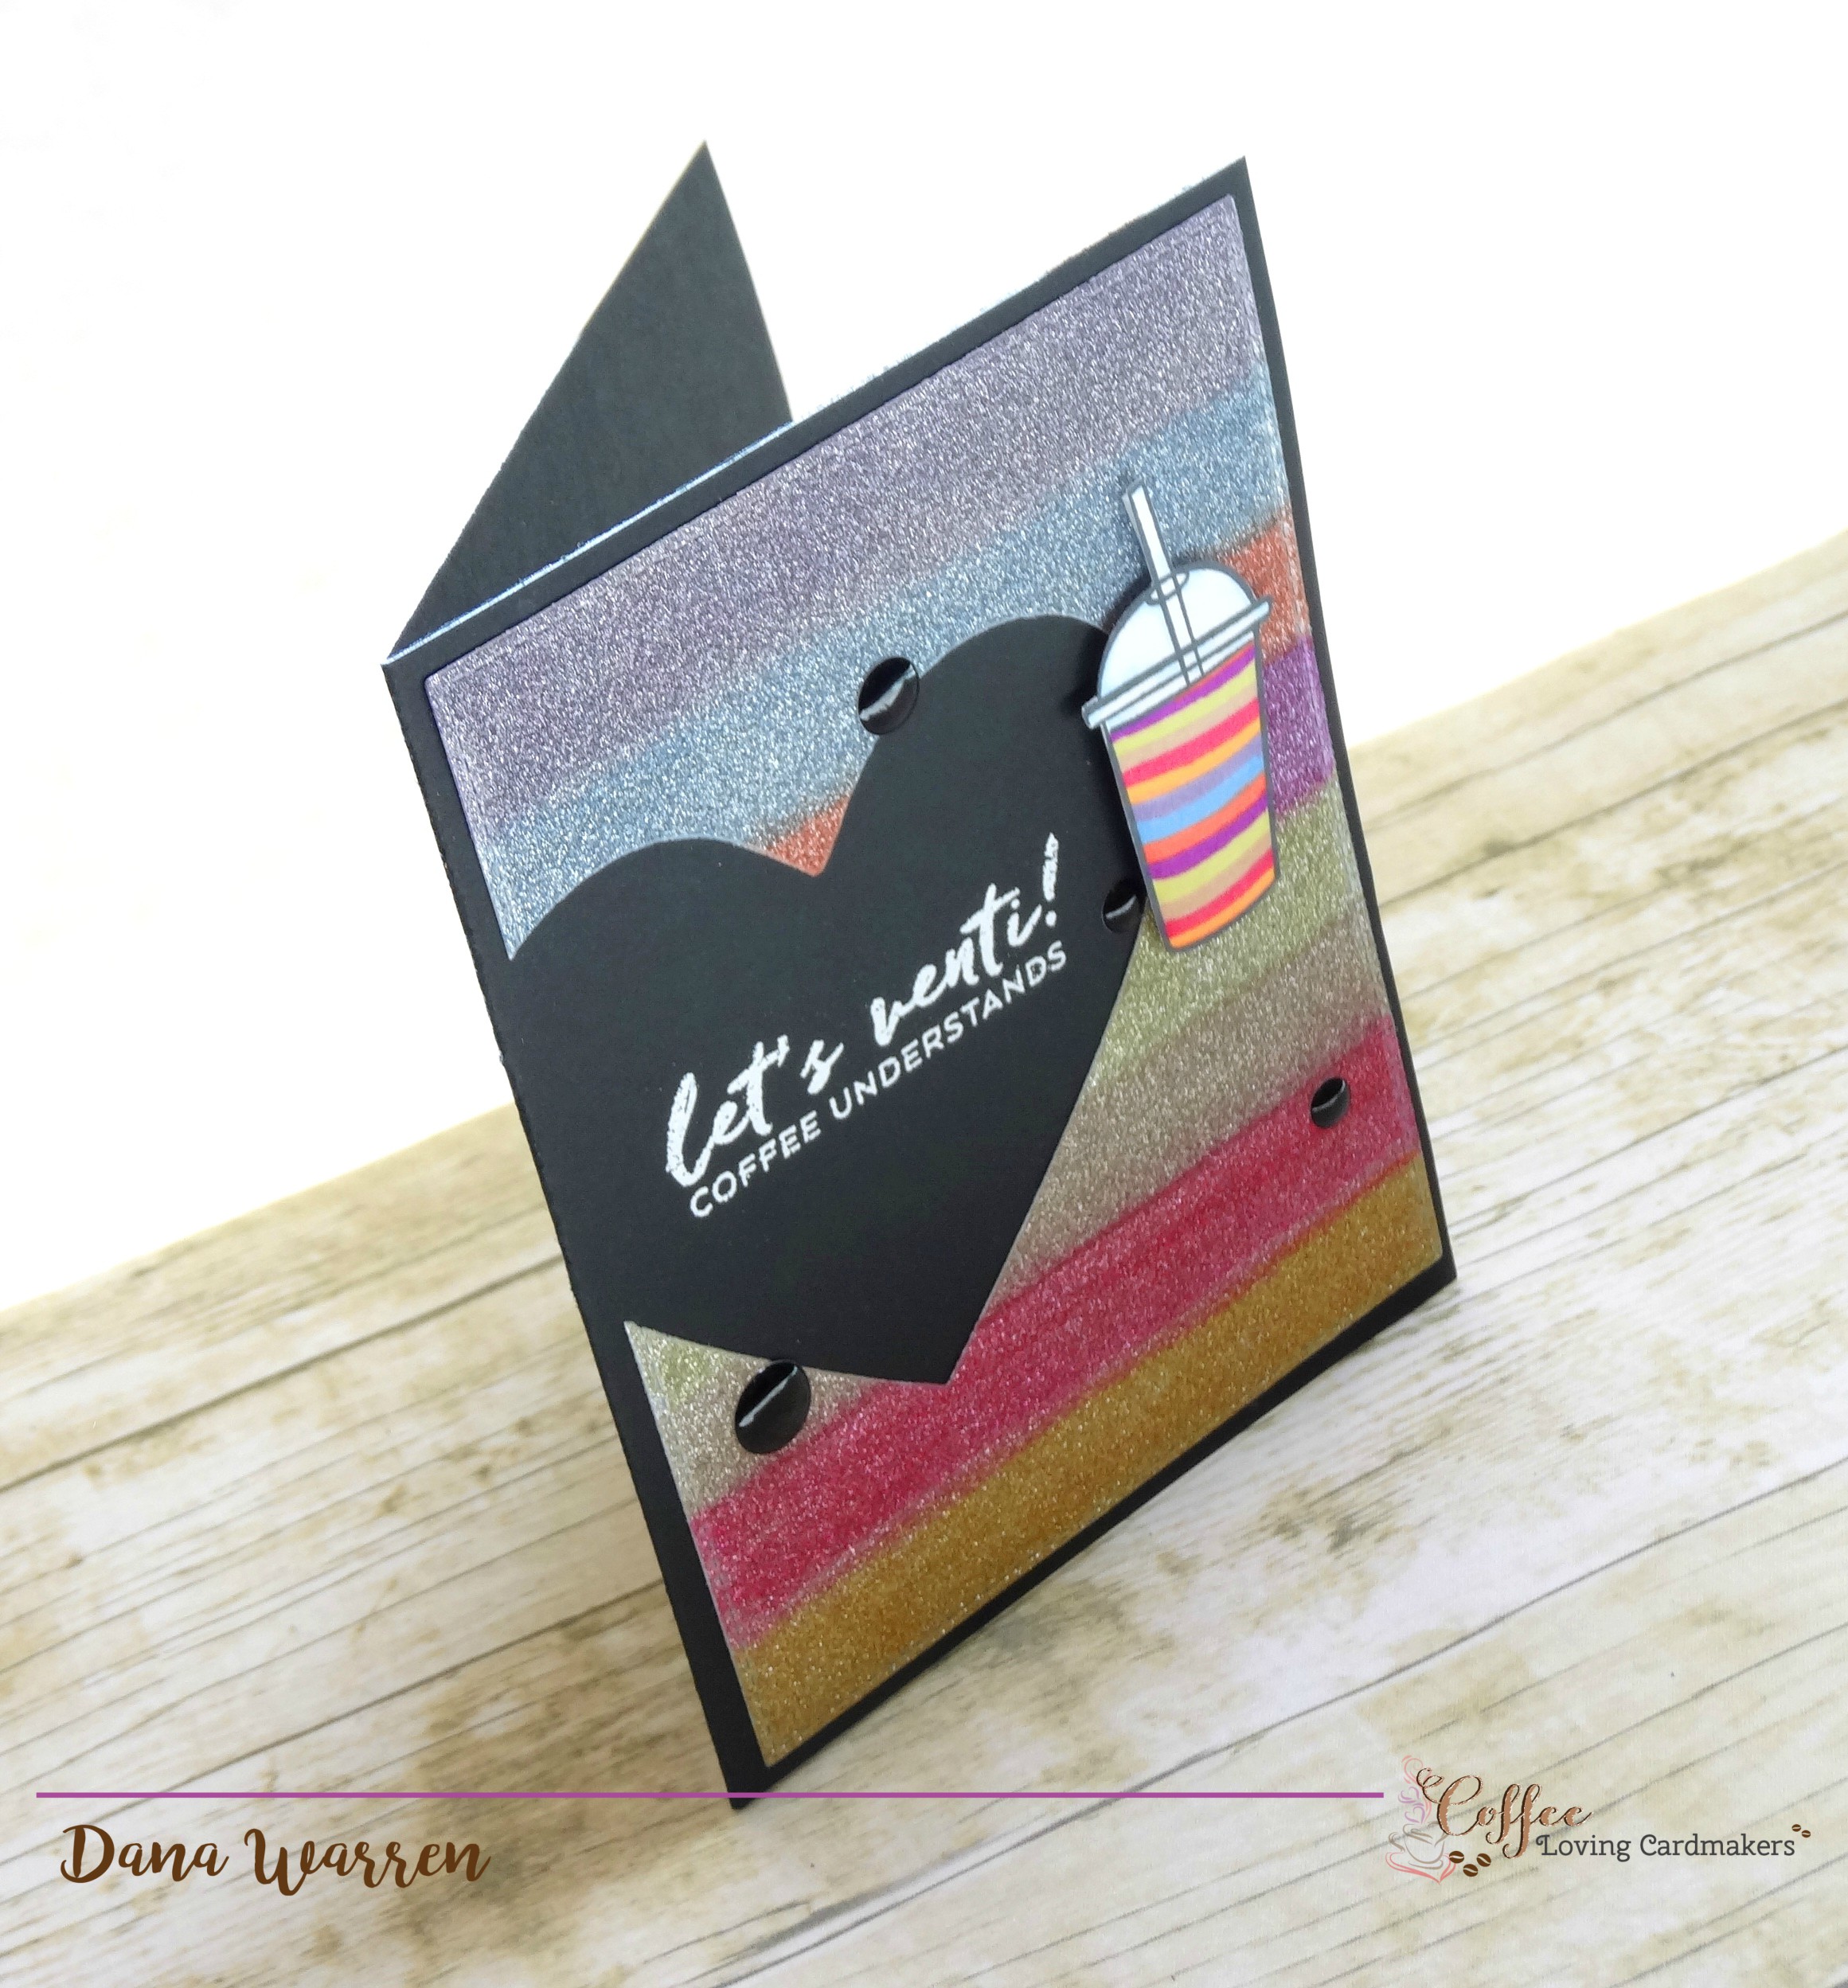
Next, I pulled out a black card base and white embossed the Let’s Venti sentiment where the heart window would be. I adhered the striped glitter panel, then added the coffee cup with foam adhesive. Last I added a few black enamel dots!
Thanks so much for stopping by!! You know you have at the very least glitter in your stash!! So break that out and USE it!!! LOL!!
Dana
Supplies
Stamps: Essentials by Ellen – Oh, Frappe
Spectrum Noir Markers
Crafter’s Companion Luxury Cardstock
Little B Heart Die


Leave a reply to Lucy E. Cancel reply