Hello Coffee Lovers!!
Dana here with a new installment of Brew & Craft Your Stash!! Grab your cup and get ready for some great ideas using Decorative Tape!! If this is the first time you are seeing my feature or need a refresher, click here for my very first post, it gives a little background explanation of my feature.
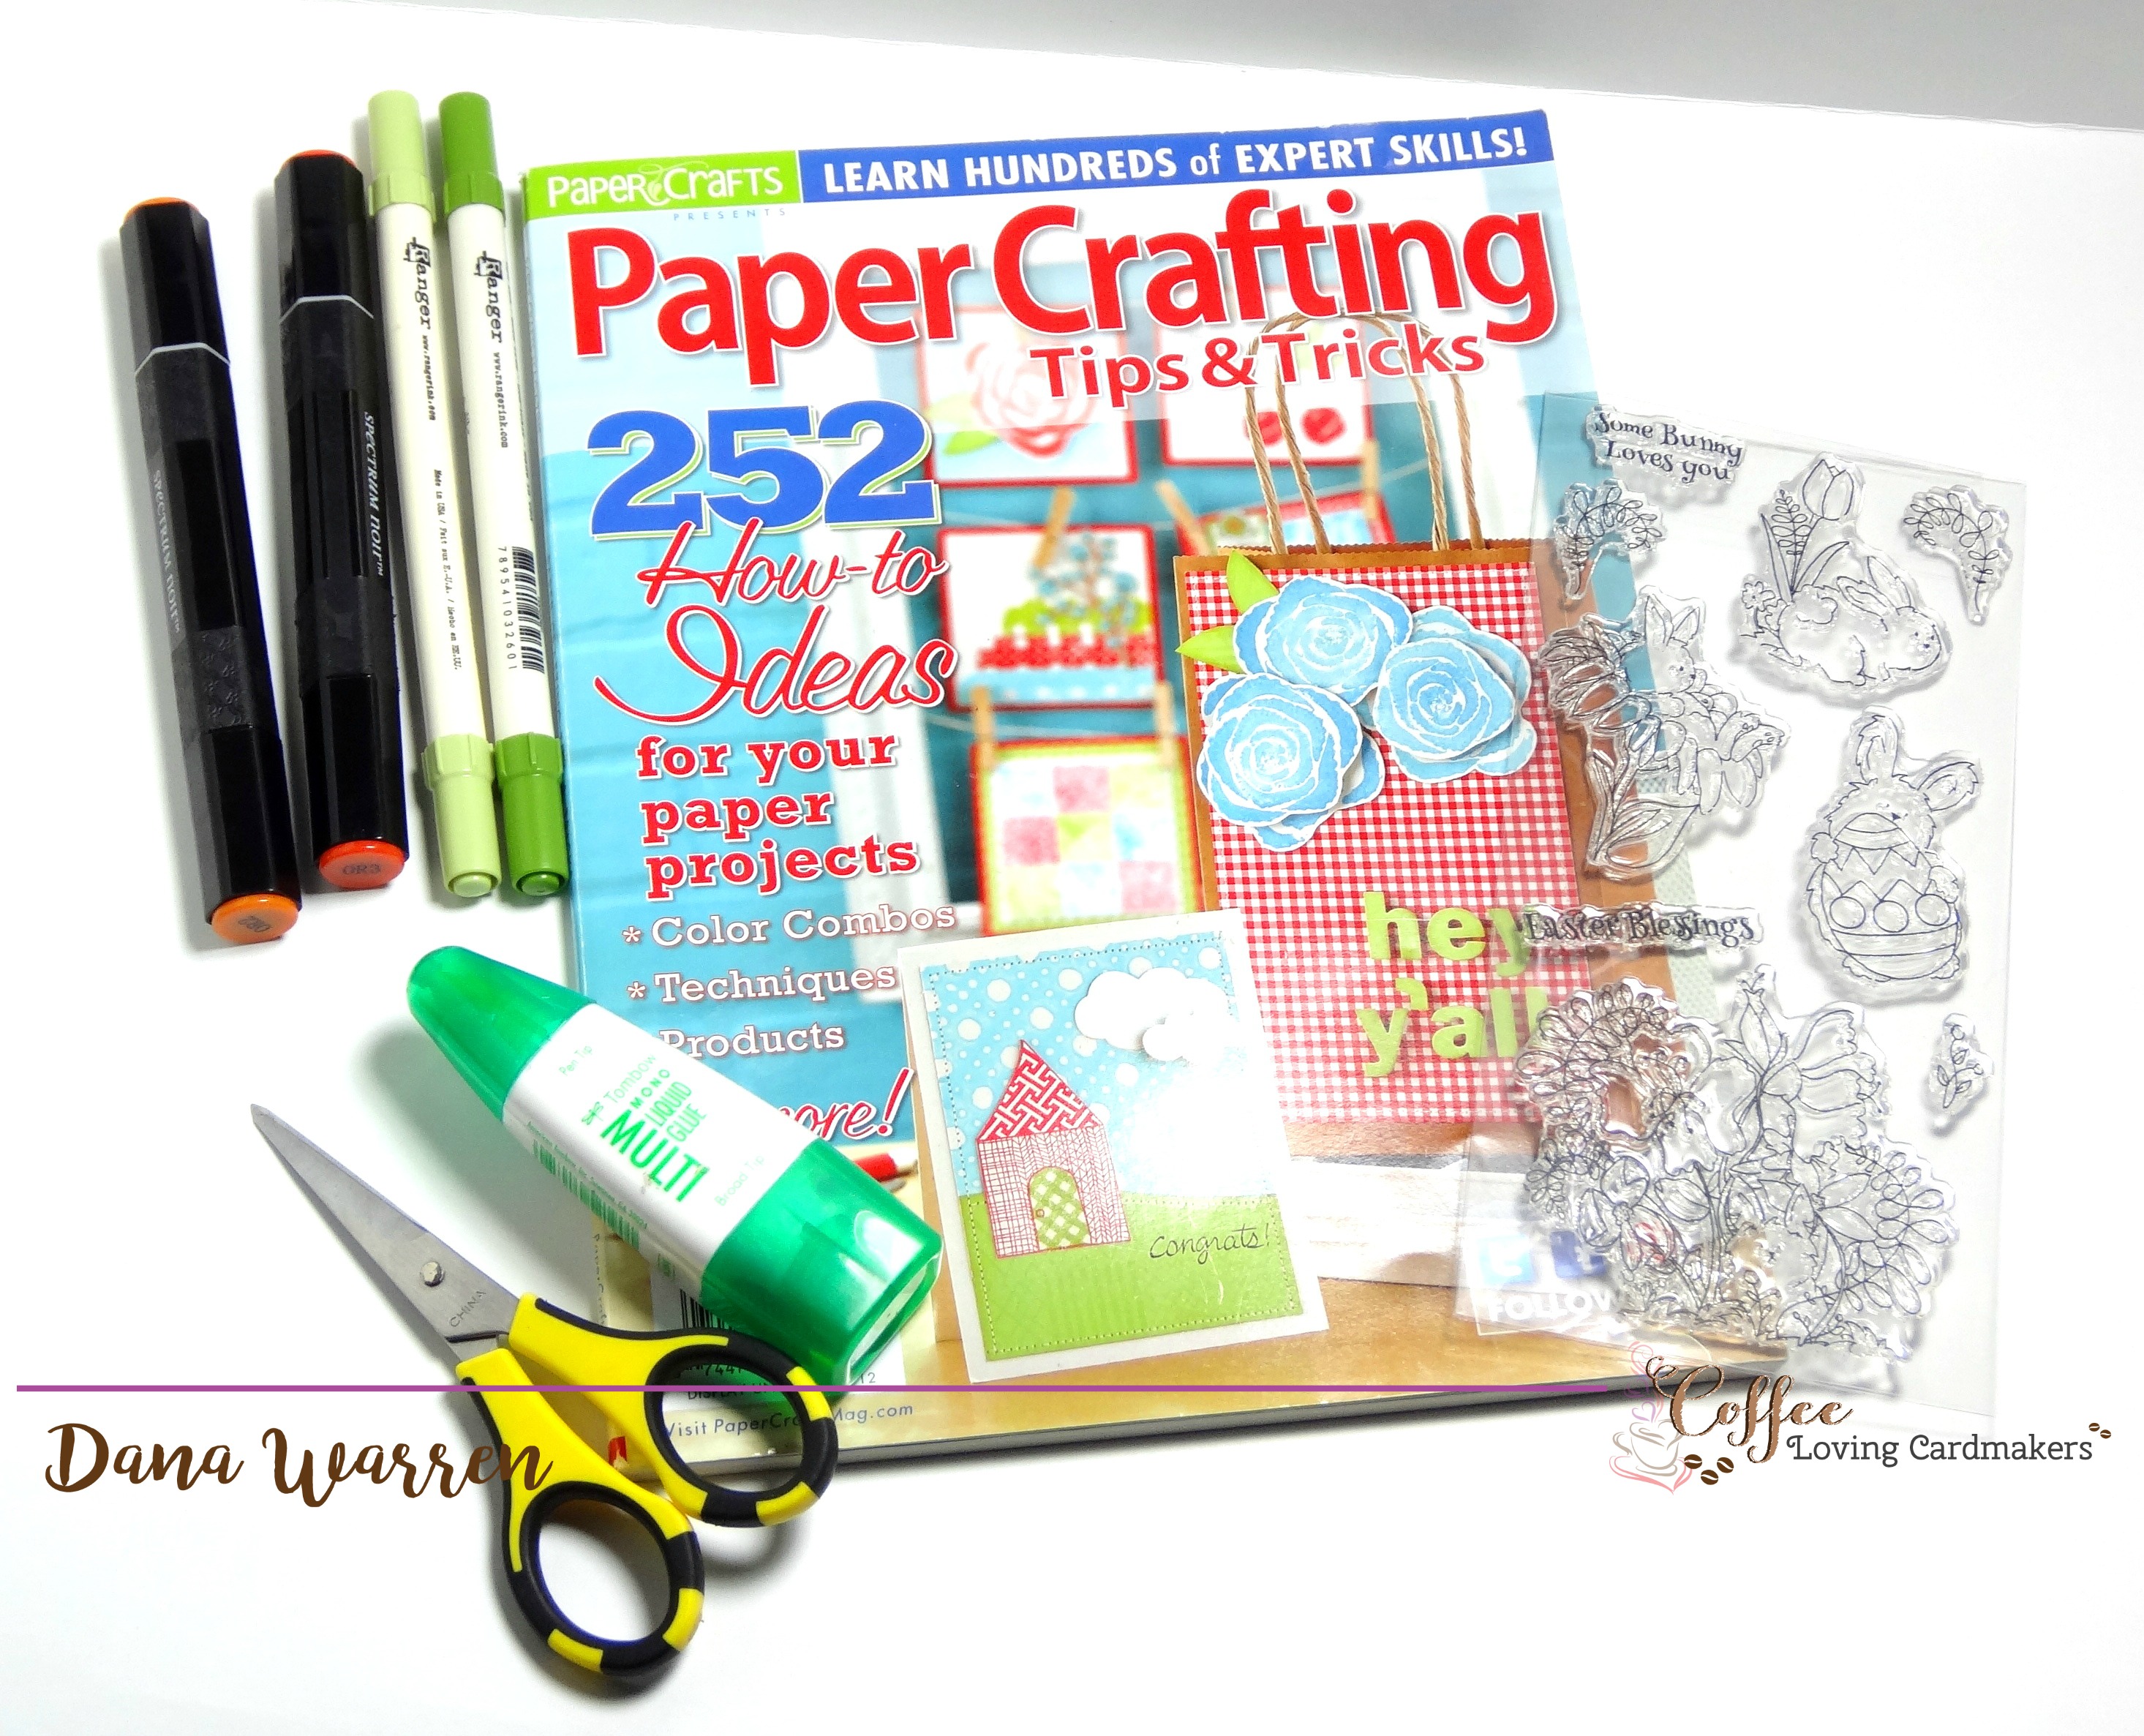
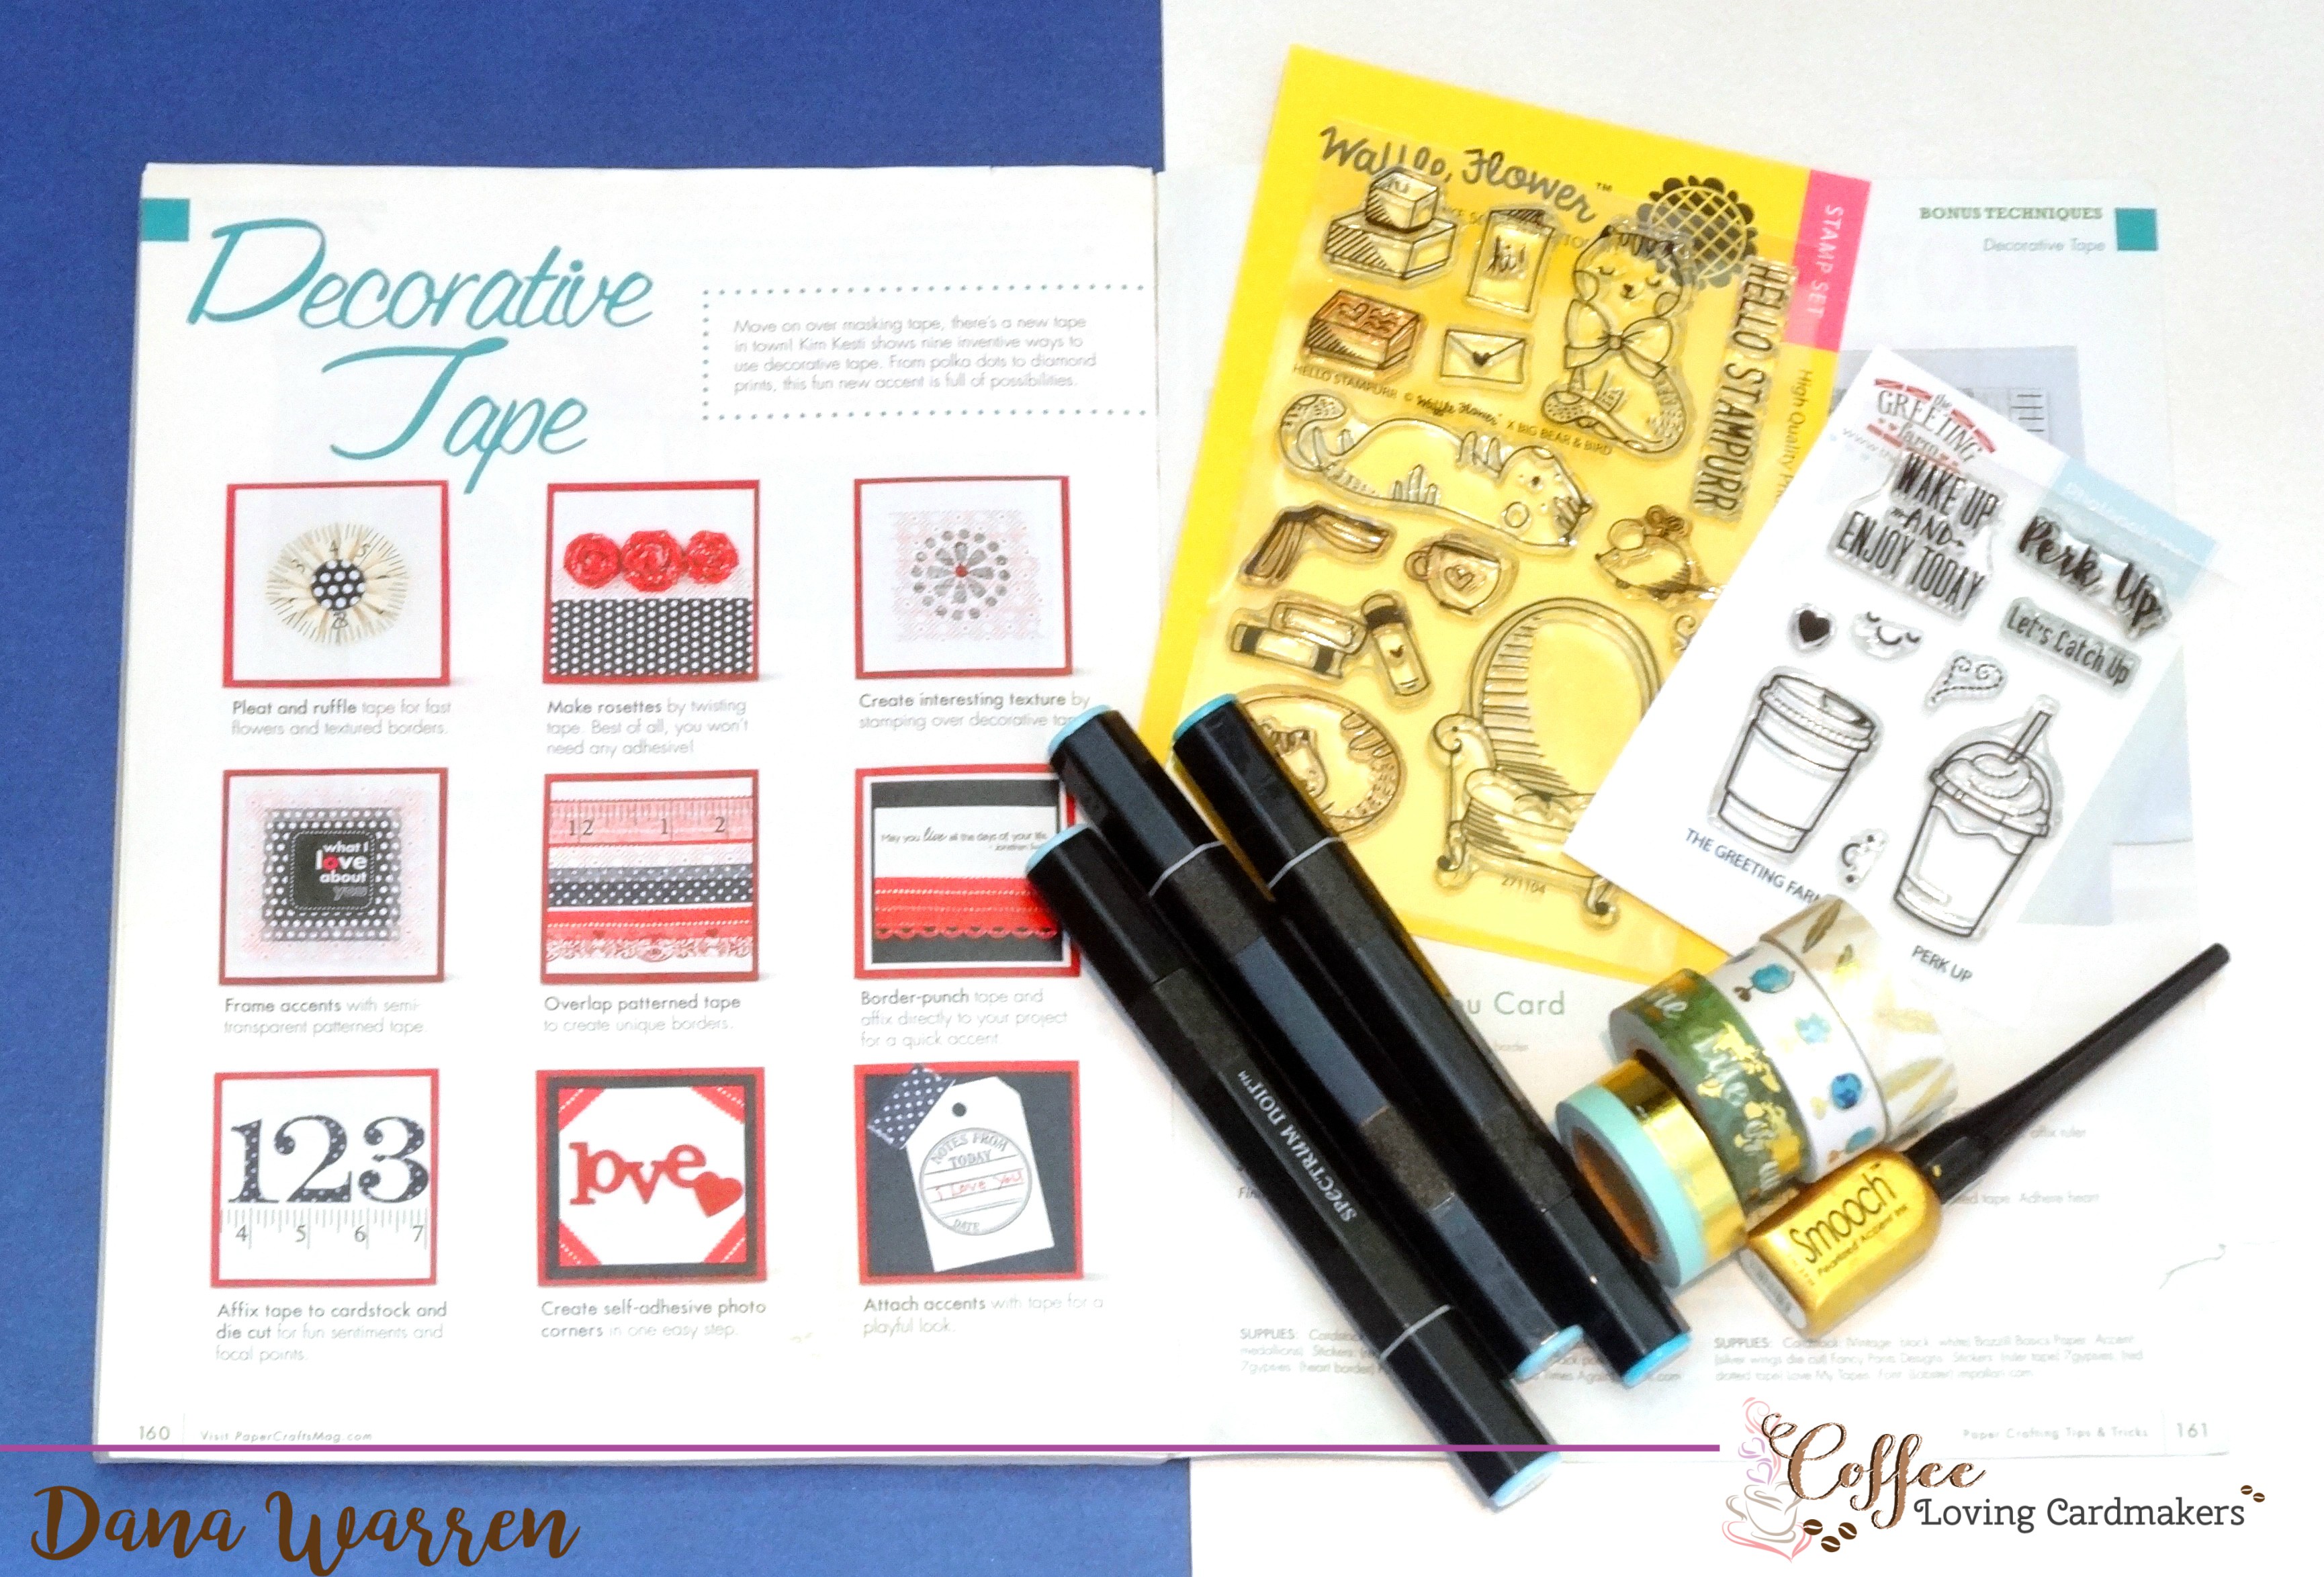
We are in the Bonus Techniques section of Paper Crafting Tips & Tricks 2012 Magazine. Kim Kesti has some great ideas using Decorative Tape! Decorative Tape can be washi tape, fabric tape, paper tape or even fancy duck tape!!
- Pleat tape to make flowers or ruffle it for a unique trim
- Tist tape and wrap to make rosettes
- Laydown some tape and stamp on top
- Use semi-transparent tape to frame stamps or embellishments
- Create unique borders or patterns by overlapping the patterned tape
- Break out a border punch and make a unique border with tape
- Add tape to cardstock or die cuts for unique sentiments and focal points
- Add tape to corners for unique photo corner panel
- Use tape to adhere stamped images, embellishments, and accents
So my card photo’s today are a little different, not quite as good as they usually are because this week is spring break. Before leaving for home I packed up just a few crafty supplies, making sure to bring some washi tape knowing that I would need to create a card for today’s post. But the noncreative part of my brain totally overlooked bringing my poster board and photo light! Annnnd it snowed last night and today so was not even sunny today!! So I hope you will forgive my subpar photos!
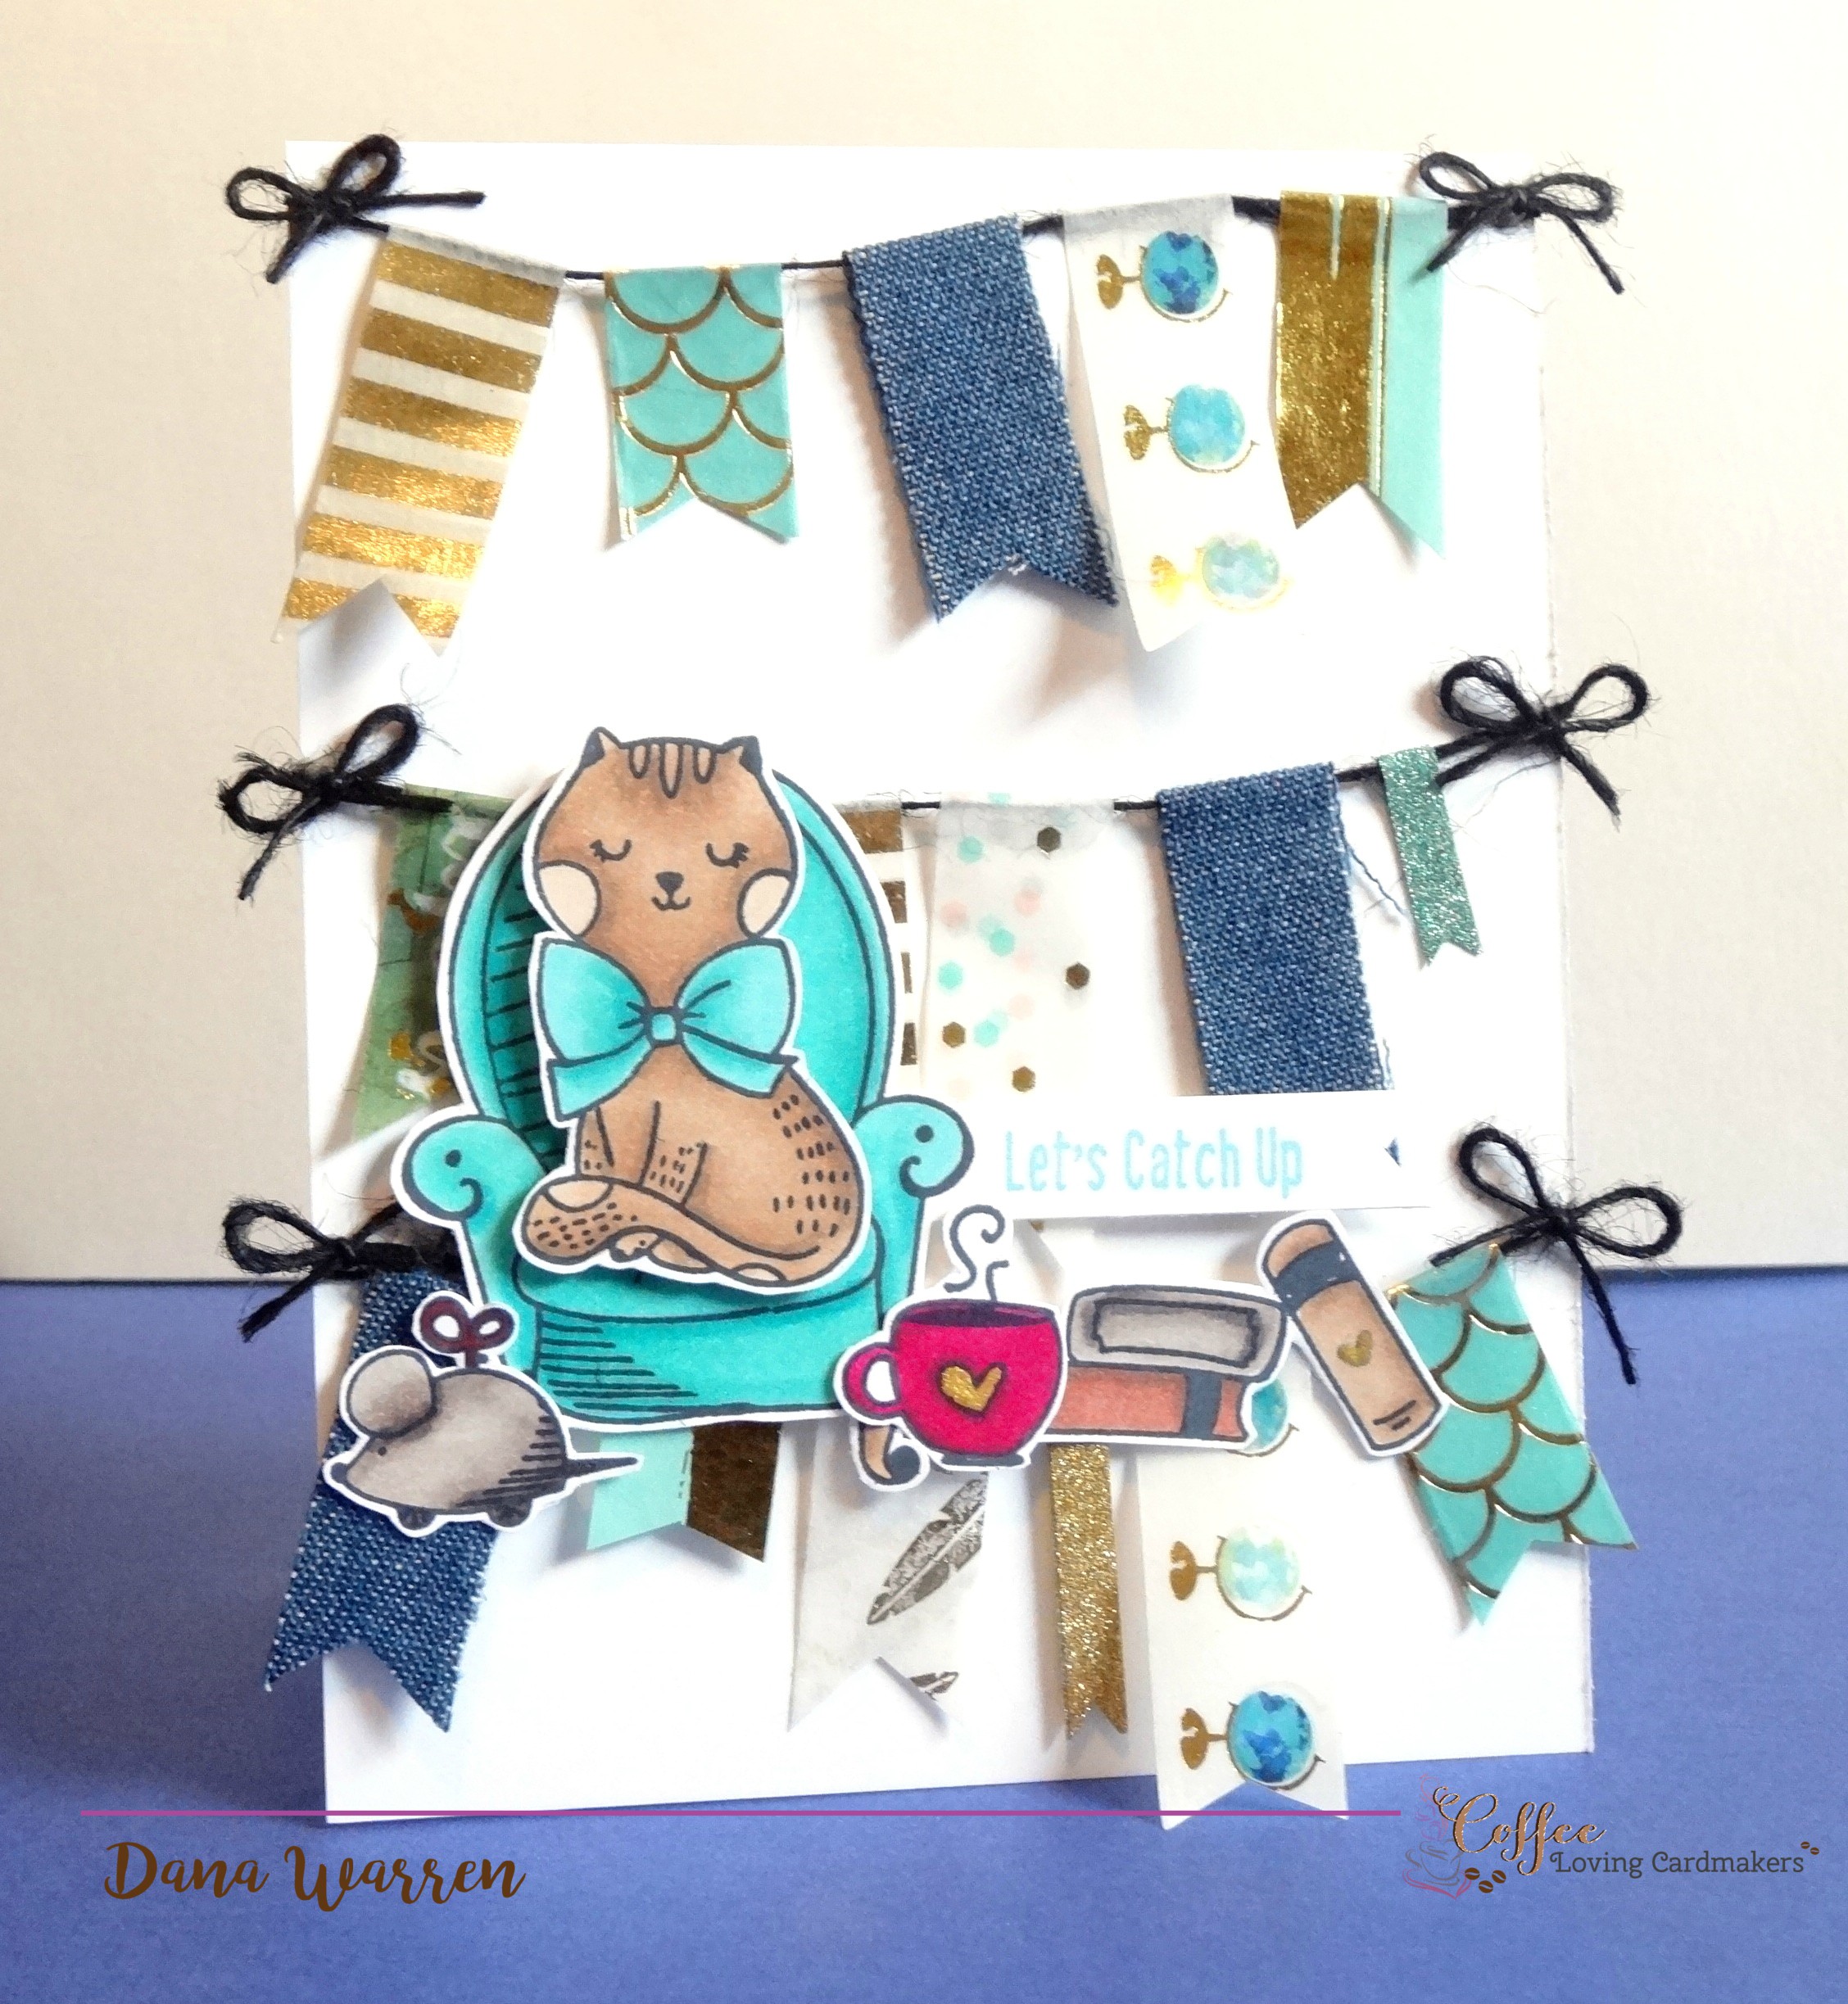
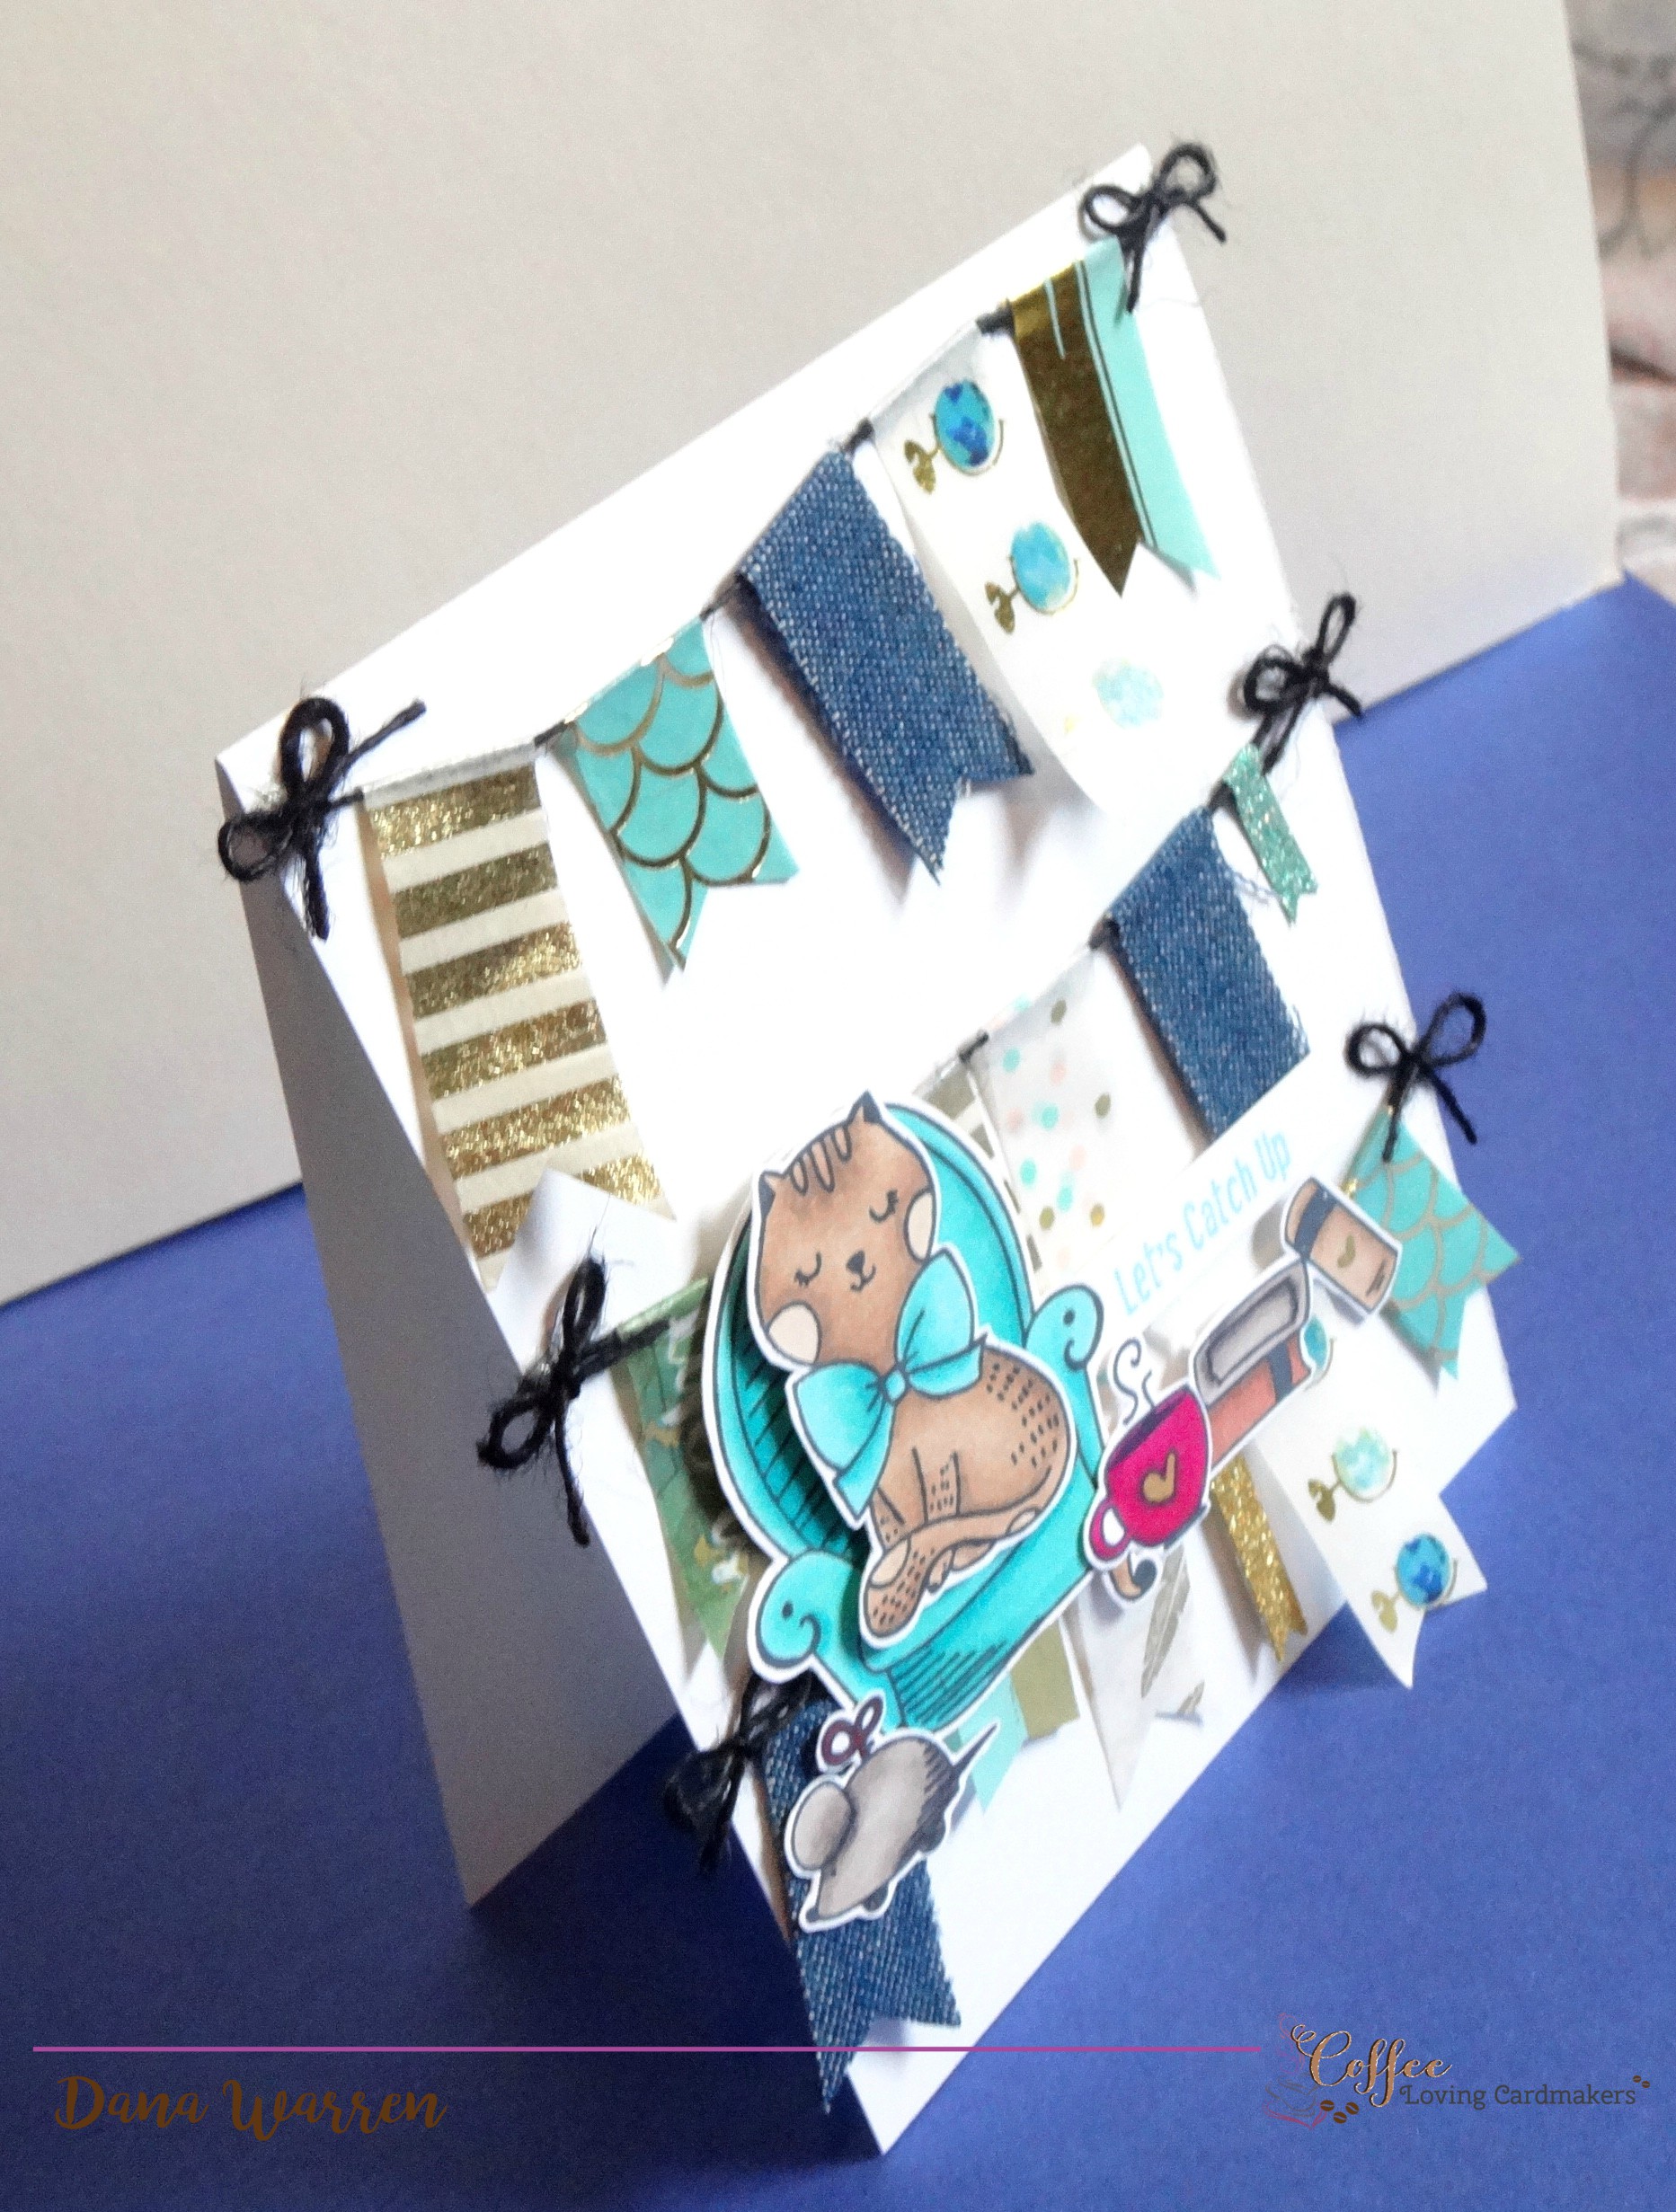
On to my card! It took me a few days to figure out what I wanted to do with some washi tape, but eventually, it came to me!! Make a banner! (or 3!) I cut a strip of black twine and then folded a piece over the twine, making sure to line up both the front and back before pressing them together. I thought that I would need to add some adhesive to make sure they stuck together, but I did a test run with the washi tape and it wasn’t very easy to pull it apart.
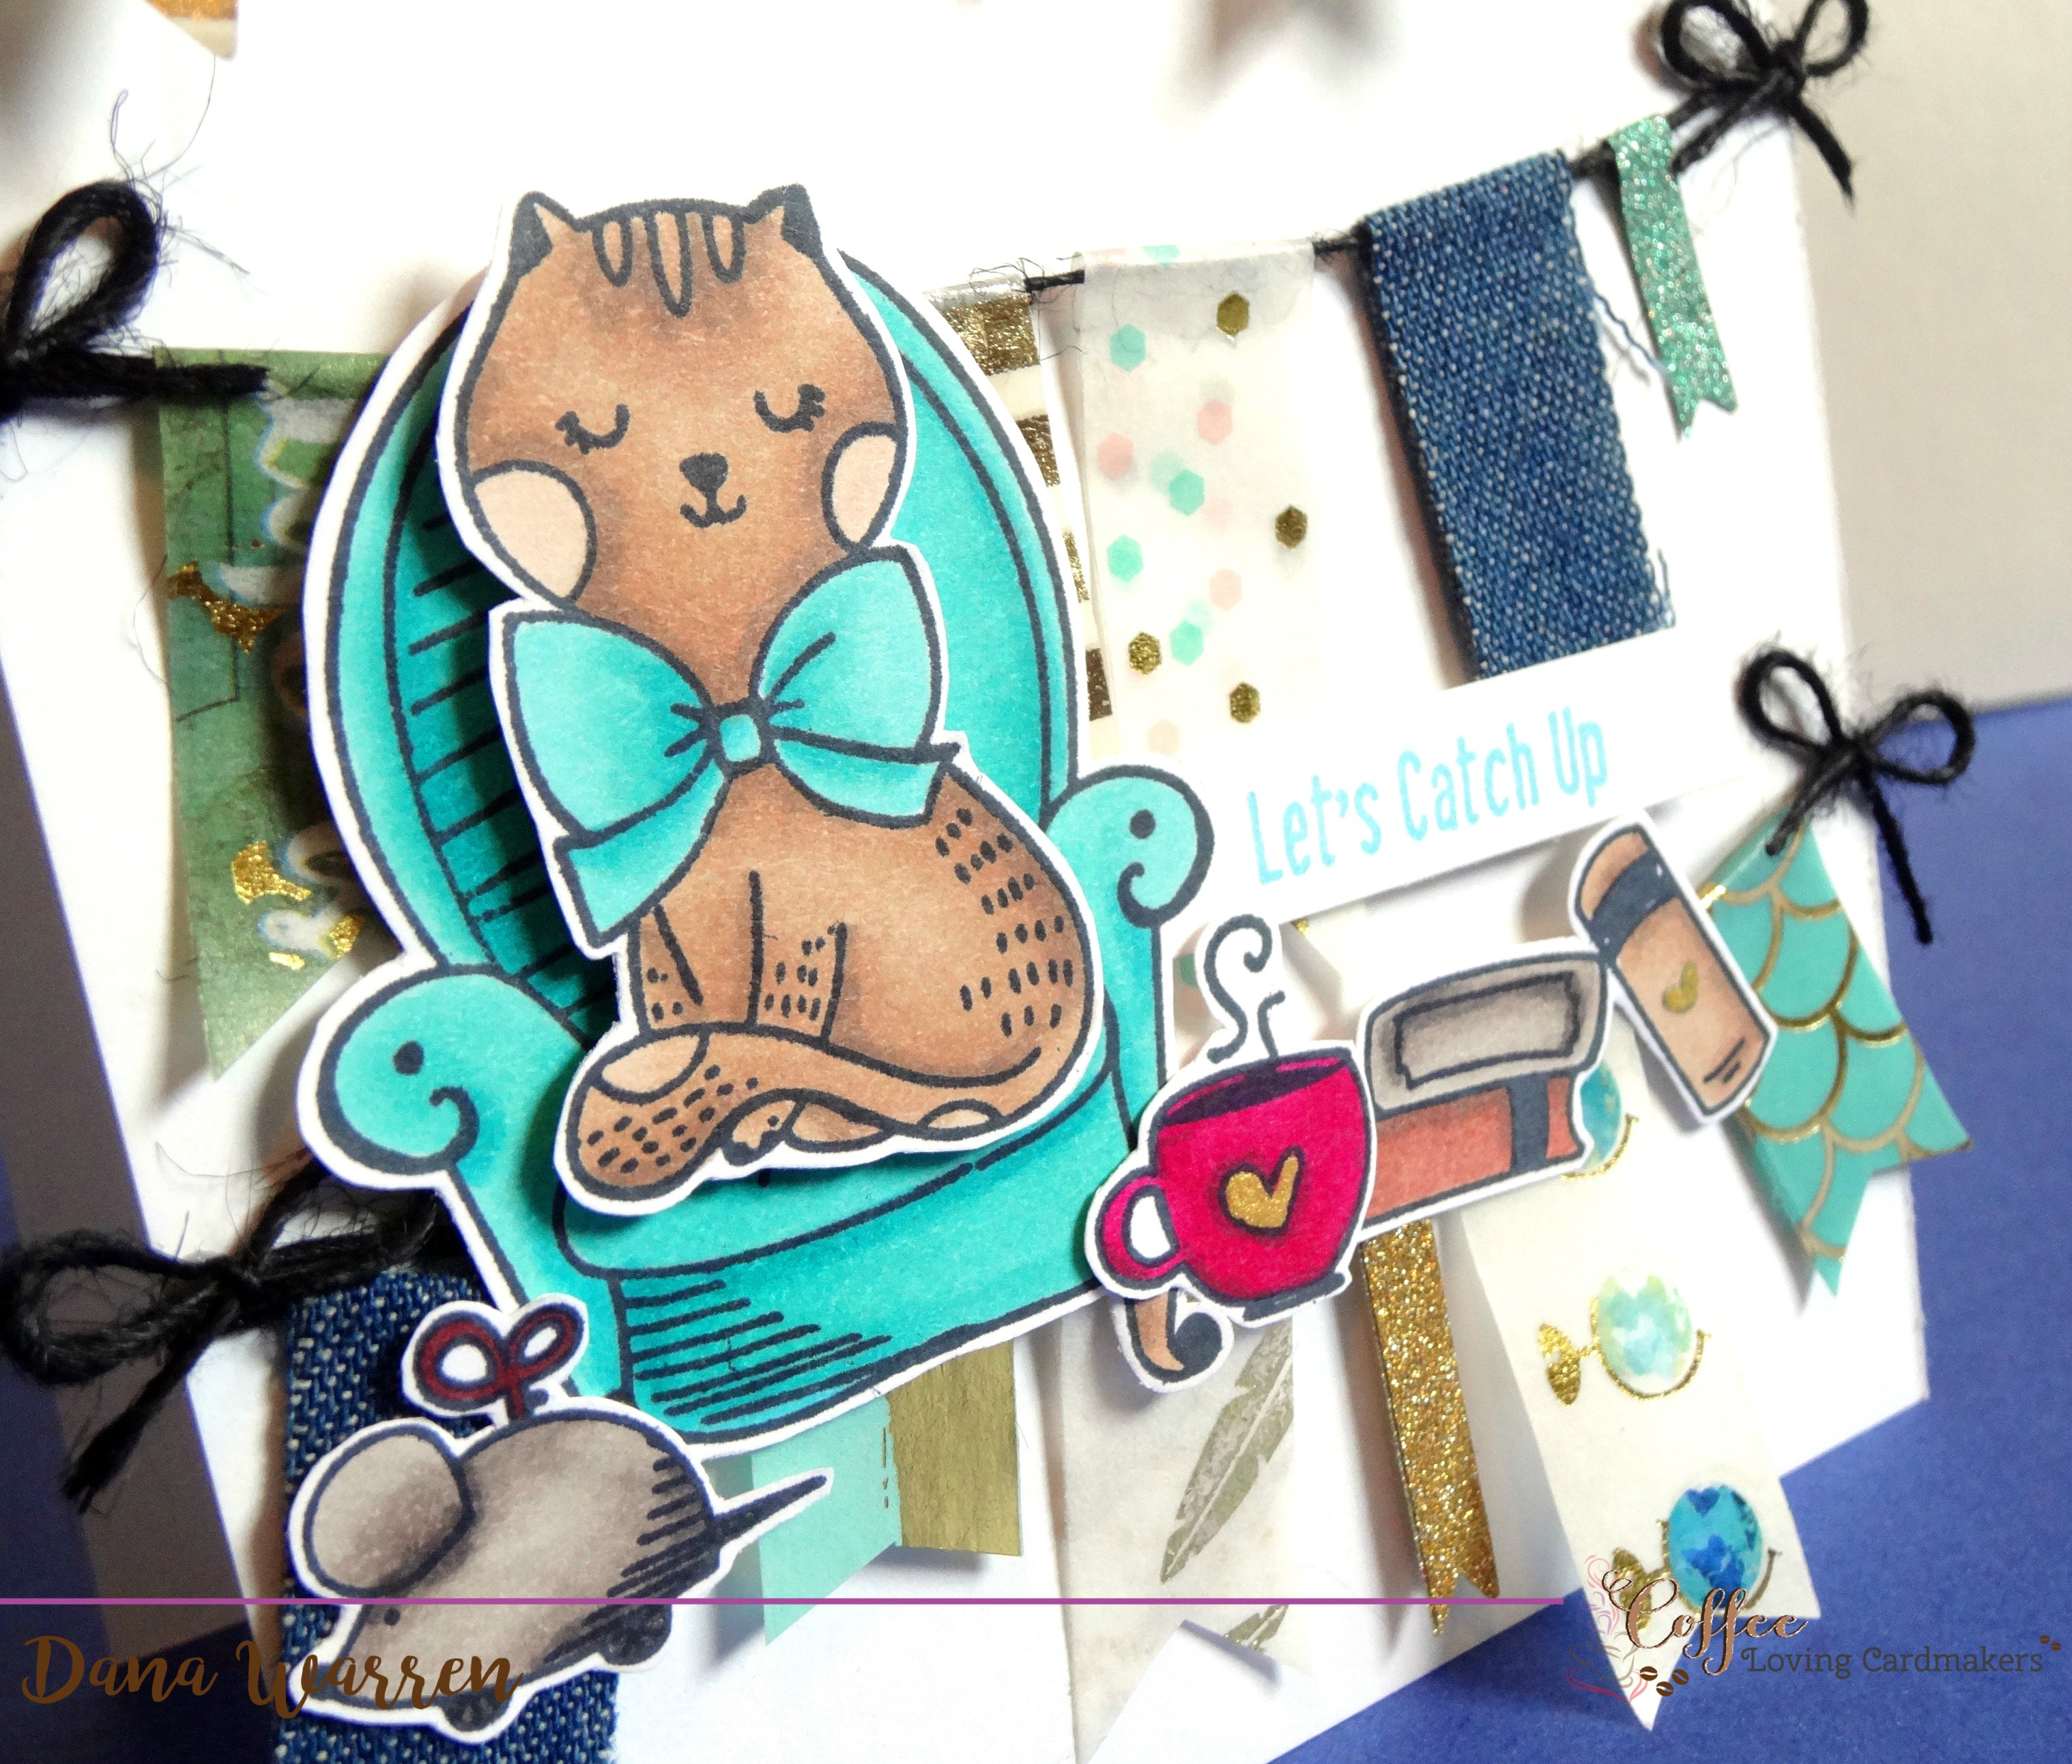
After adding enough washing tape across the twine I trimmed off the ragged edges and then notched the ends. I also varied the length of each washi banner. I did this two more times so I ended up with three banners across an A2 card base. With liquid adhesive, I adhered the twine to the card. While that dried I tied tiny bows and then added them on the twine at the cards edge.

Next, I pulled out Waffle Flowers Hello Stampurr and stamped several images from the set. Then I used my Spectrum Noir Markers to color them up. I picked aqua blues that would match the blues I used in the banners. I used: AB1, AB3, AB3, BG3, BG4, BG6, BG7, DR6, DR7, MB1, MB3, MB4, RB2, RB3, RB4. Also used some gold Smooches to color in the hearts on the coffee cup and book, its a little hard to see in the photos!
I added the cute kitty to the chair with foam tape. Then I added the chair and other images to the card on top of the banners. Last I stamped the Let’s Catch Up from The Greeting Farm Perk Up set. I found some aqua ink in my mom’s stash, but in retrospect probably should have tried to find a navy or just go with black!
Thanks so much for stopping by! I hope this inspires you to check out your decorative tape and use it!! LOL!! We all have plenty of it, right!!?! 🙂
Dana
Supplies
Stamps: Waffle Flower – Hello Stampurr. The Greeting Farm – Perk Up
Spectrum Noir Markers
May Arts Black Twine


Leave a reply to Fikreta Cancel reply