Hello Coffee lovers!!
It’s Dana here with a new installment of Brew & Craft Your Stash!! Grab your cup, sit back and get ready for some Stitching and Sewing ideas!! If this is the first time you are seeing my feature or need a refresher, click here for my very first post, it gives a little background explanation of my feature!!
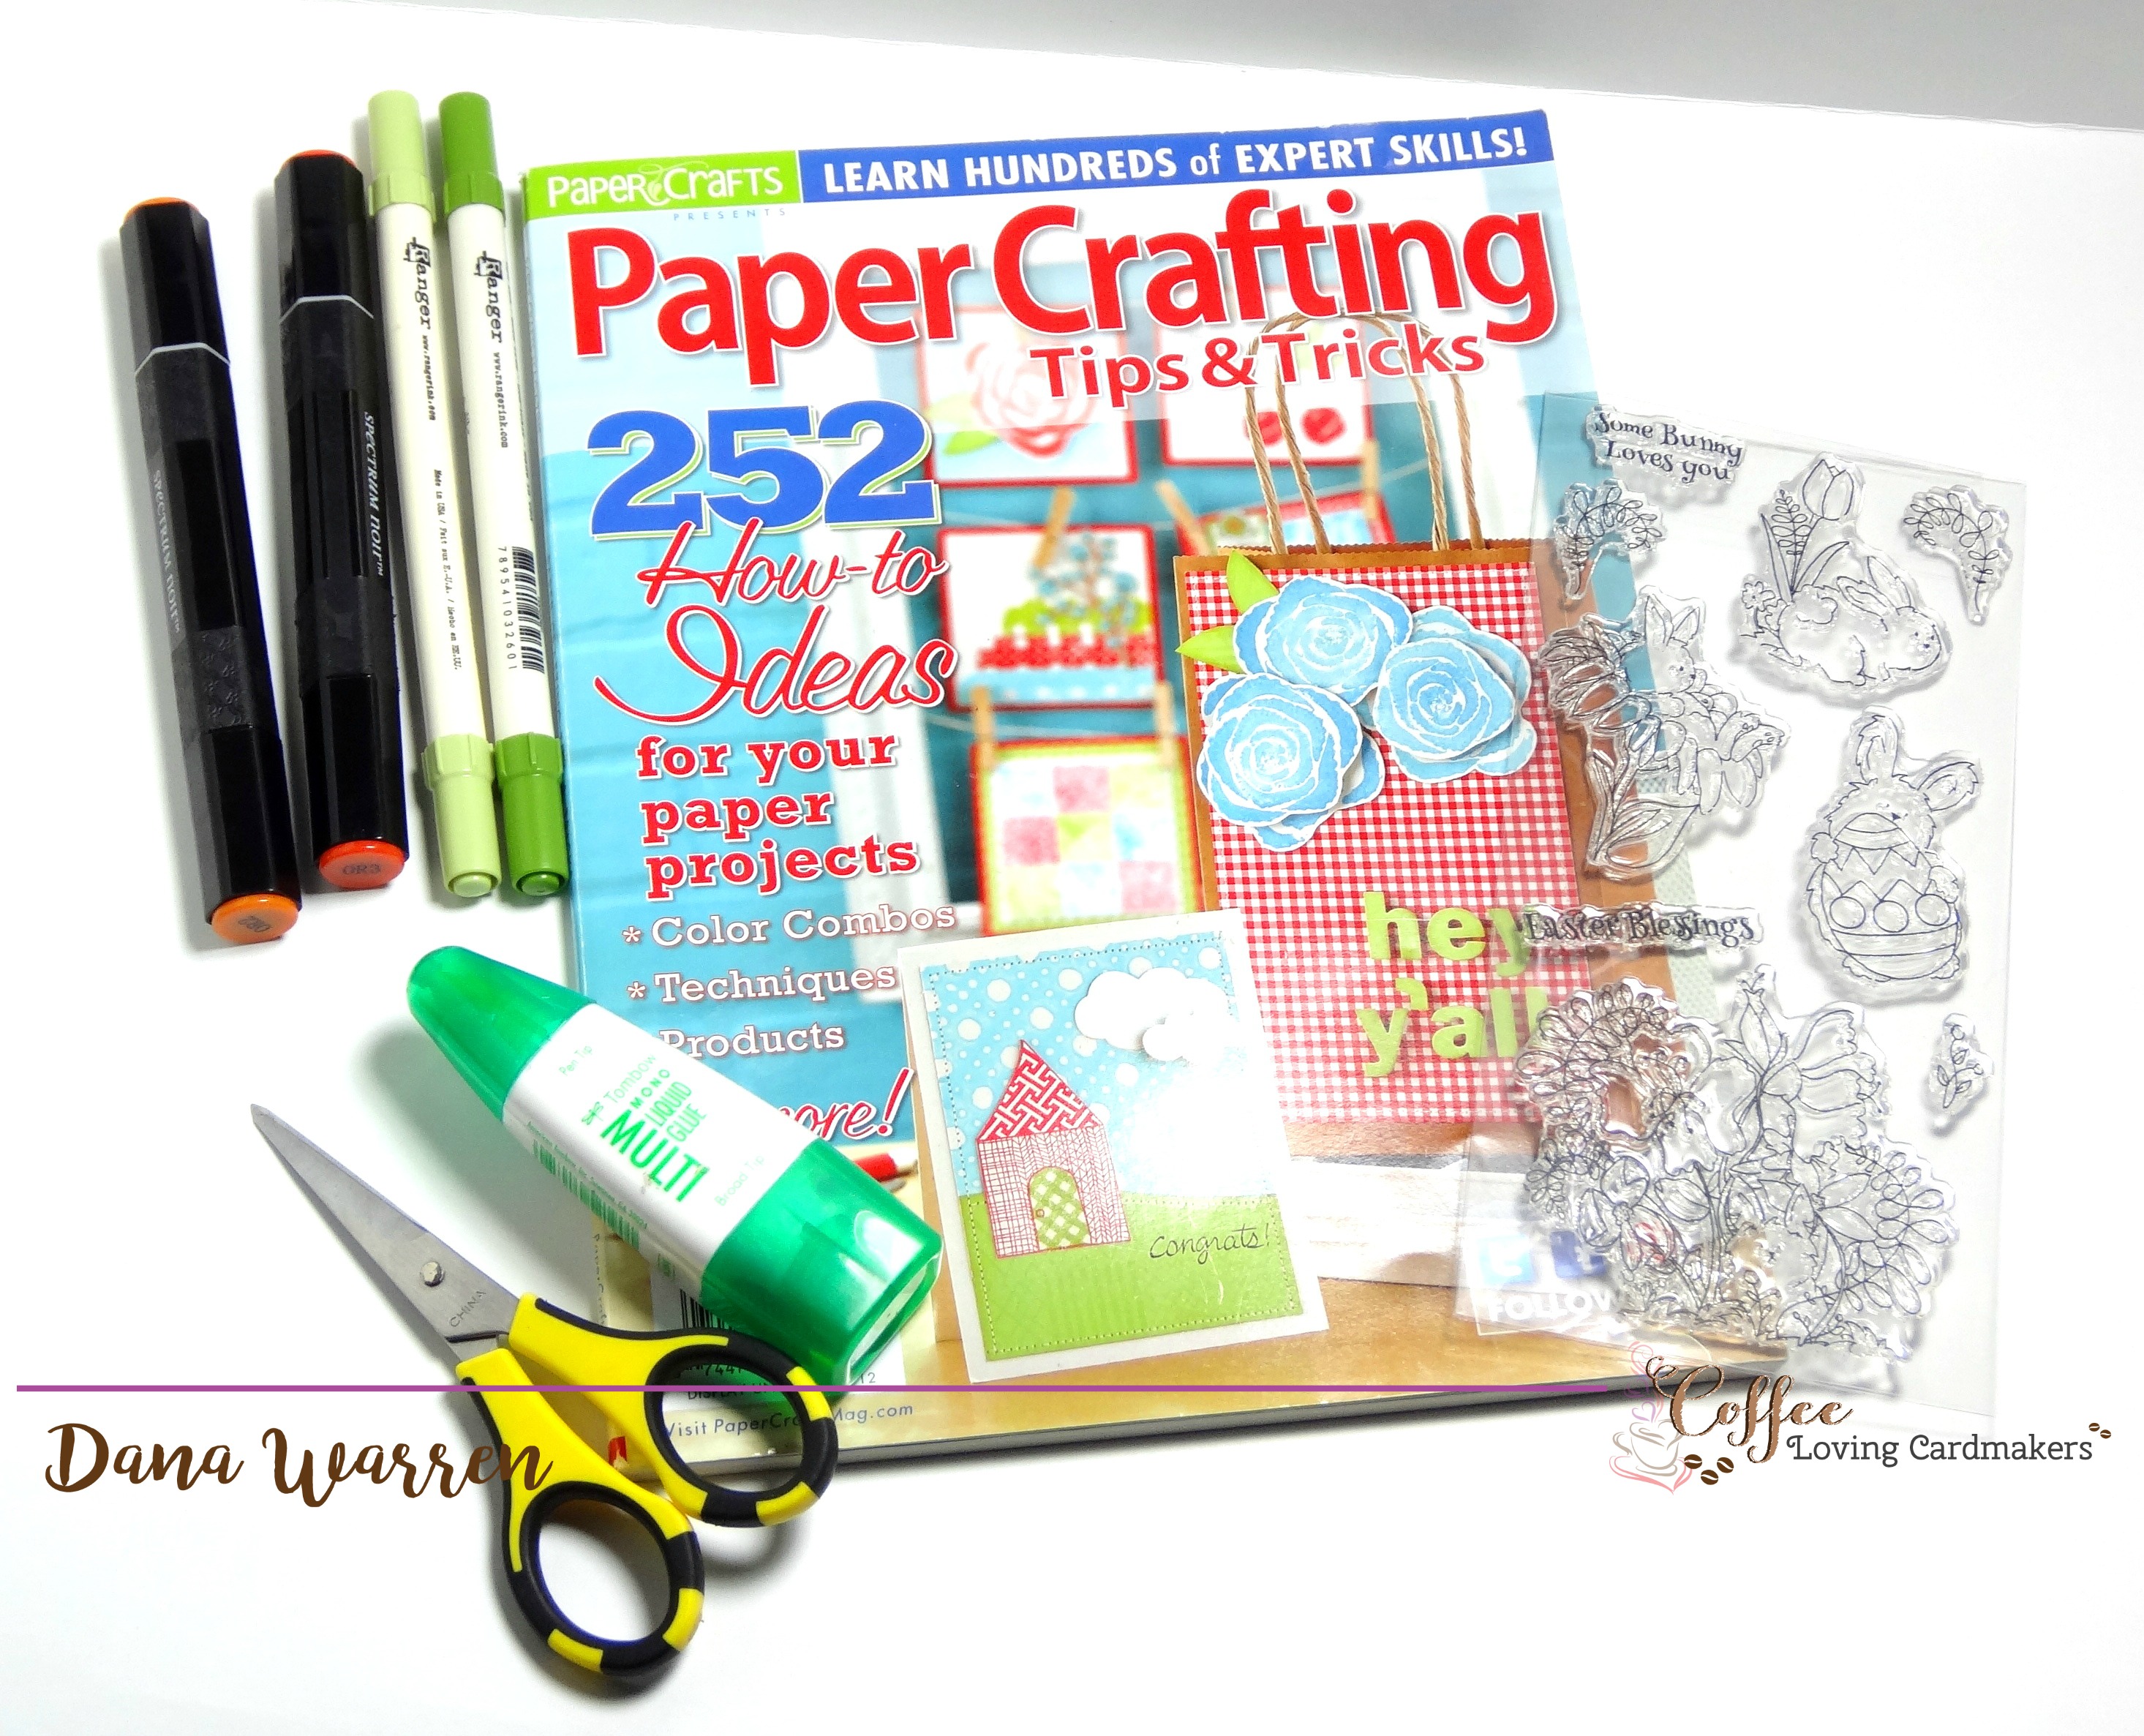
We are making our rounds to the Applying Techniques section in Paper Crafting Tips & Tricks 2012 magazine looking at Stitching and Sewing ideas. Now I don’t know about you but when I saw the next technique was stitching, I was like hmm this seems really familiar!! I checked back through my previous posts and I have done 6 stitching themed posts!! Seems like the Paper Crafting Magazine really liked stitching!! Courtney Kelley has some ideas for Stitching & Sewing (some I’ve already done the past 6 stitching posts 🙂 !!! )
- Dress up embellishments by stitching on them or around them
- Add stitching to pattern paper
- Cross stitch a design on paper
- Use a sewing machine and stitch pattern paper together to make a paper quilt.
- Create texture with crazy machine stitching on paper
- Stitch over your sentiment, stamped or embellishment sentiments.
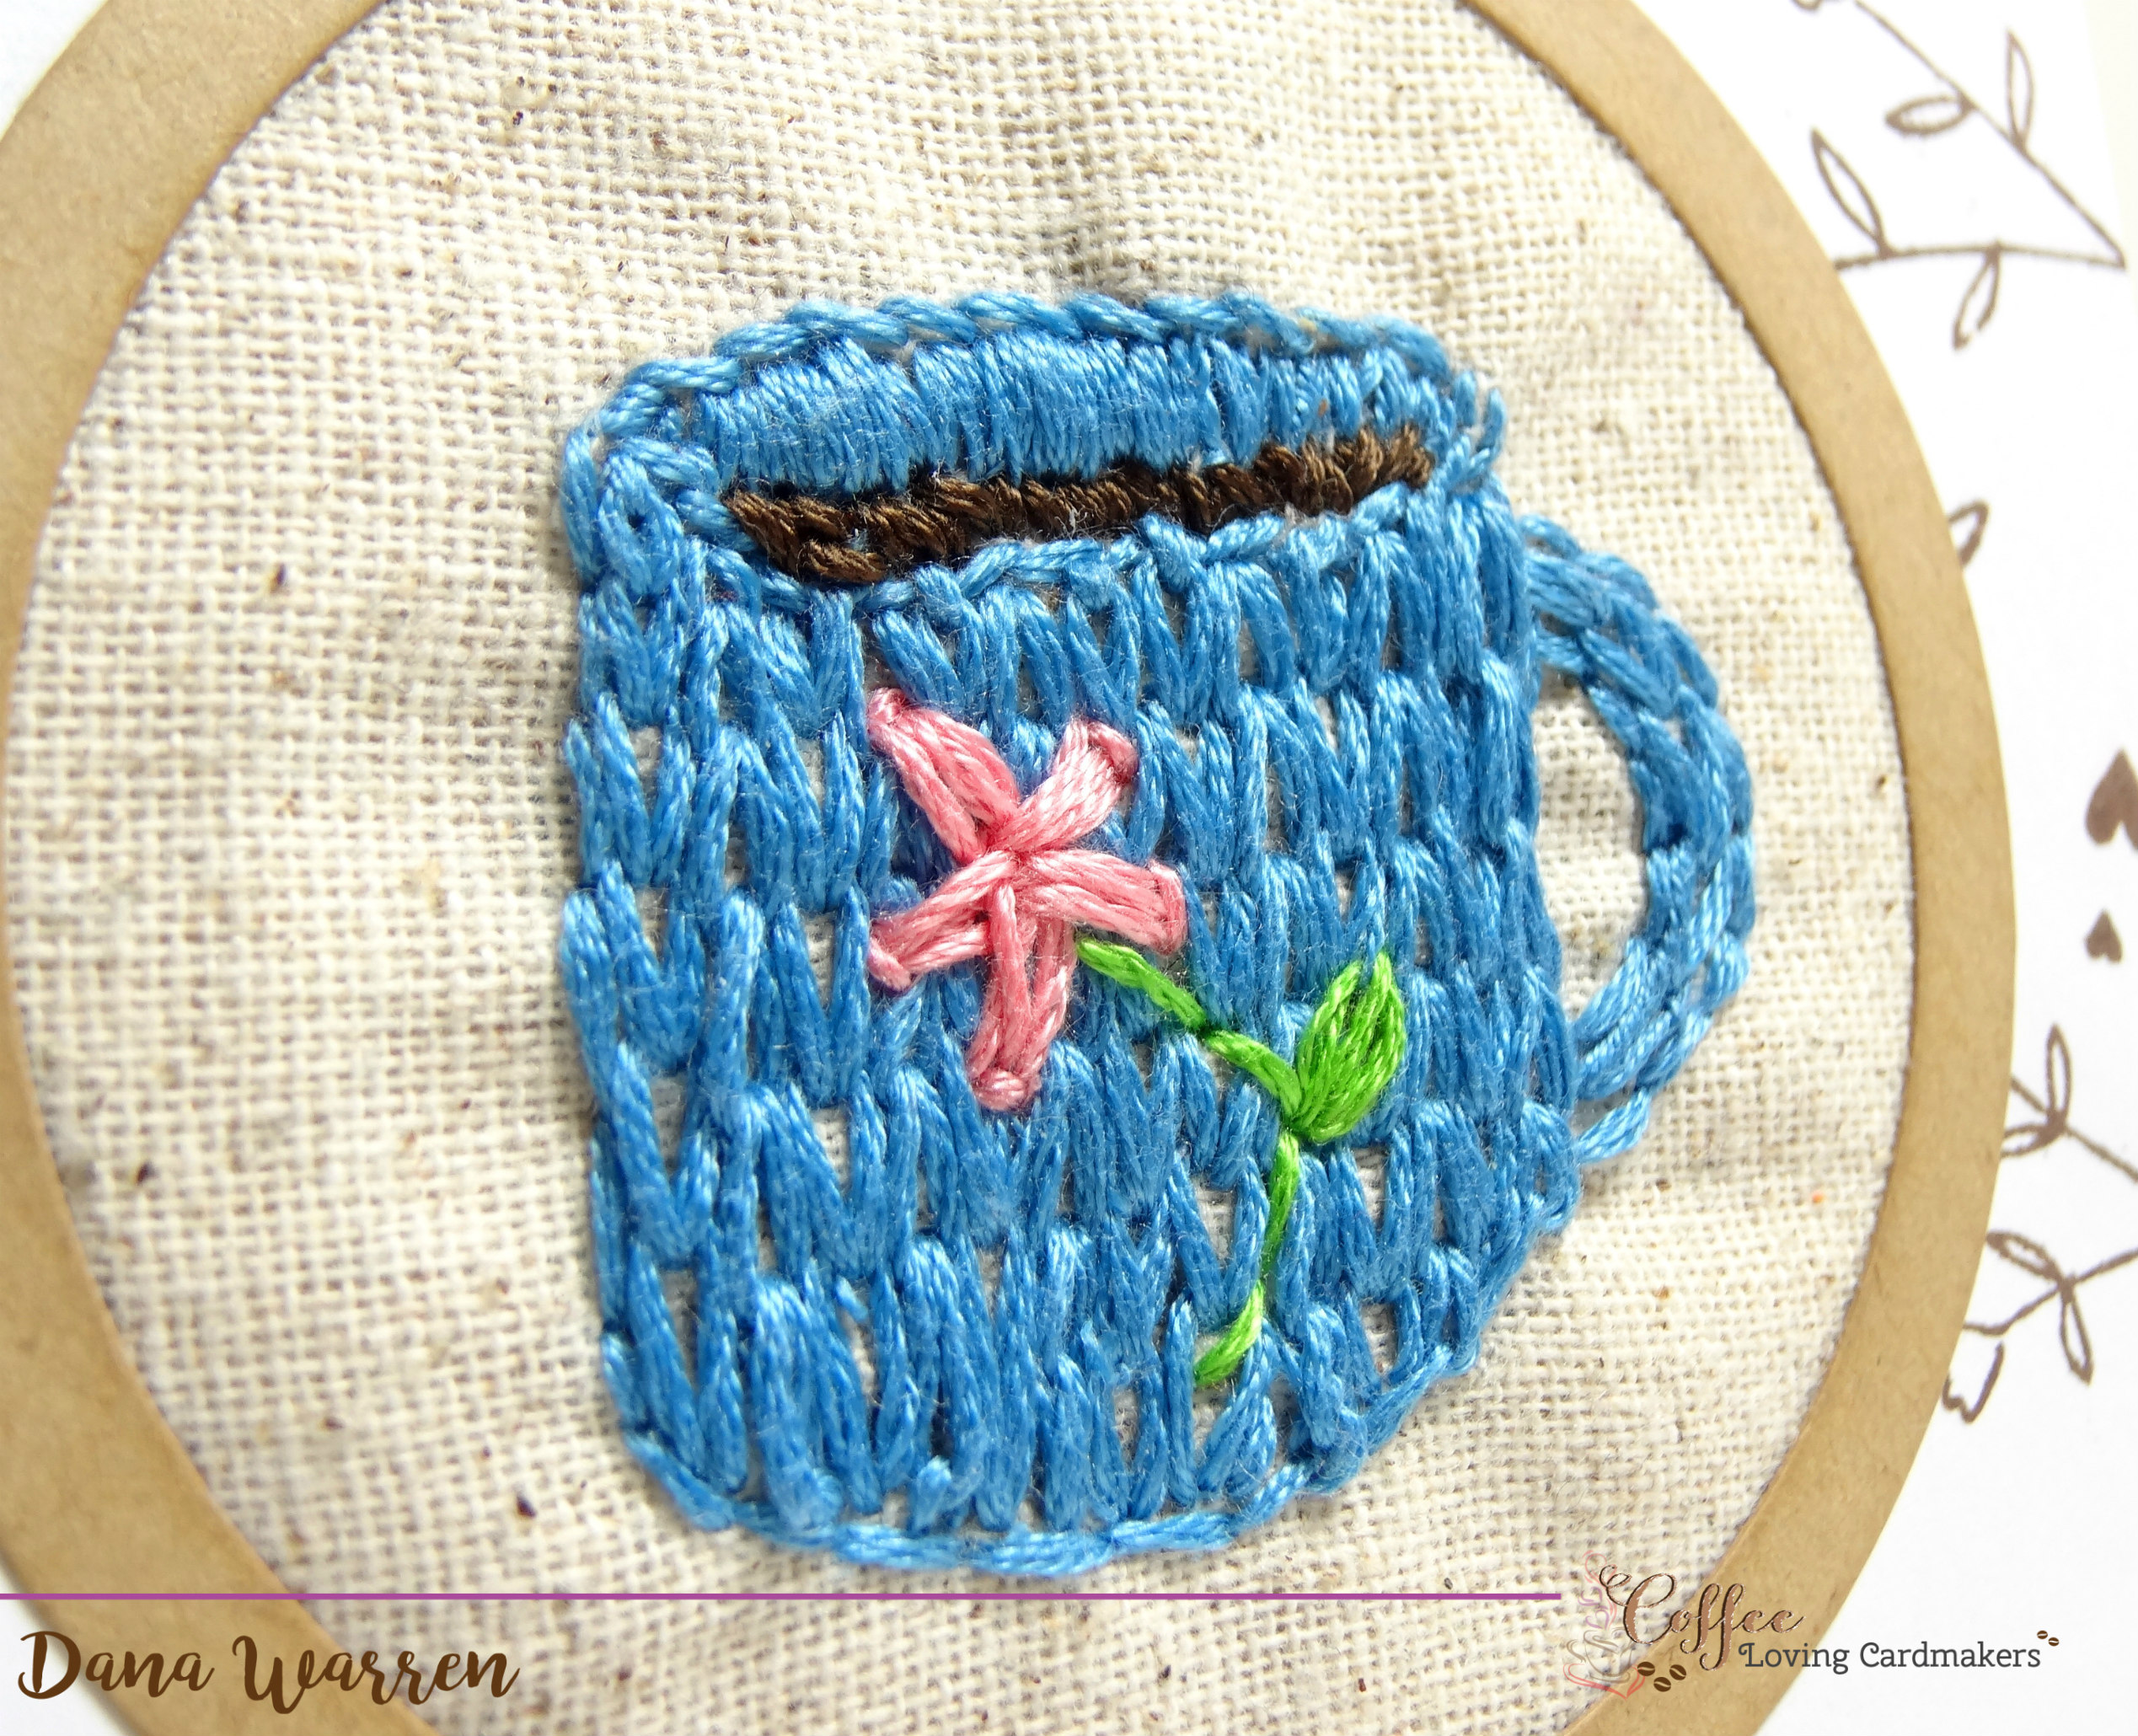
So since I’ve done a lot of stitching on cards, I thought about what could I do that was different? After much thought, it came to me! Embroidery! I’m a Cross Stitcher so embroidery is outside my comfort zone!!
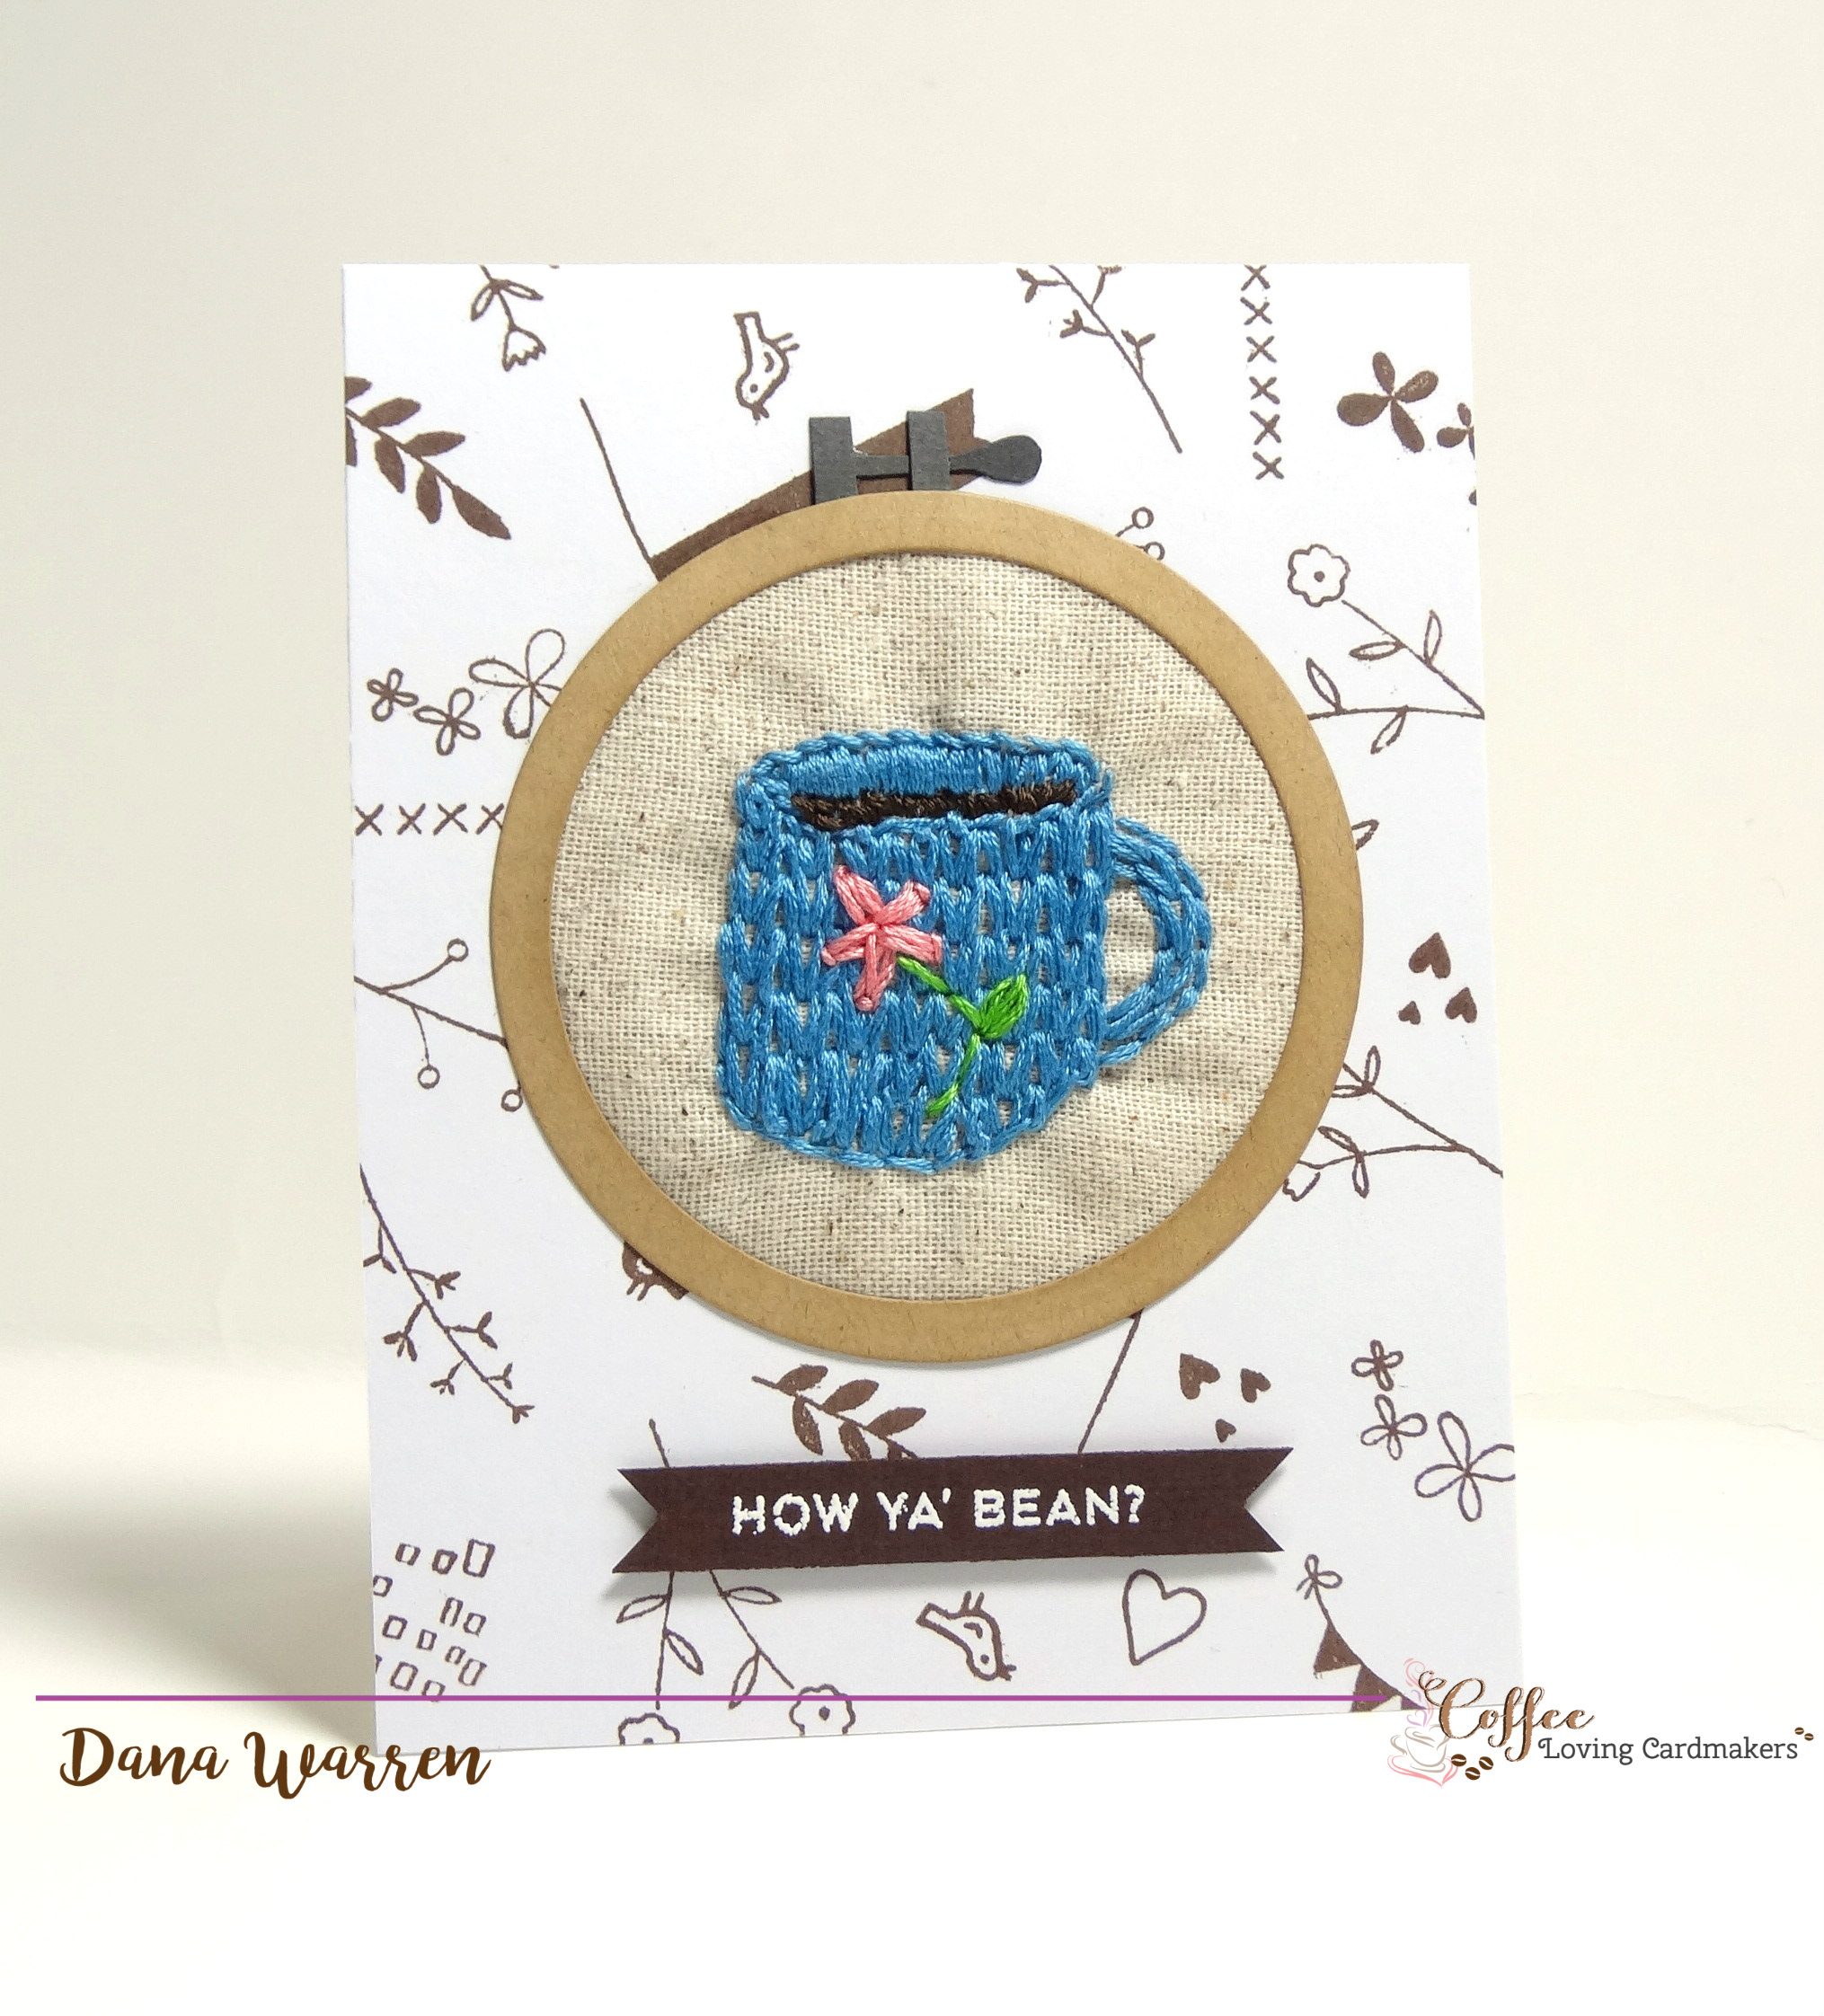
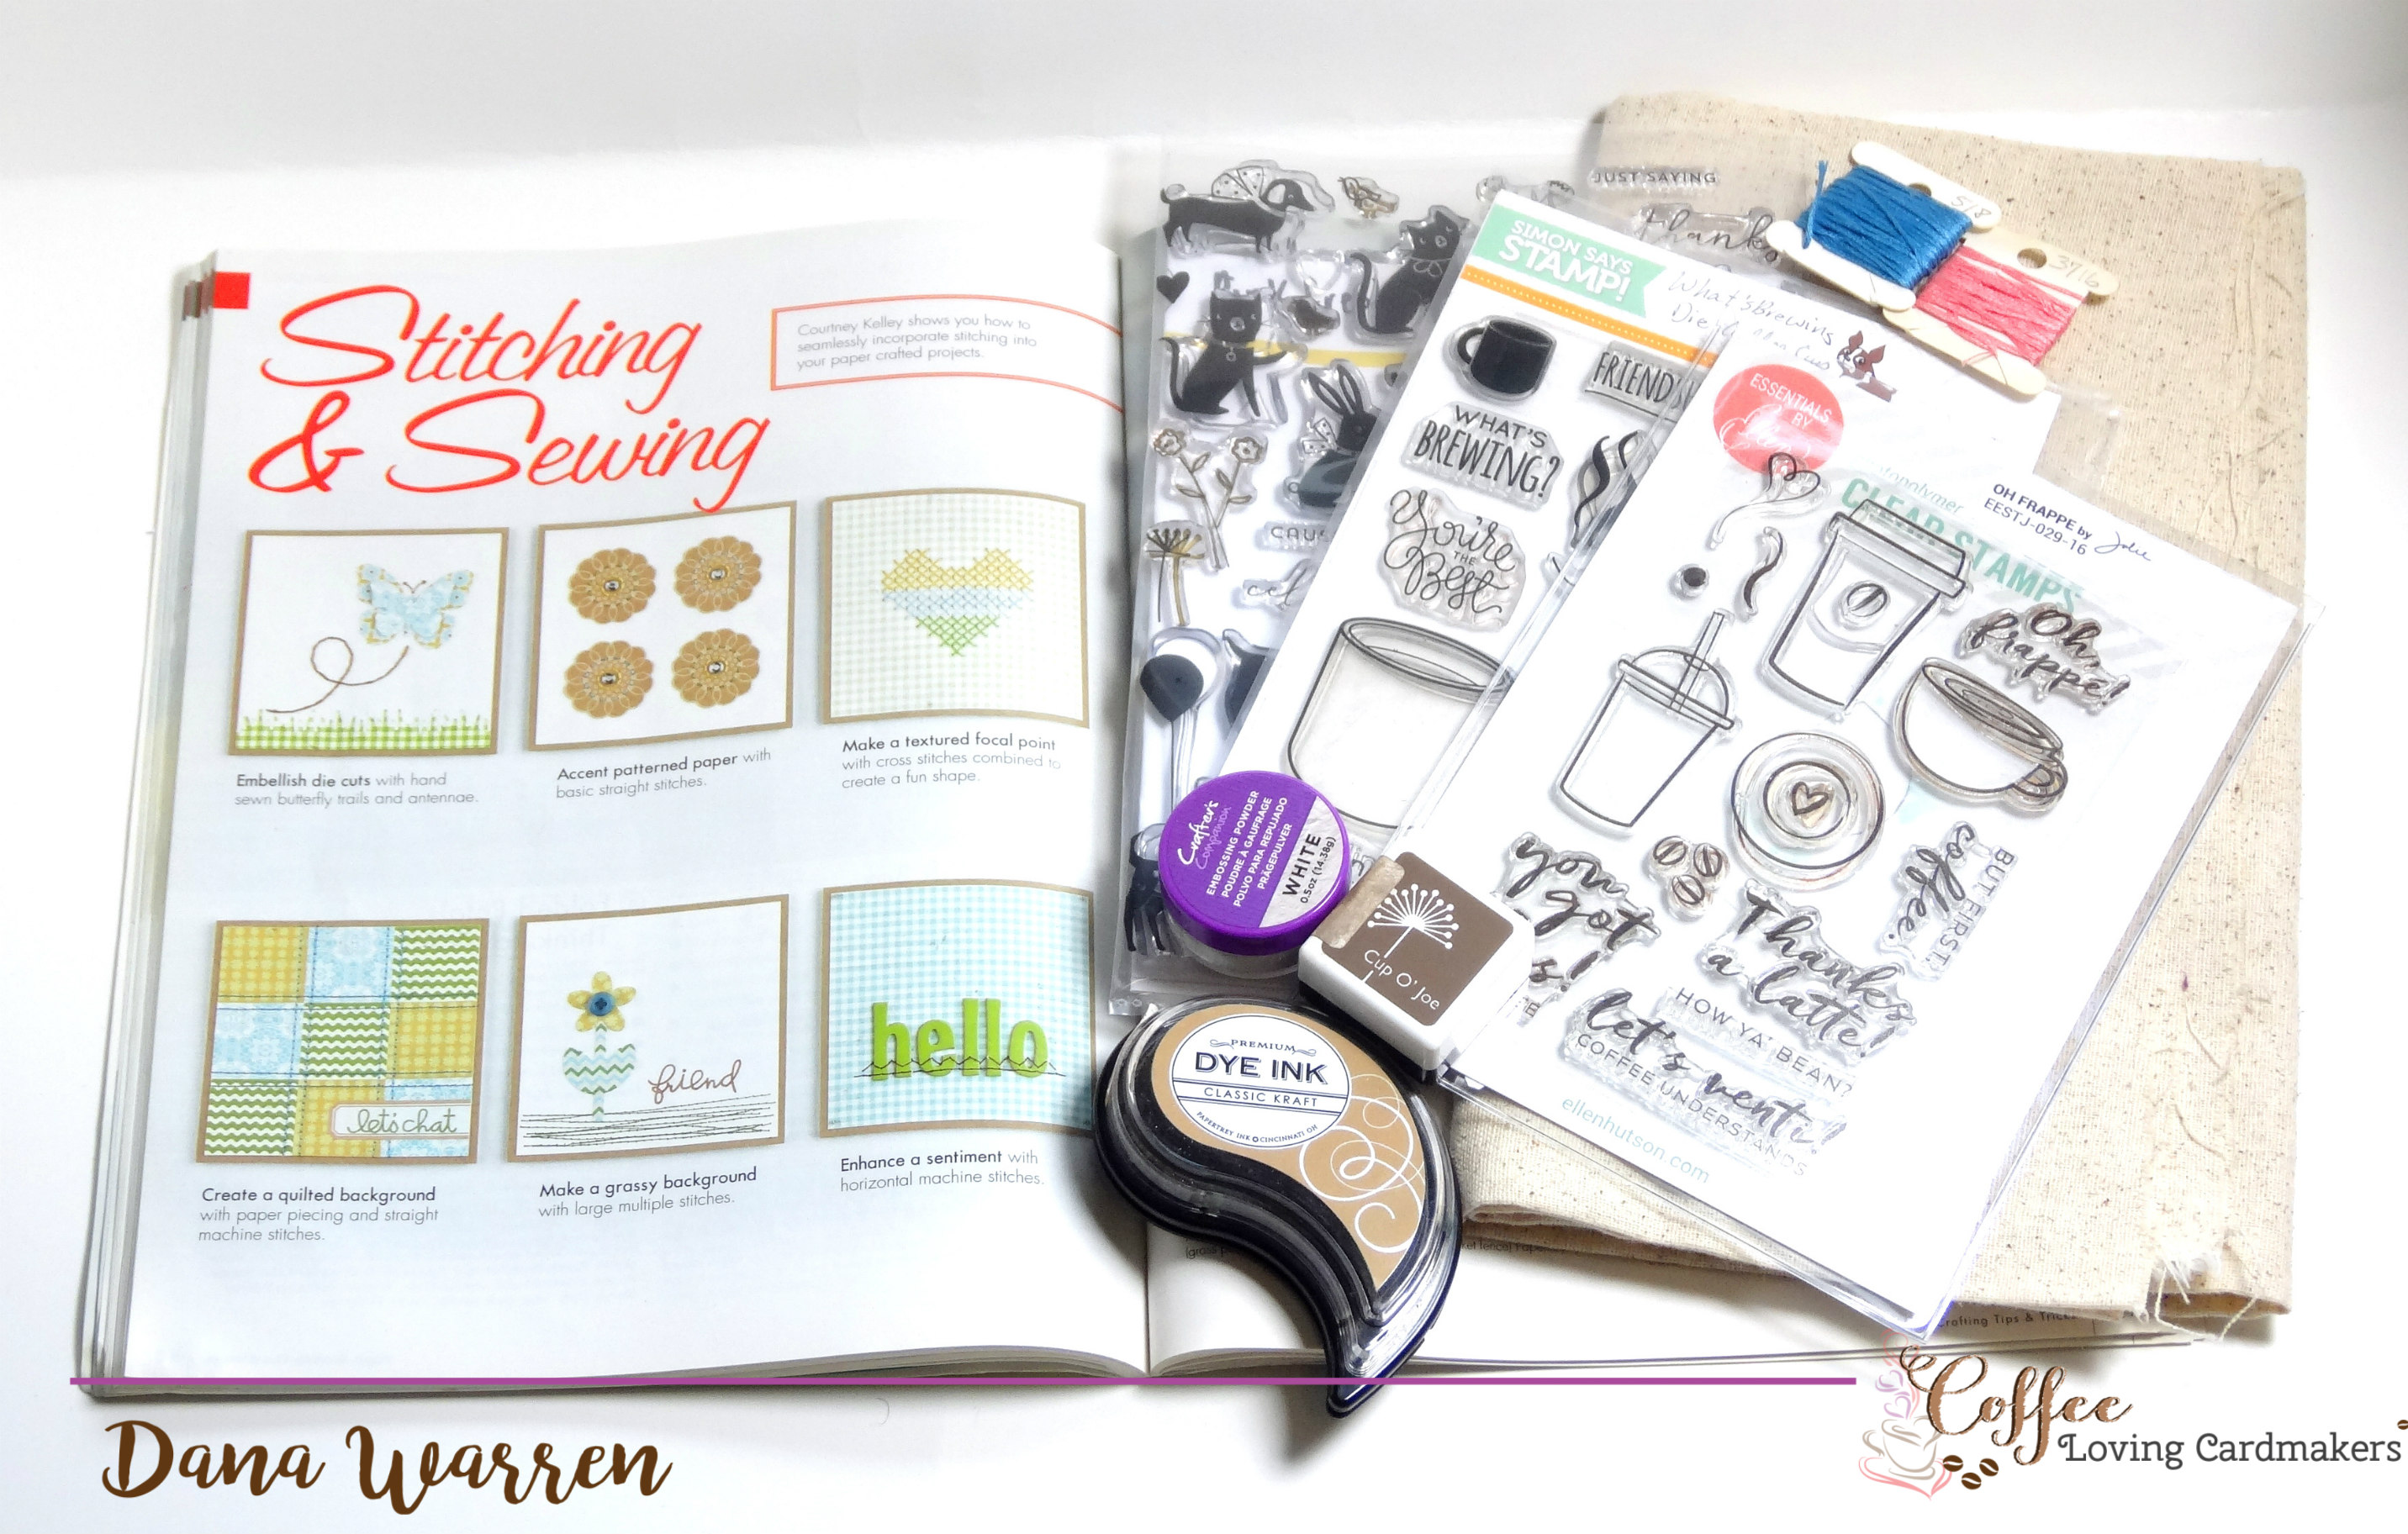
I started with evenweave fabric from my stash and Simon Says Stamp What’s Brewing stamp set. I used a light brown ink to stamp the coffee mug on a bit of fabric. Then I got to stitching: a little straight stitching, satin stitches, and chain stitching. Don’t look too closely, my embroidery skills are a little lacking!! I used DMC threads 518, 703, 3031, 3716.
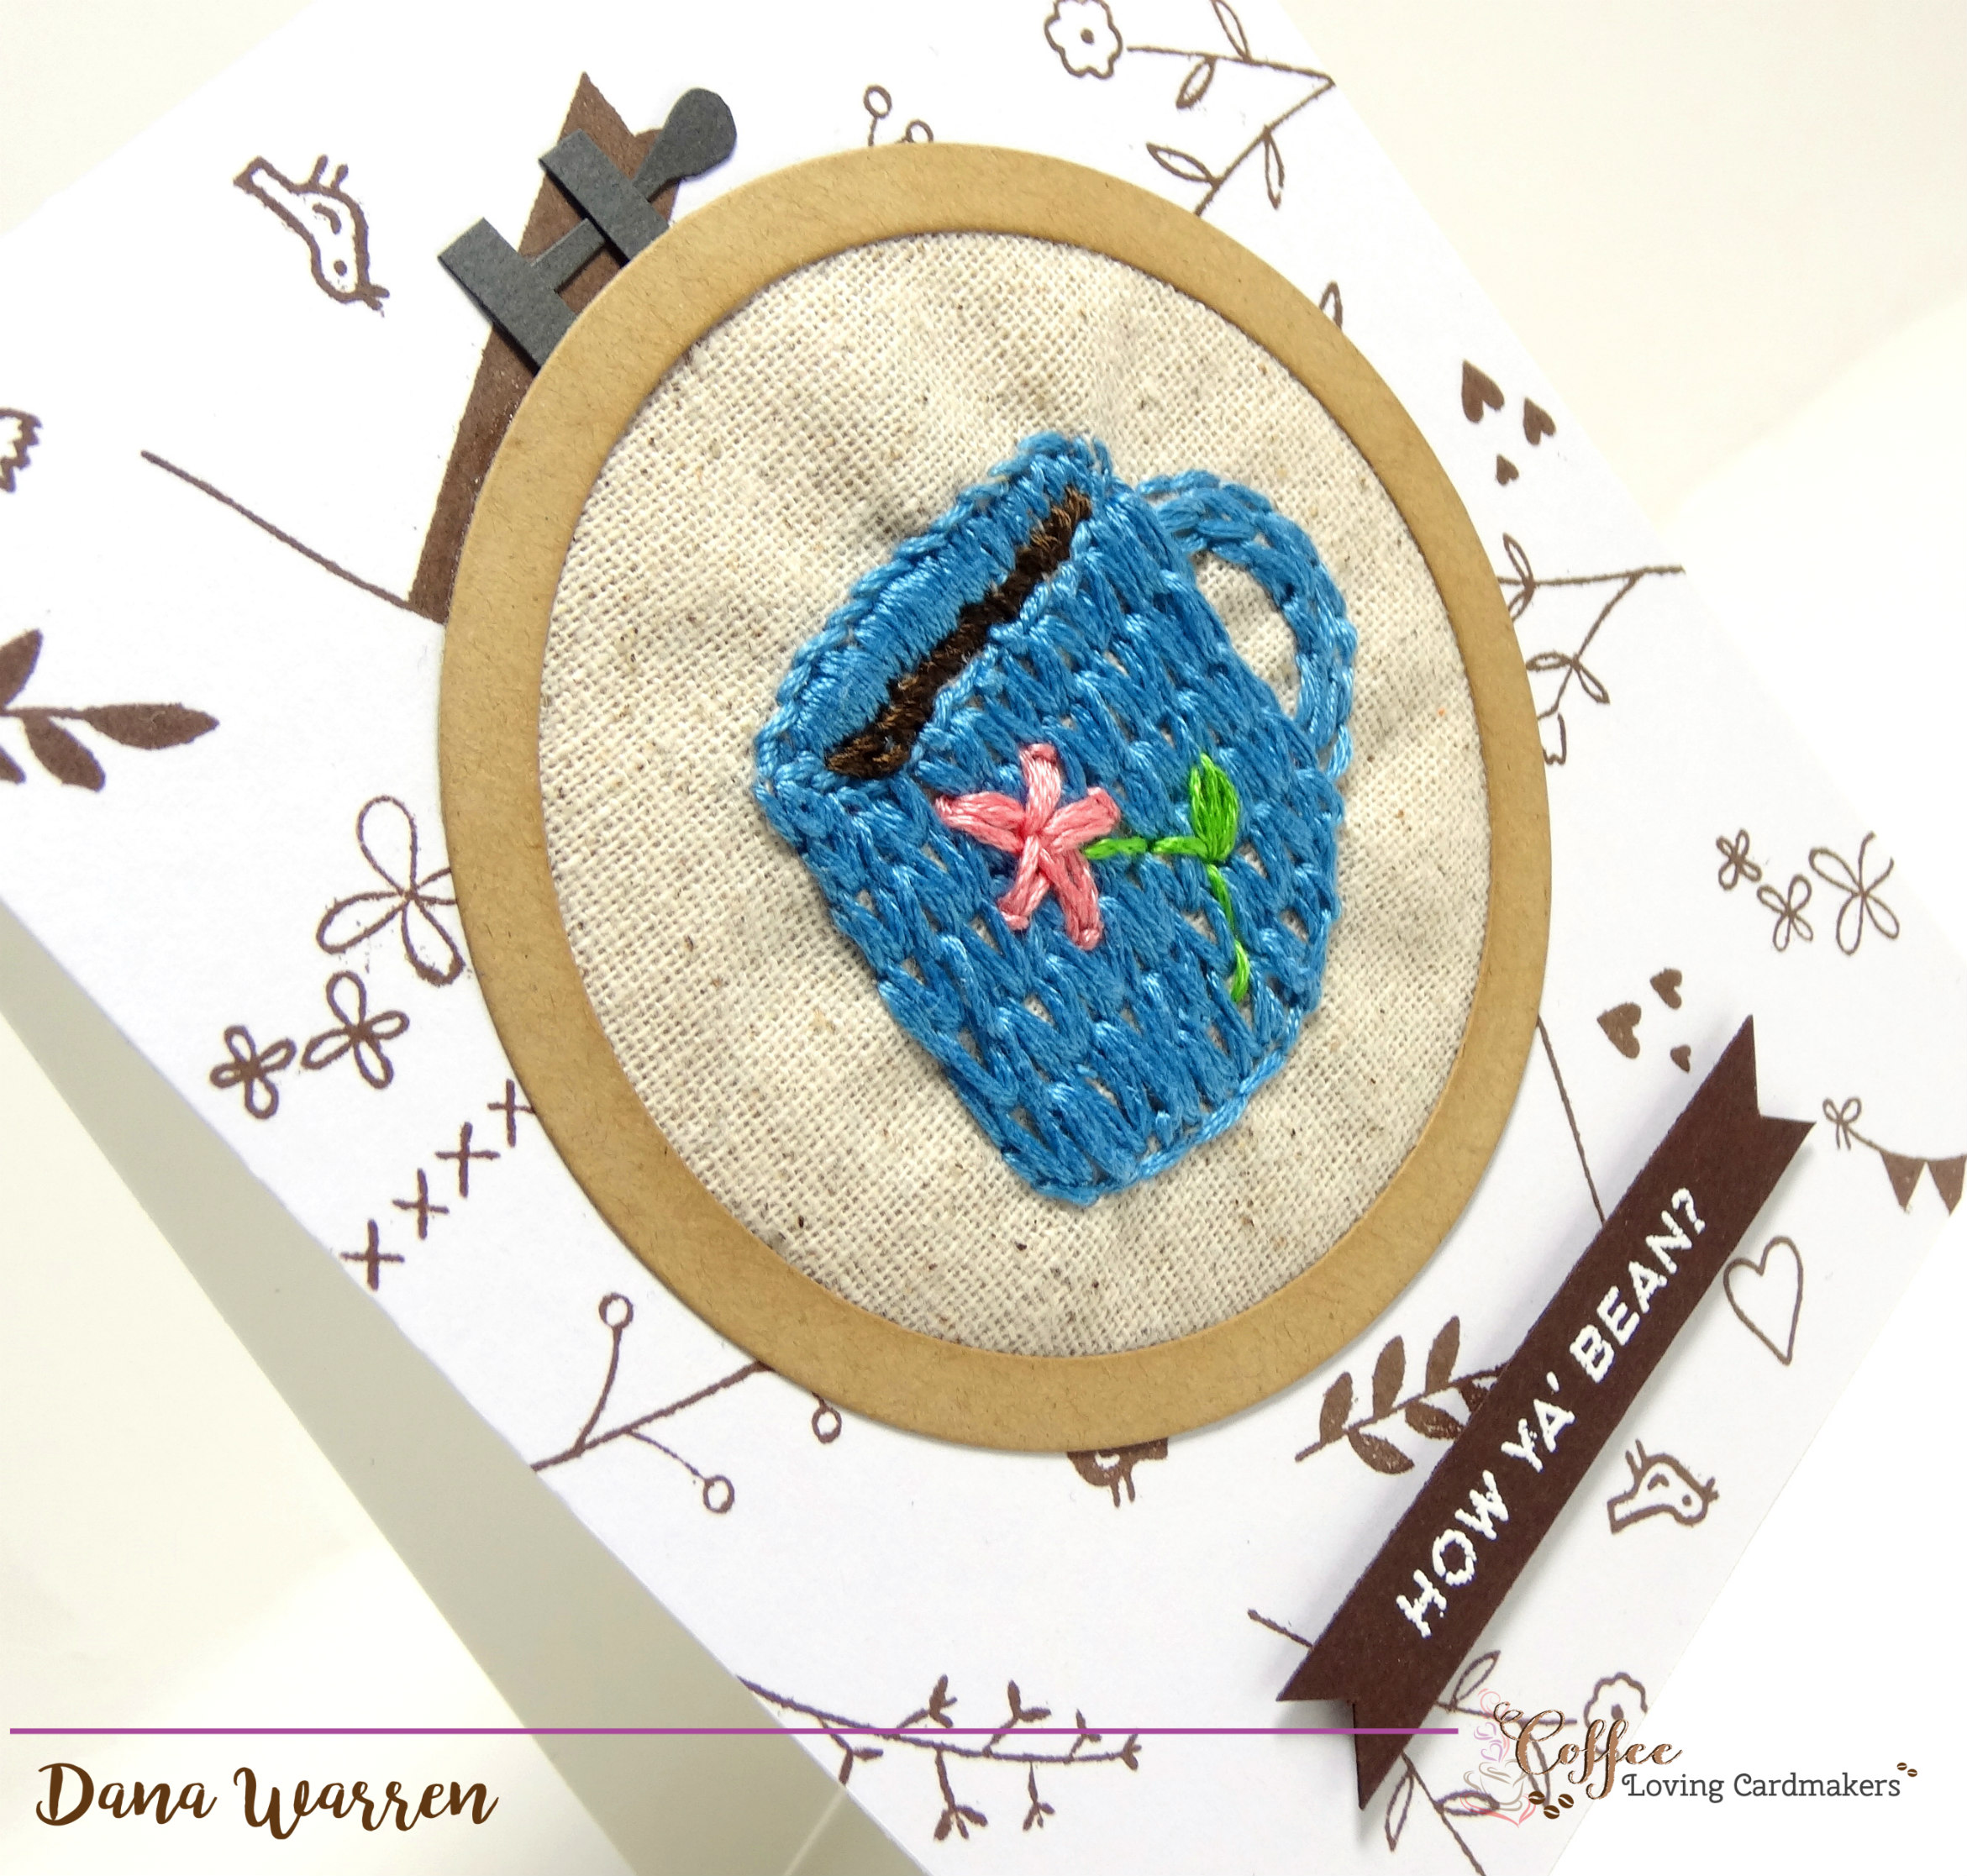
After my stitching was complete I used a circle dies to cut out some thick chipboard. I get mine from packaging, so I use whatever I have saved. Then I added some liquid adhesive to the back of the stitching and centered it on the chipboard circle. A few clear blocks on top to weigh it down and I left it to dry.
Next, pulled out Pinkfresh Studio Playful Animal Friends 2 stamp set and arranged most of the small flower, hearts and leaf images. I was going for a spring-ish look, so I didn’t use the presents or ballon. I used my MISTI to arrange them over a white panel. With a dark brown ink, I stamped them over about half of the panel, a quick clean and rearrangement to stamp the other half.
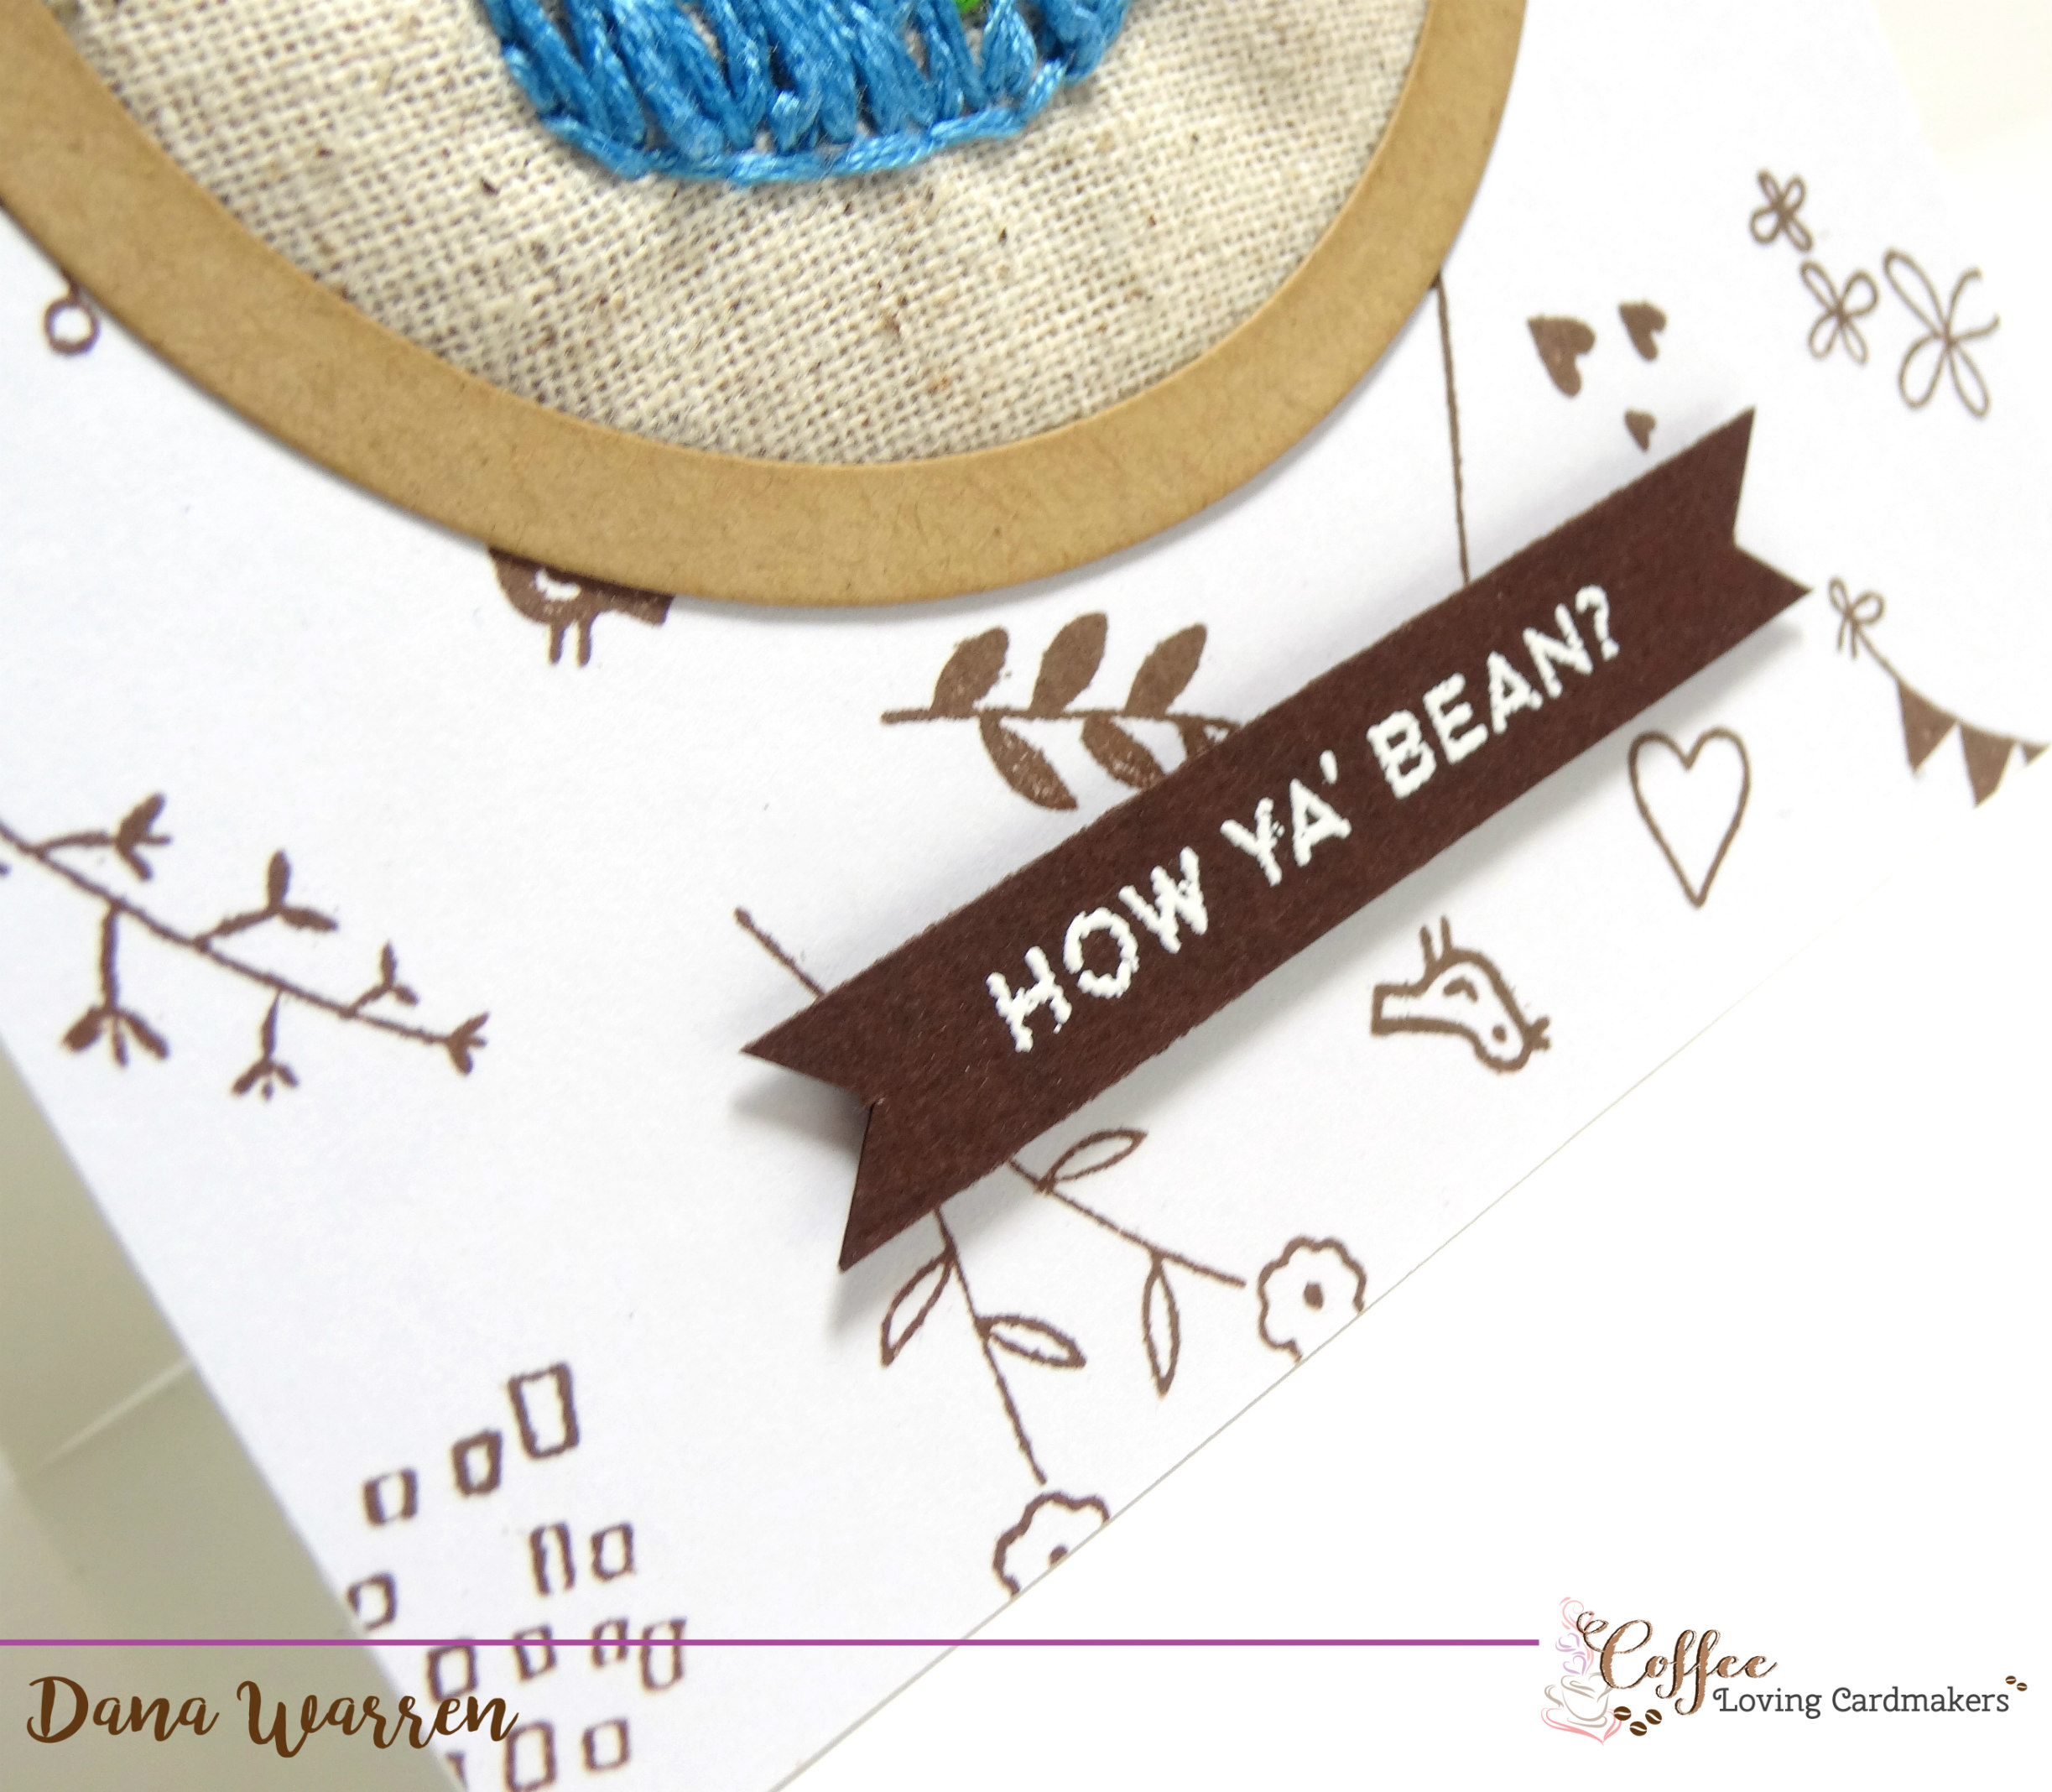
Then I used Essentials by Ellen Oh Frappe stamp set to stamp and emboss the How Ya’ Bean? on brown cardstock. I trimmed it down and notched both ends.
With two circle dies I created a circle frame from two circles dies. I inked it up a little bit to make it a touch darker. From gray cardstock, I cut two small rectangles and a smaller piece to look like a screw. I adhered these to the back of the frame. After trimming off the access fabric around the chipboard circle I adhered it to my stamped panel. Then I added the frame over the stitched with liquid adhesive, and more clear blocks to hold the edges down while the glue dried. I added the sentiment below the stitch hoop with foam tape.

So here you have it another stitching idea for your card making!! I don’t know how much more stitching themed techniques are in the magazine, but I would think we probably covered them all!! 🙂
Dana
Supplies
Stamps: Essentials by Ellen – Oh Frappe, Simon Says Stamps – What’s Brewing, Pinkfresh Studio – Playful Animal Friends 2.
Ink: Papertrey Ink – Classic Kraft, Hero Arts – Cup O’ Joe
Embossing Powder: Crafter’s Companion – White
Spellbinder Dies
Cardstock: Crafter’s Companion Kraft cardstock
DMC Thread


Leave a Reply – please note that comments are moderated