Hello!
Dana here with a new installment of Brew & Craft Your Stash!! Grab that coffee or tea from your stash and read on for some great marker ideas!! If this is the first time you are seeing my feature or need a refresher, click here for my very first post, it gives a little background explanation on my feature!!
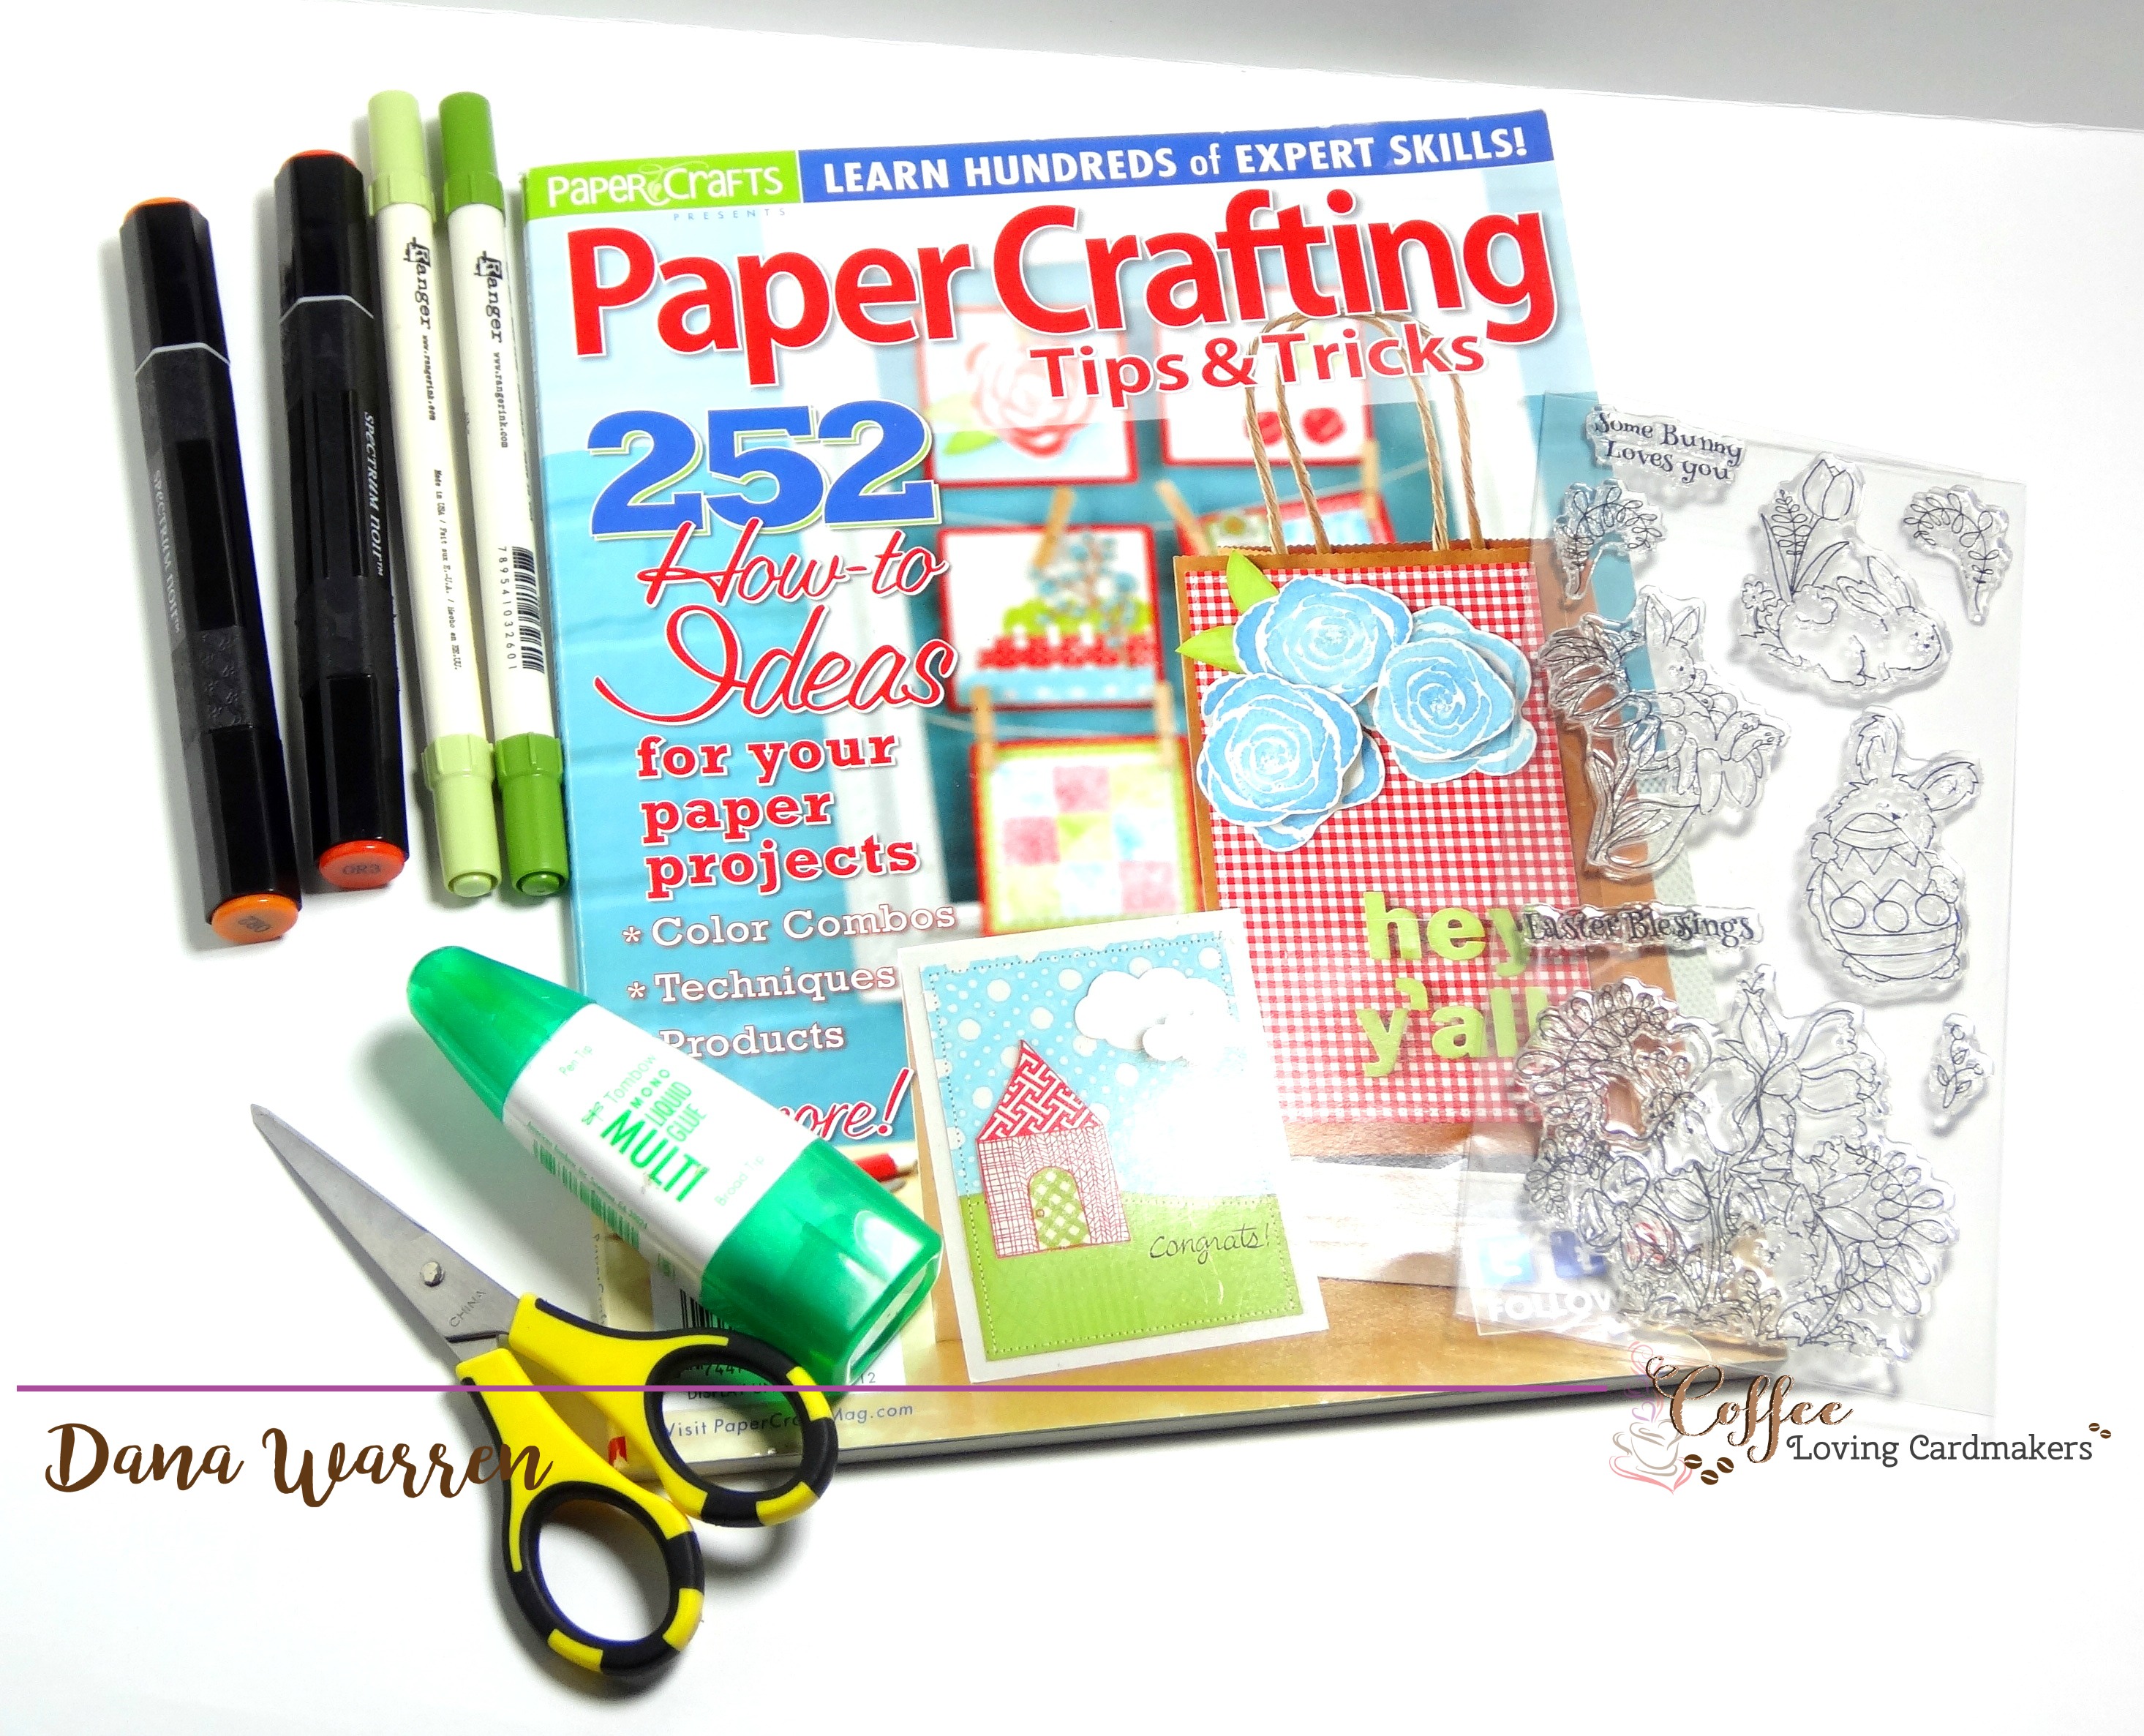
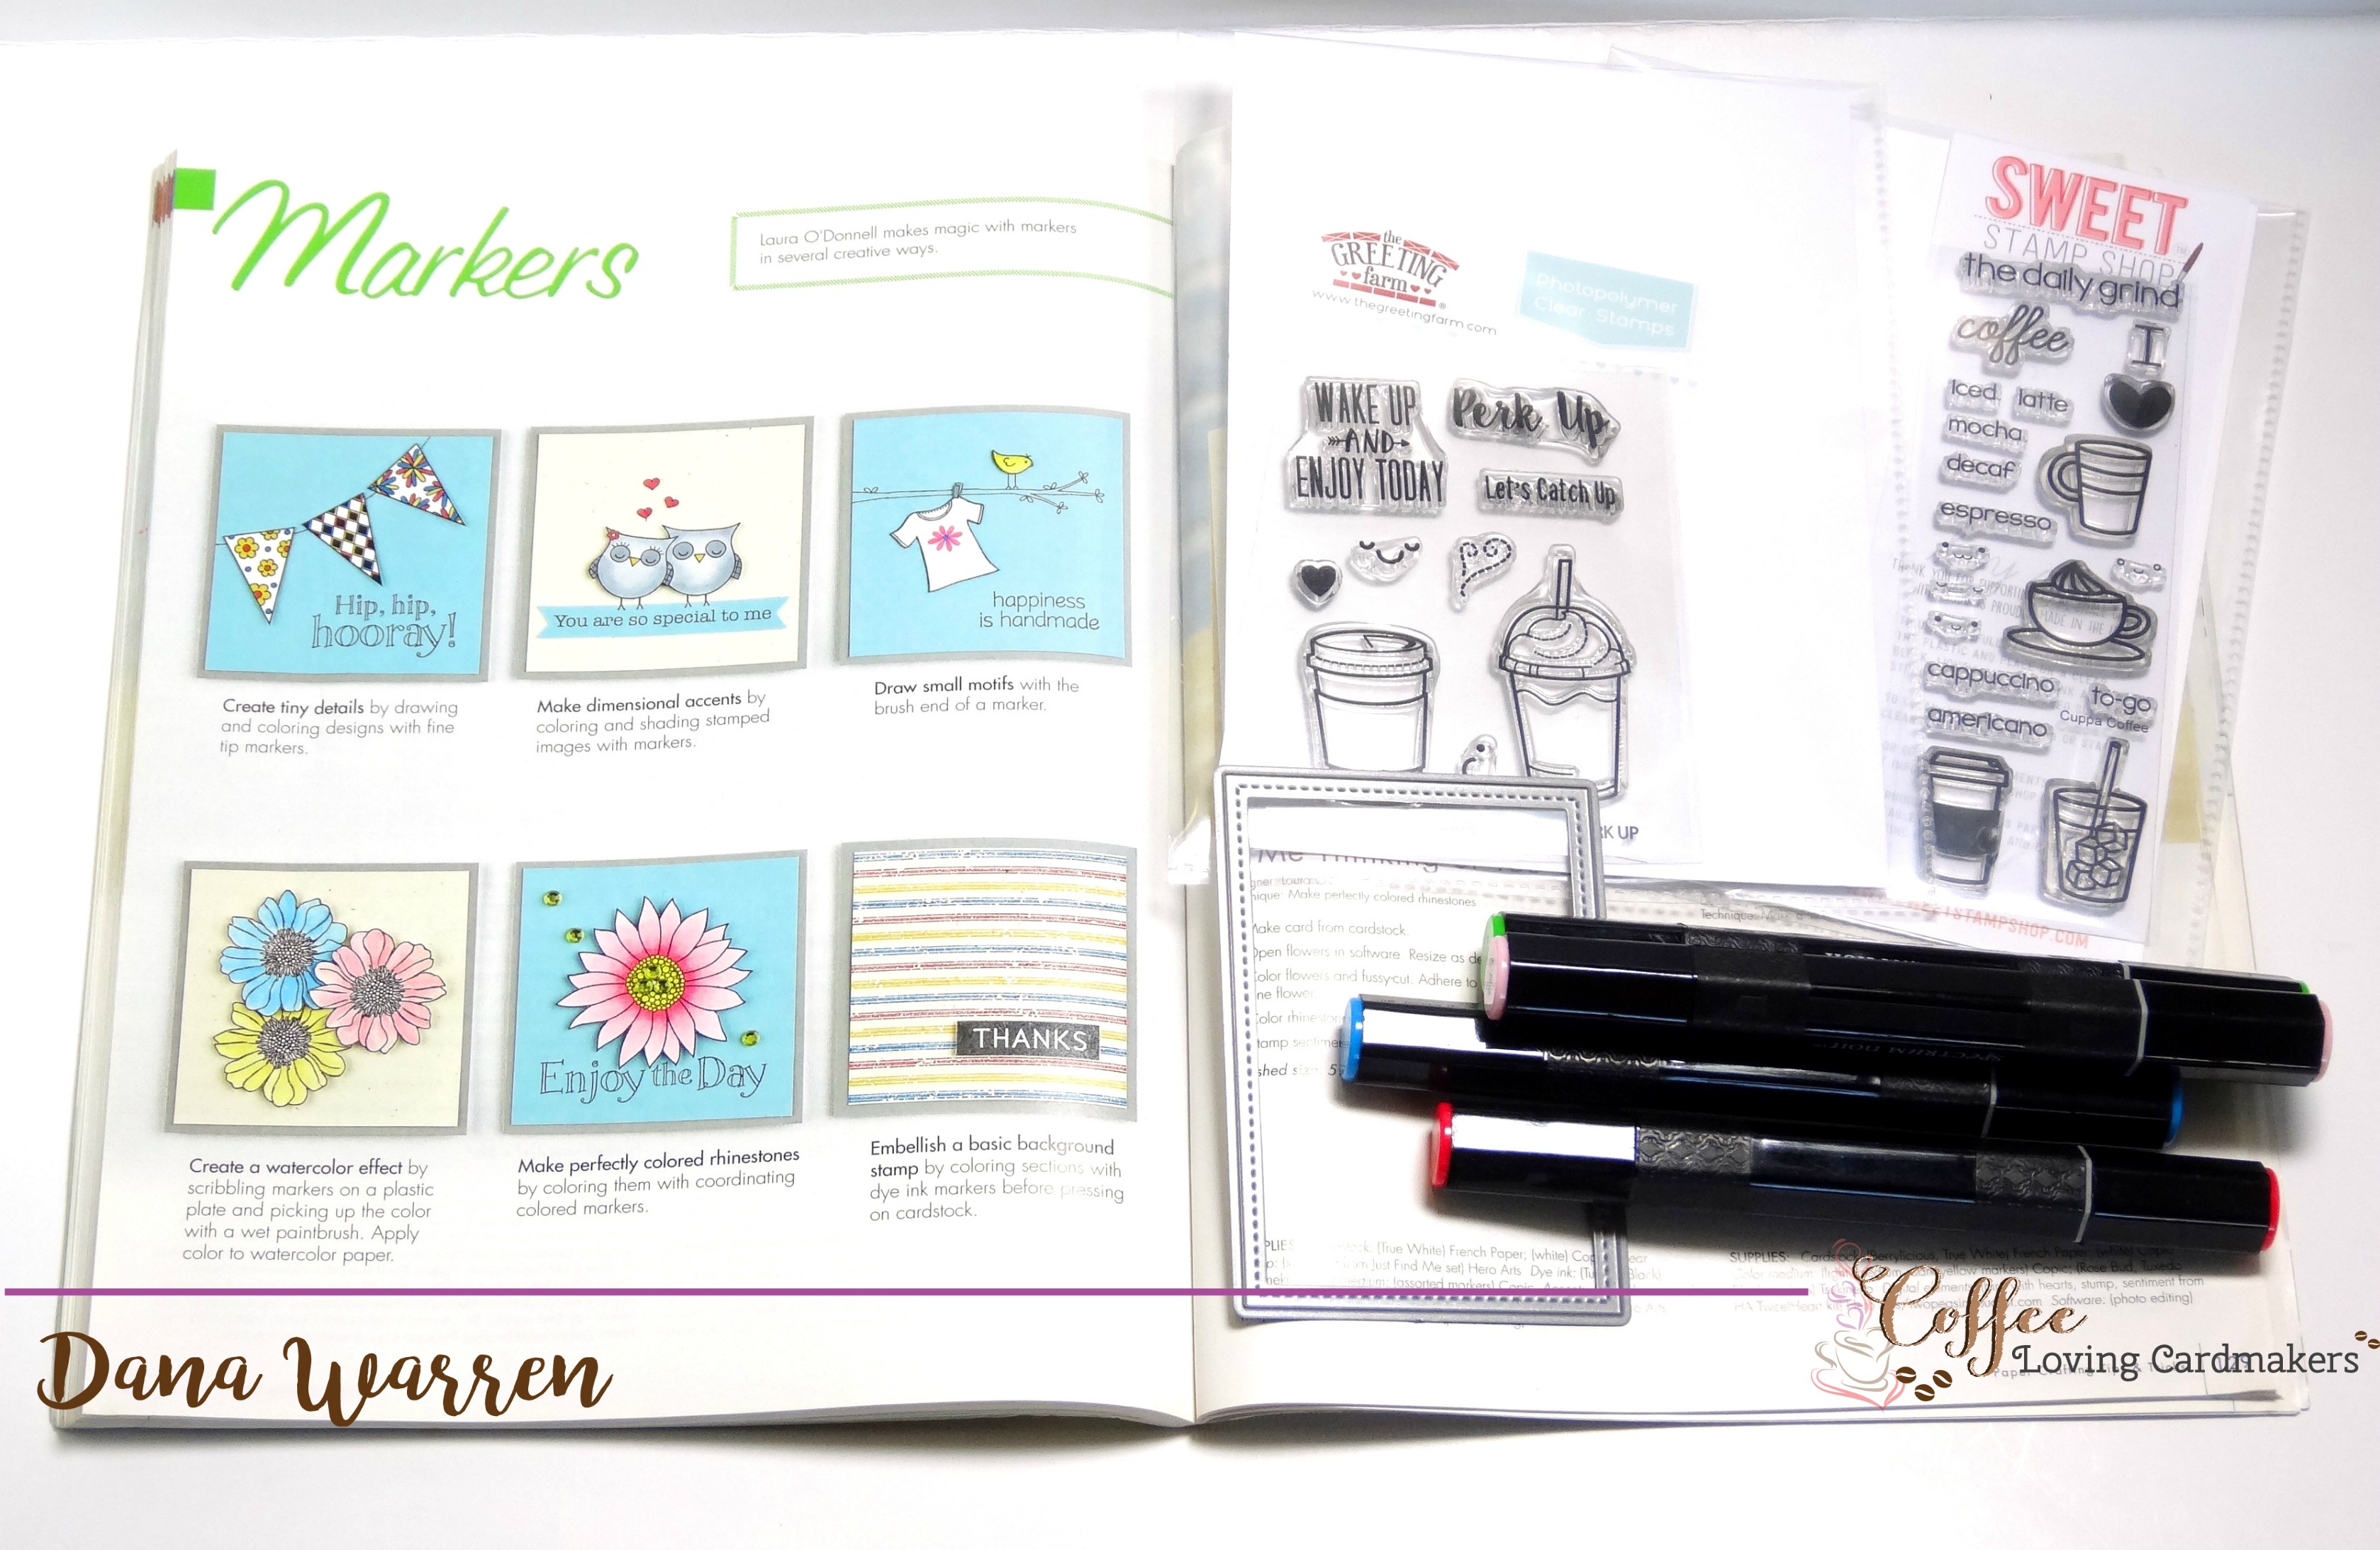
The next section in the Paper Crafting Tips & Tricks 2012 magazine is Stamping Technique and we are looking at marker ideas!! Laura O’Donnell has some great ideas using markers, because we all have some markers of some kind, right?!?!
- Handraw and color tiny doodles to add details
- Color and shade images to create dimension
- Add motifs to stamps to jazz up images
- Use markers and a wet paintbrush to create a watercolor look
- Color clear rhinestones with markers to match your project
- Color background stamp before stamping

It took me a little bit to decide what to do, because what hasn’t been done with markers??? So I saw a particular project somewhere that had a distress inked background and then water was added to create that splattery look to it. And that got me thinking, could I do the same thing with alcohol markers!
So I did a little experimentation, I colored a few ink swatches with my Spectrum Noir and then dropped water, pop (soda for those of you in the south, lol), bathroom cleaner and an off brand Windex on each color. I did get a cool splatter look on all the colors except blue with the bathroom cleaner and Windex. I thought it looked really cool so I went ahead with my idea!
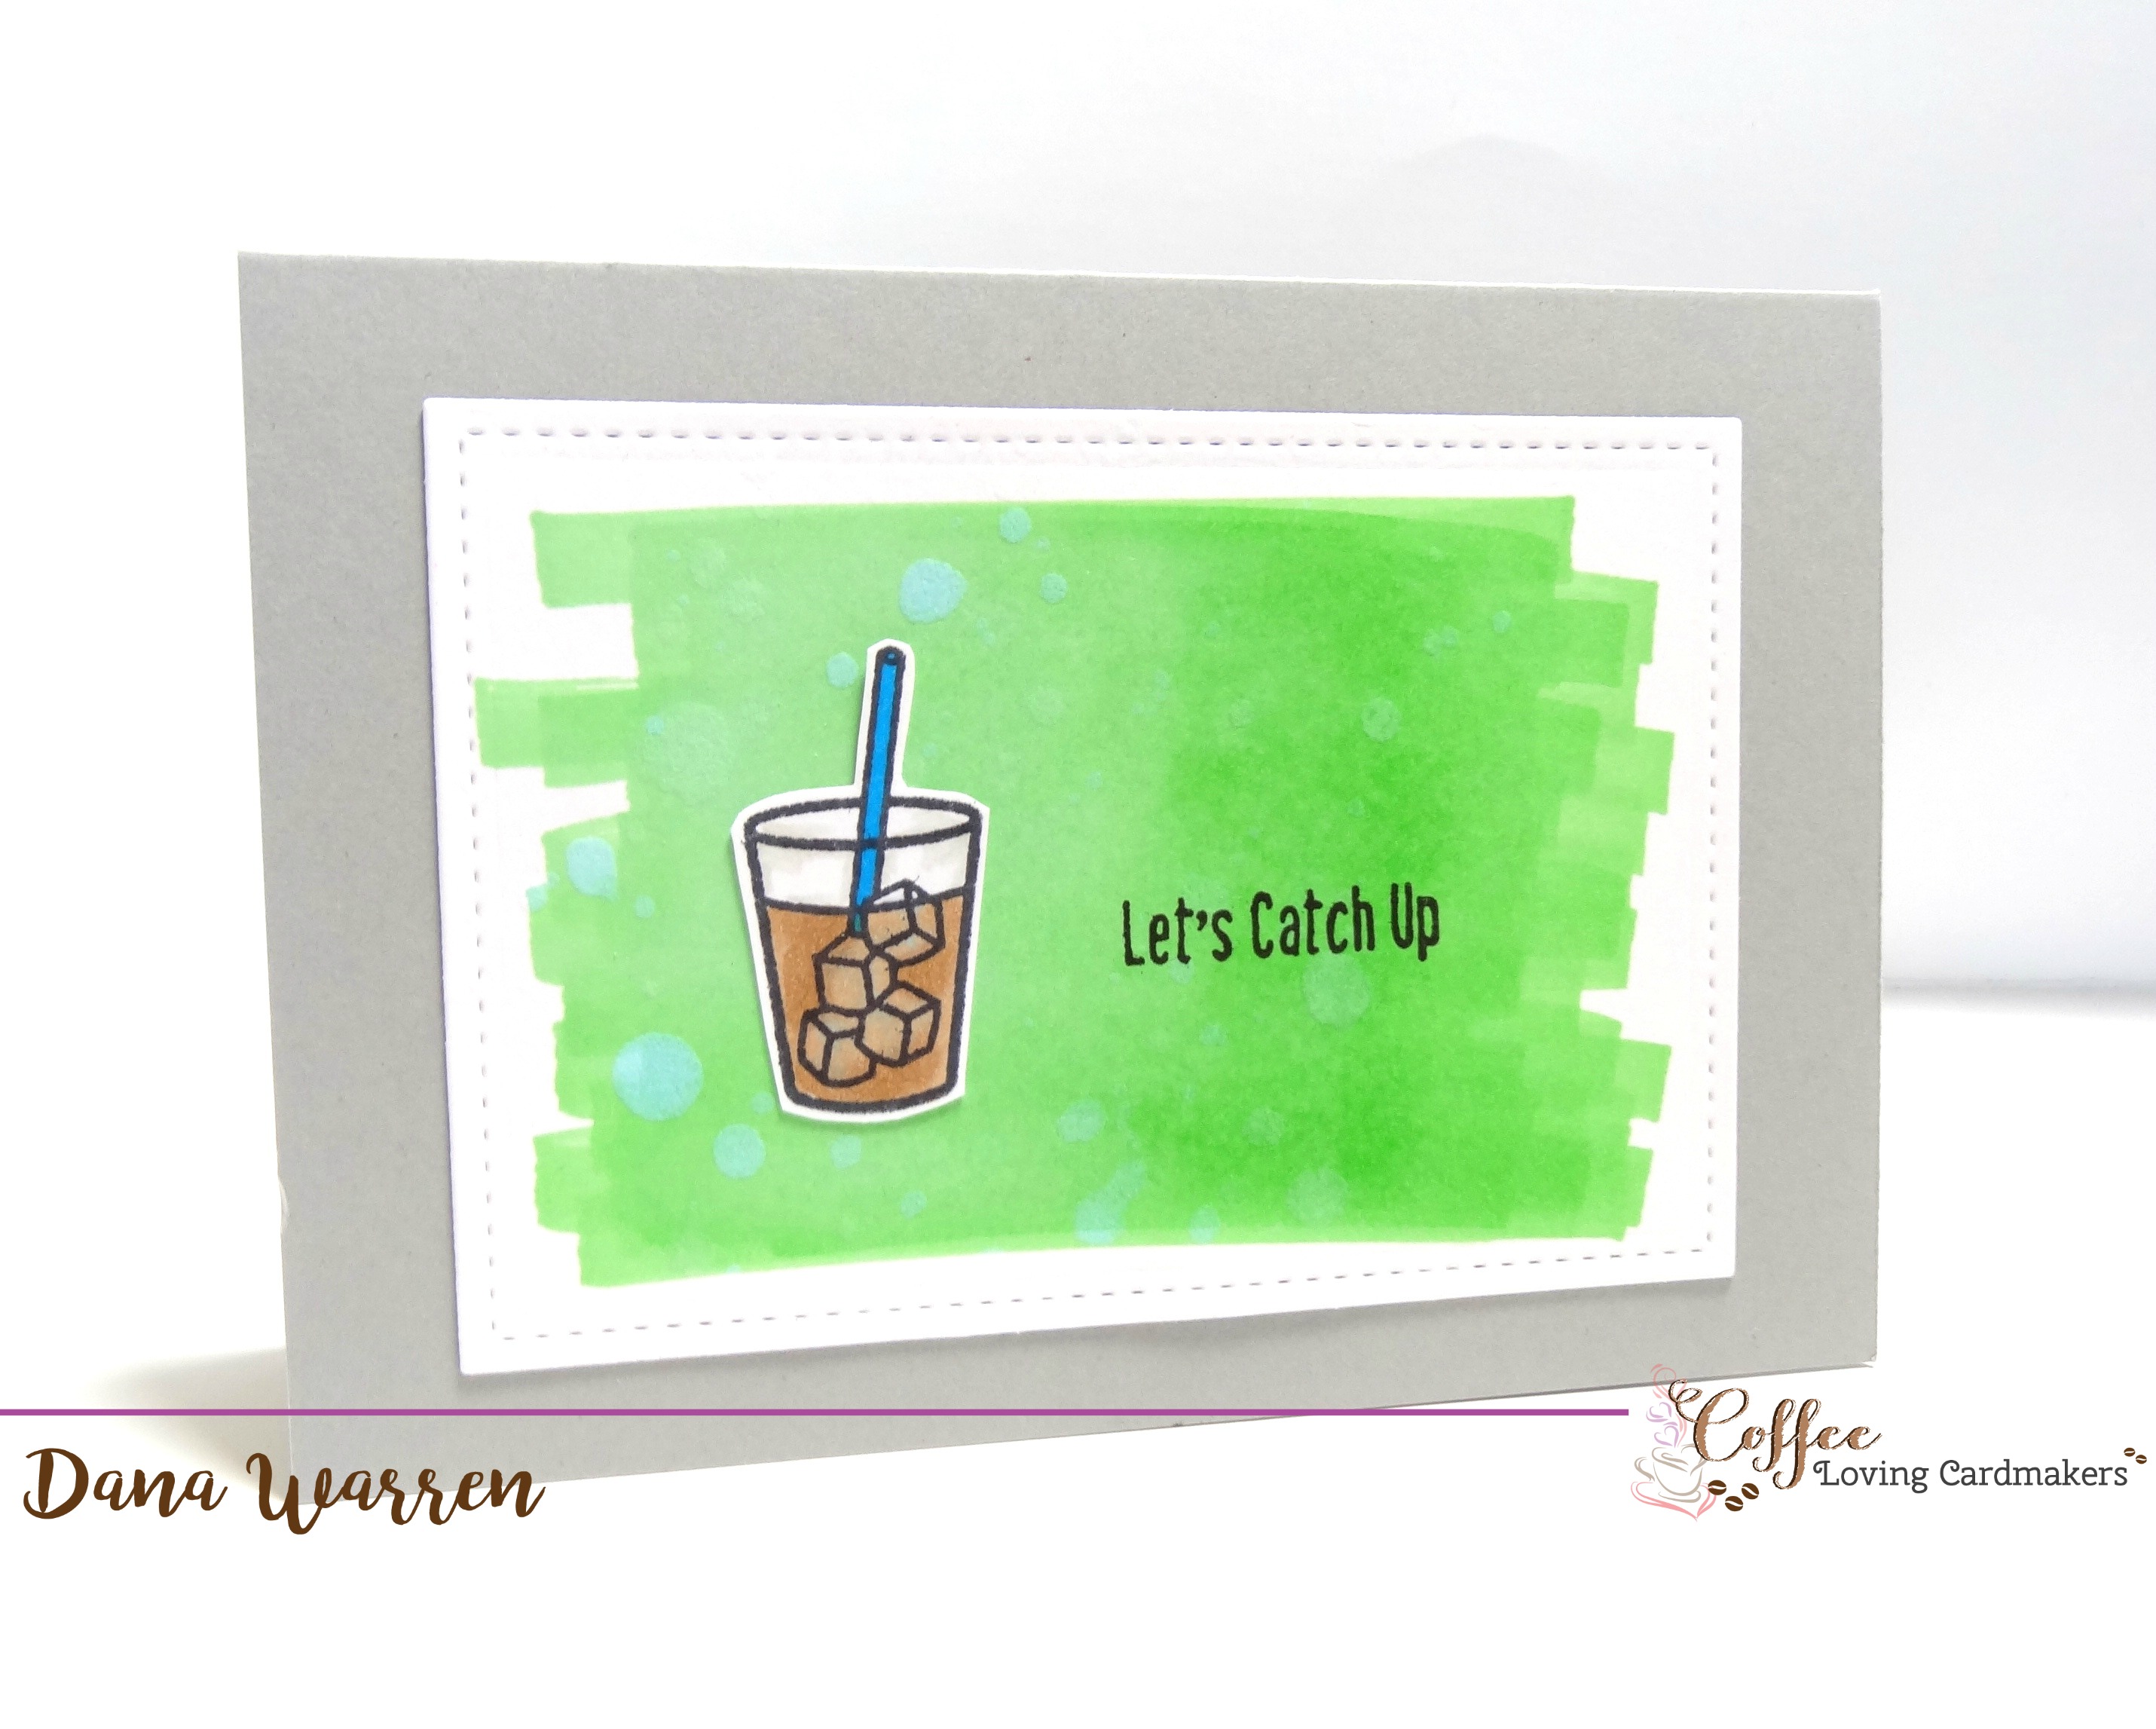
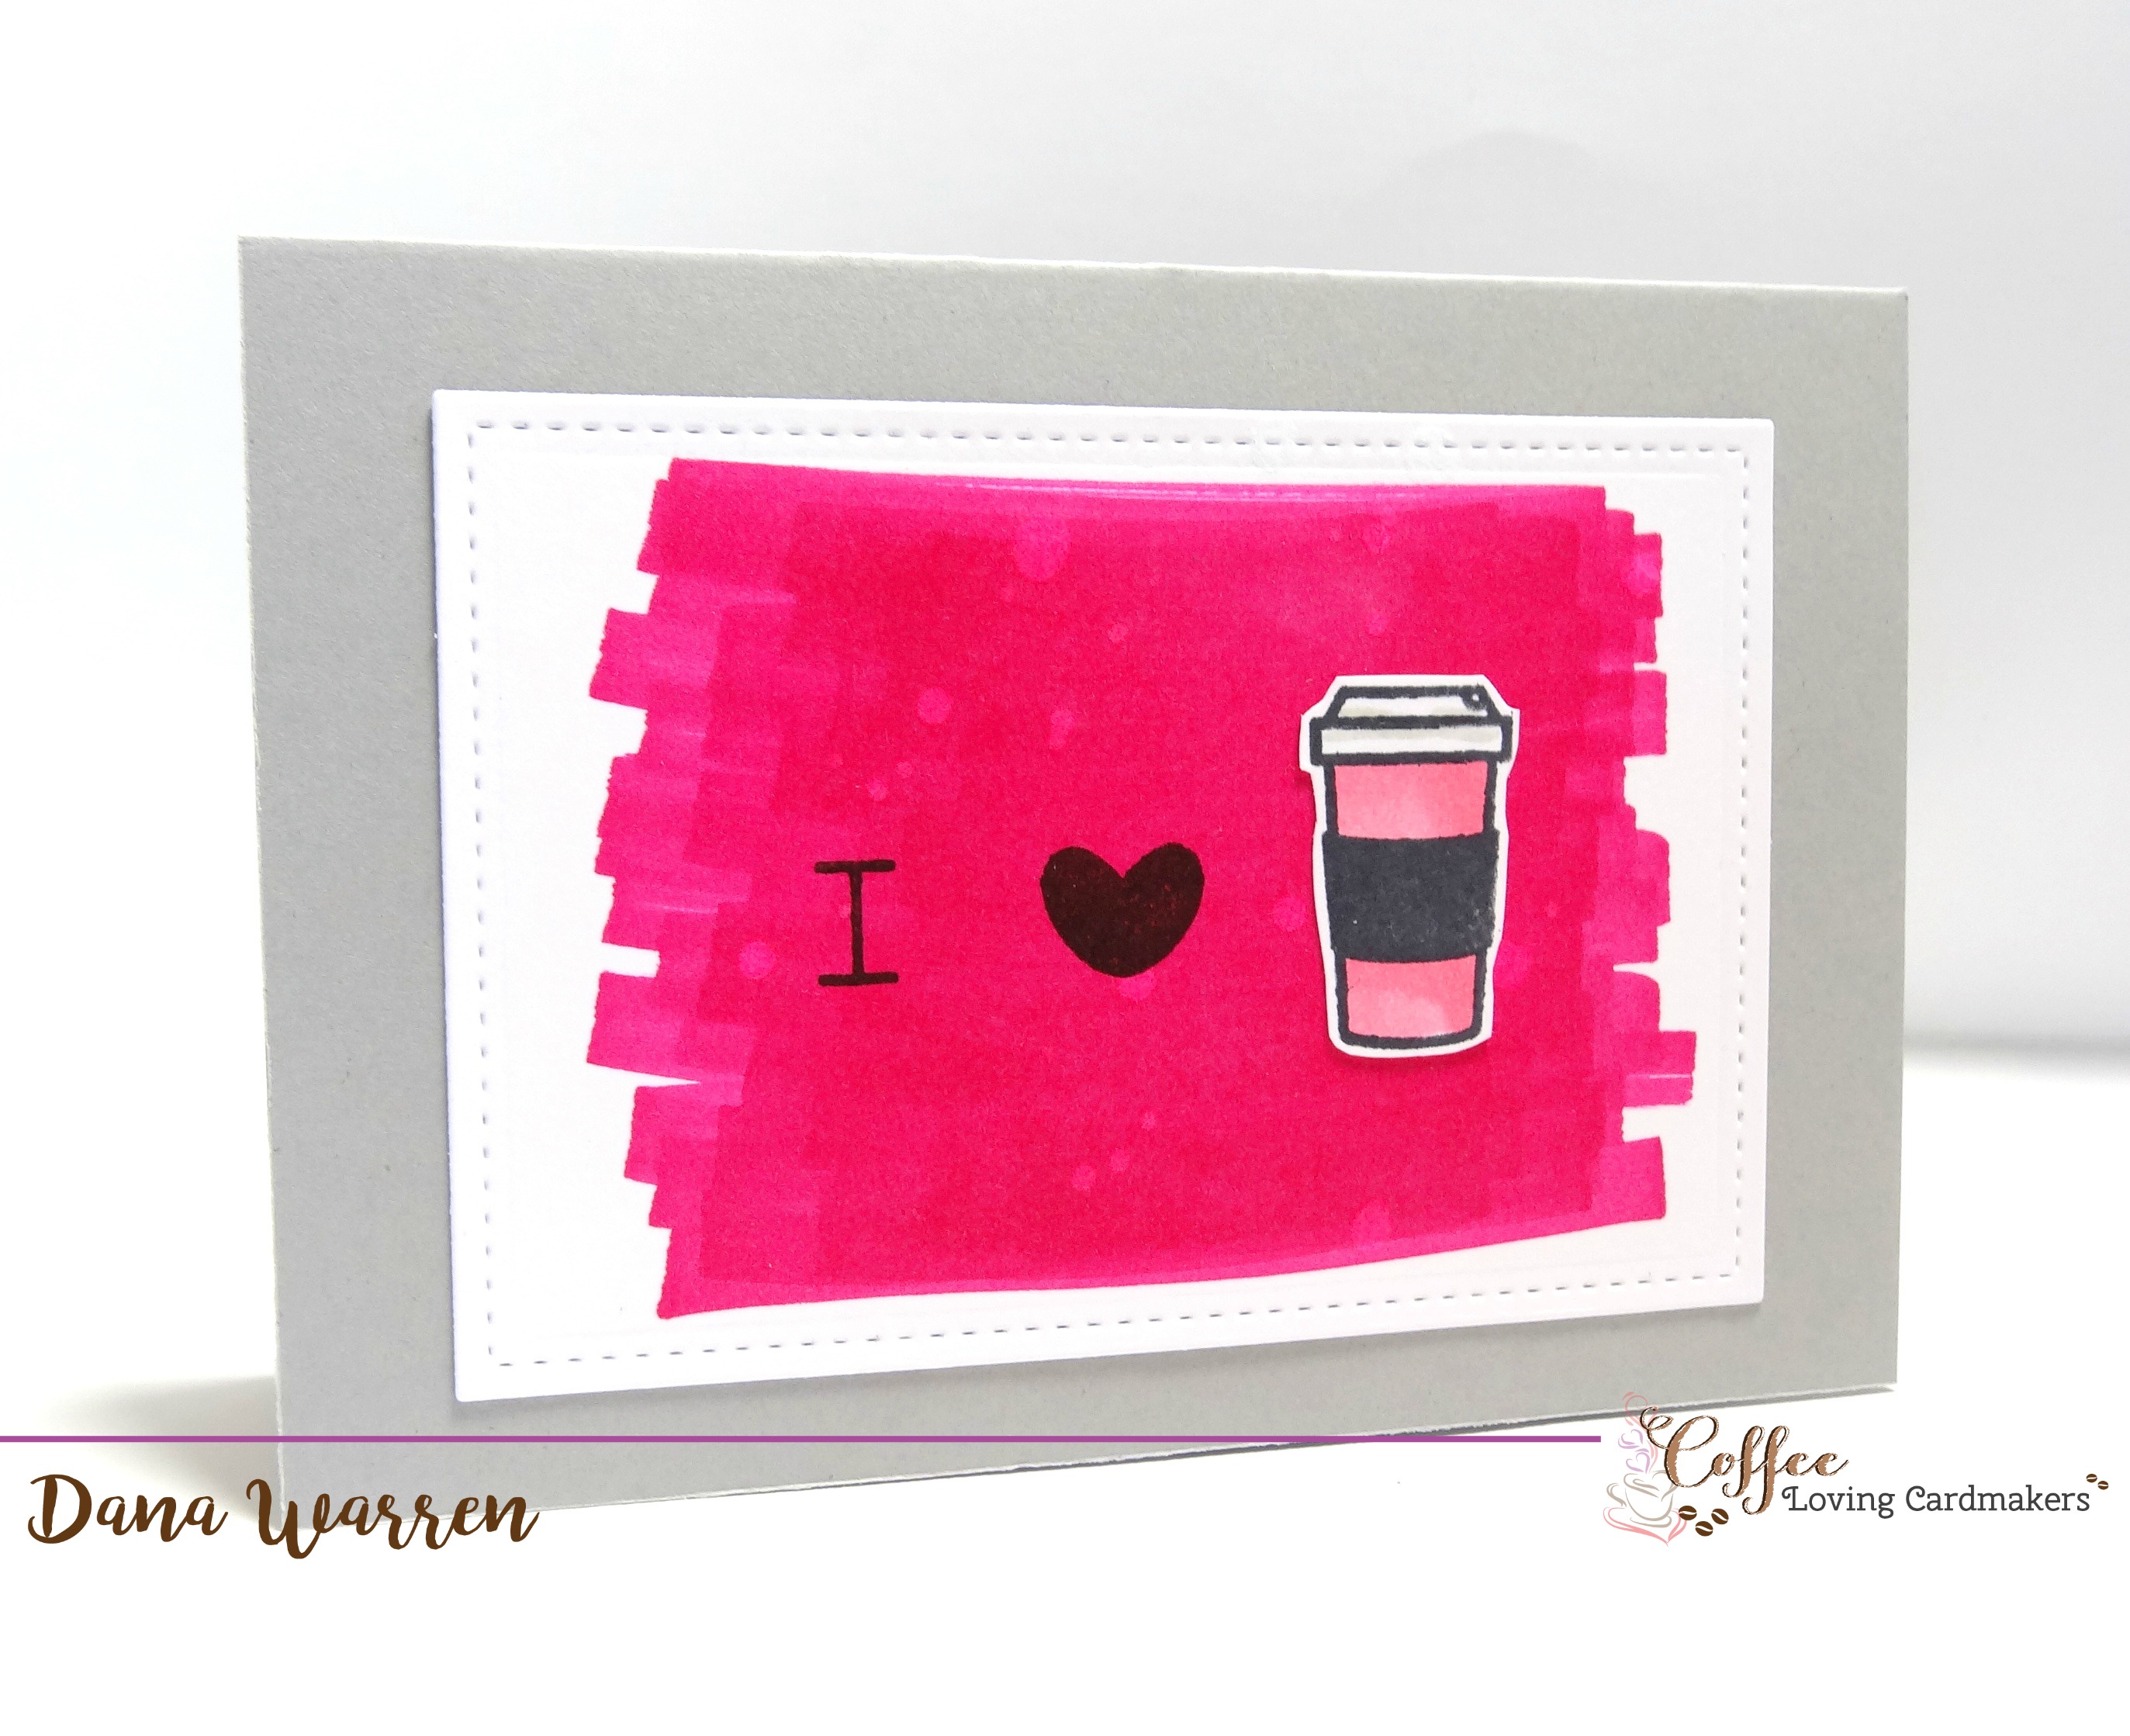
I decided to create an easy card set since the background is so easy to create!! To start I die cut small white stitched rectangles and then scribbled different colors markers over each of the rectangles. I used Spectrum Noir markers: AG2, BT7, CR4, DR1.

To get the splatter I just sprayed the bathroom cleaner over the four panels. I thought it had bleach but later read the bottle and found that it was bleach free! Who knew!! LOL!!! For the cards, I used a different blue and I still didn’t get a big color change, so something must be up with the blue ink!! I also think the splatter doesn’t show up all that great in the photos, they look a lot better in person!!
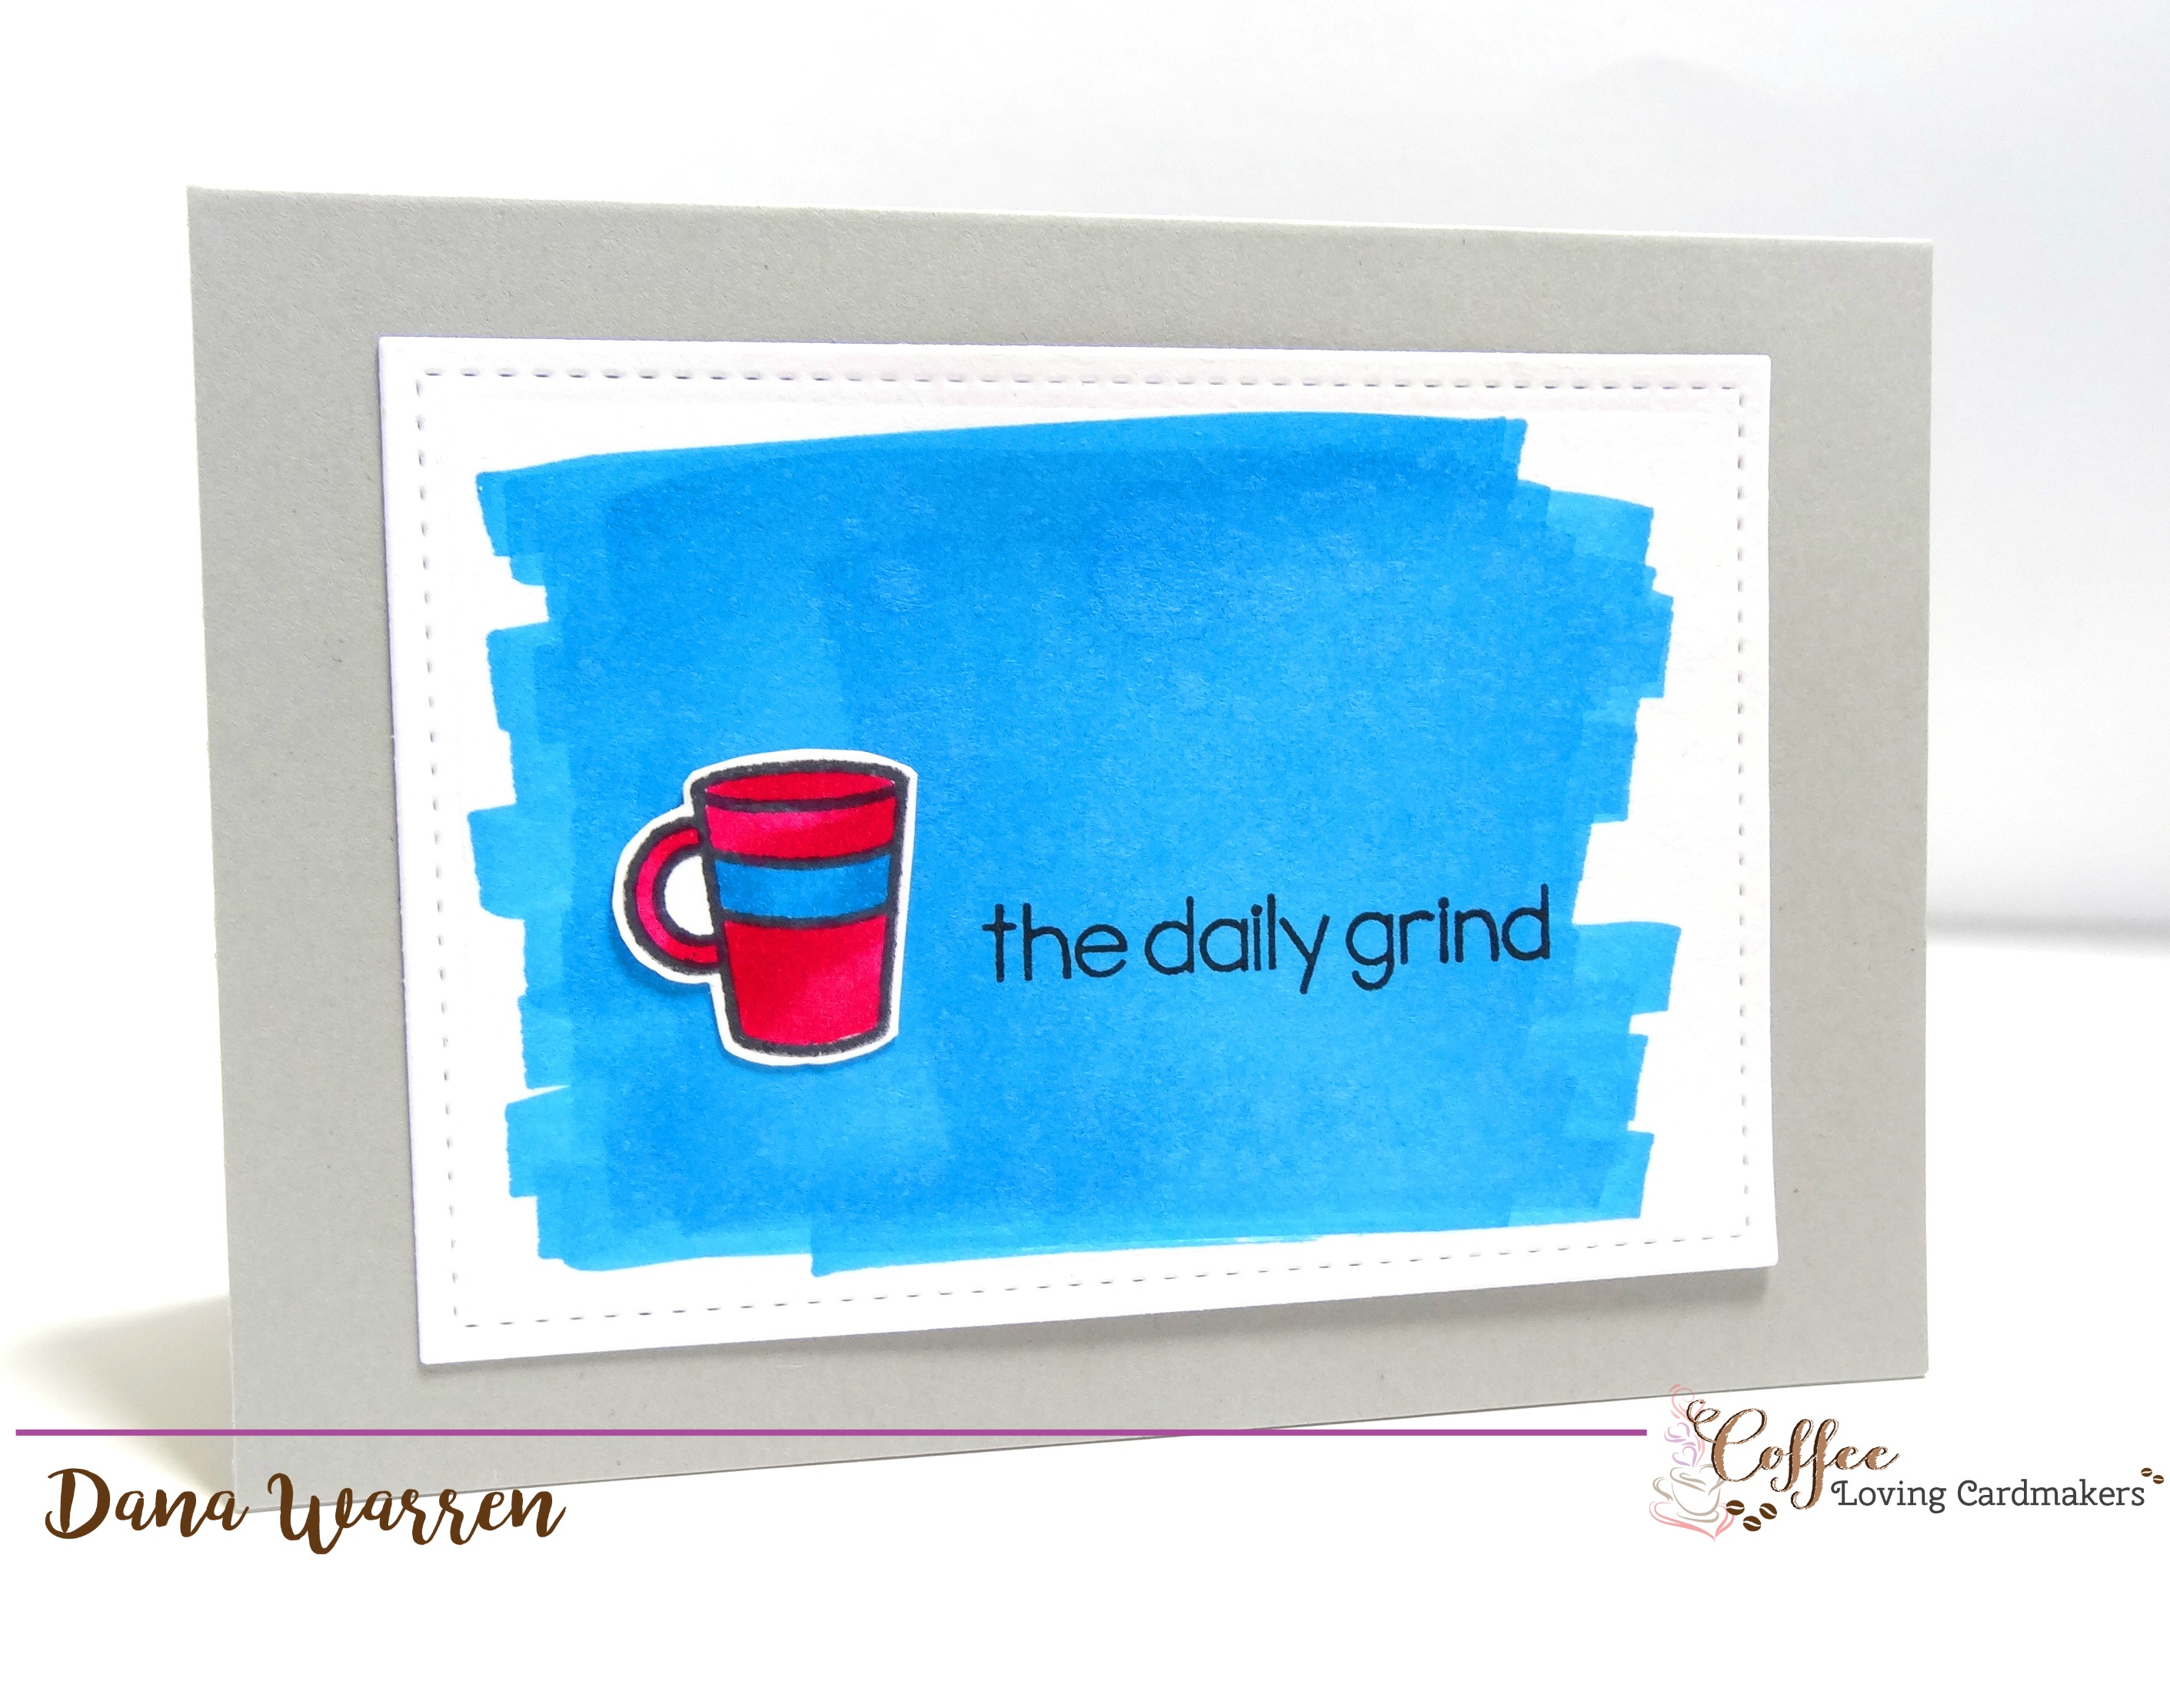
While the panels were drying I used the coffee images from Sweet Stamp Shop’s Cuppa Coffee set. I used colored these images with the same markers above, plus a few added colors: IG2, MG2, TB1, & blender. Then I fussy cut out each image.
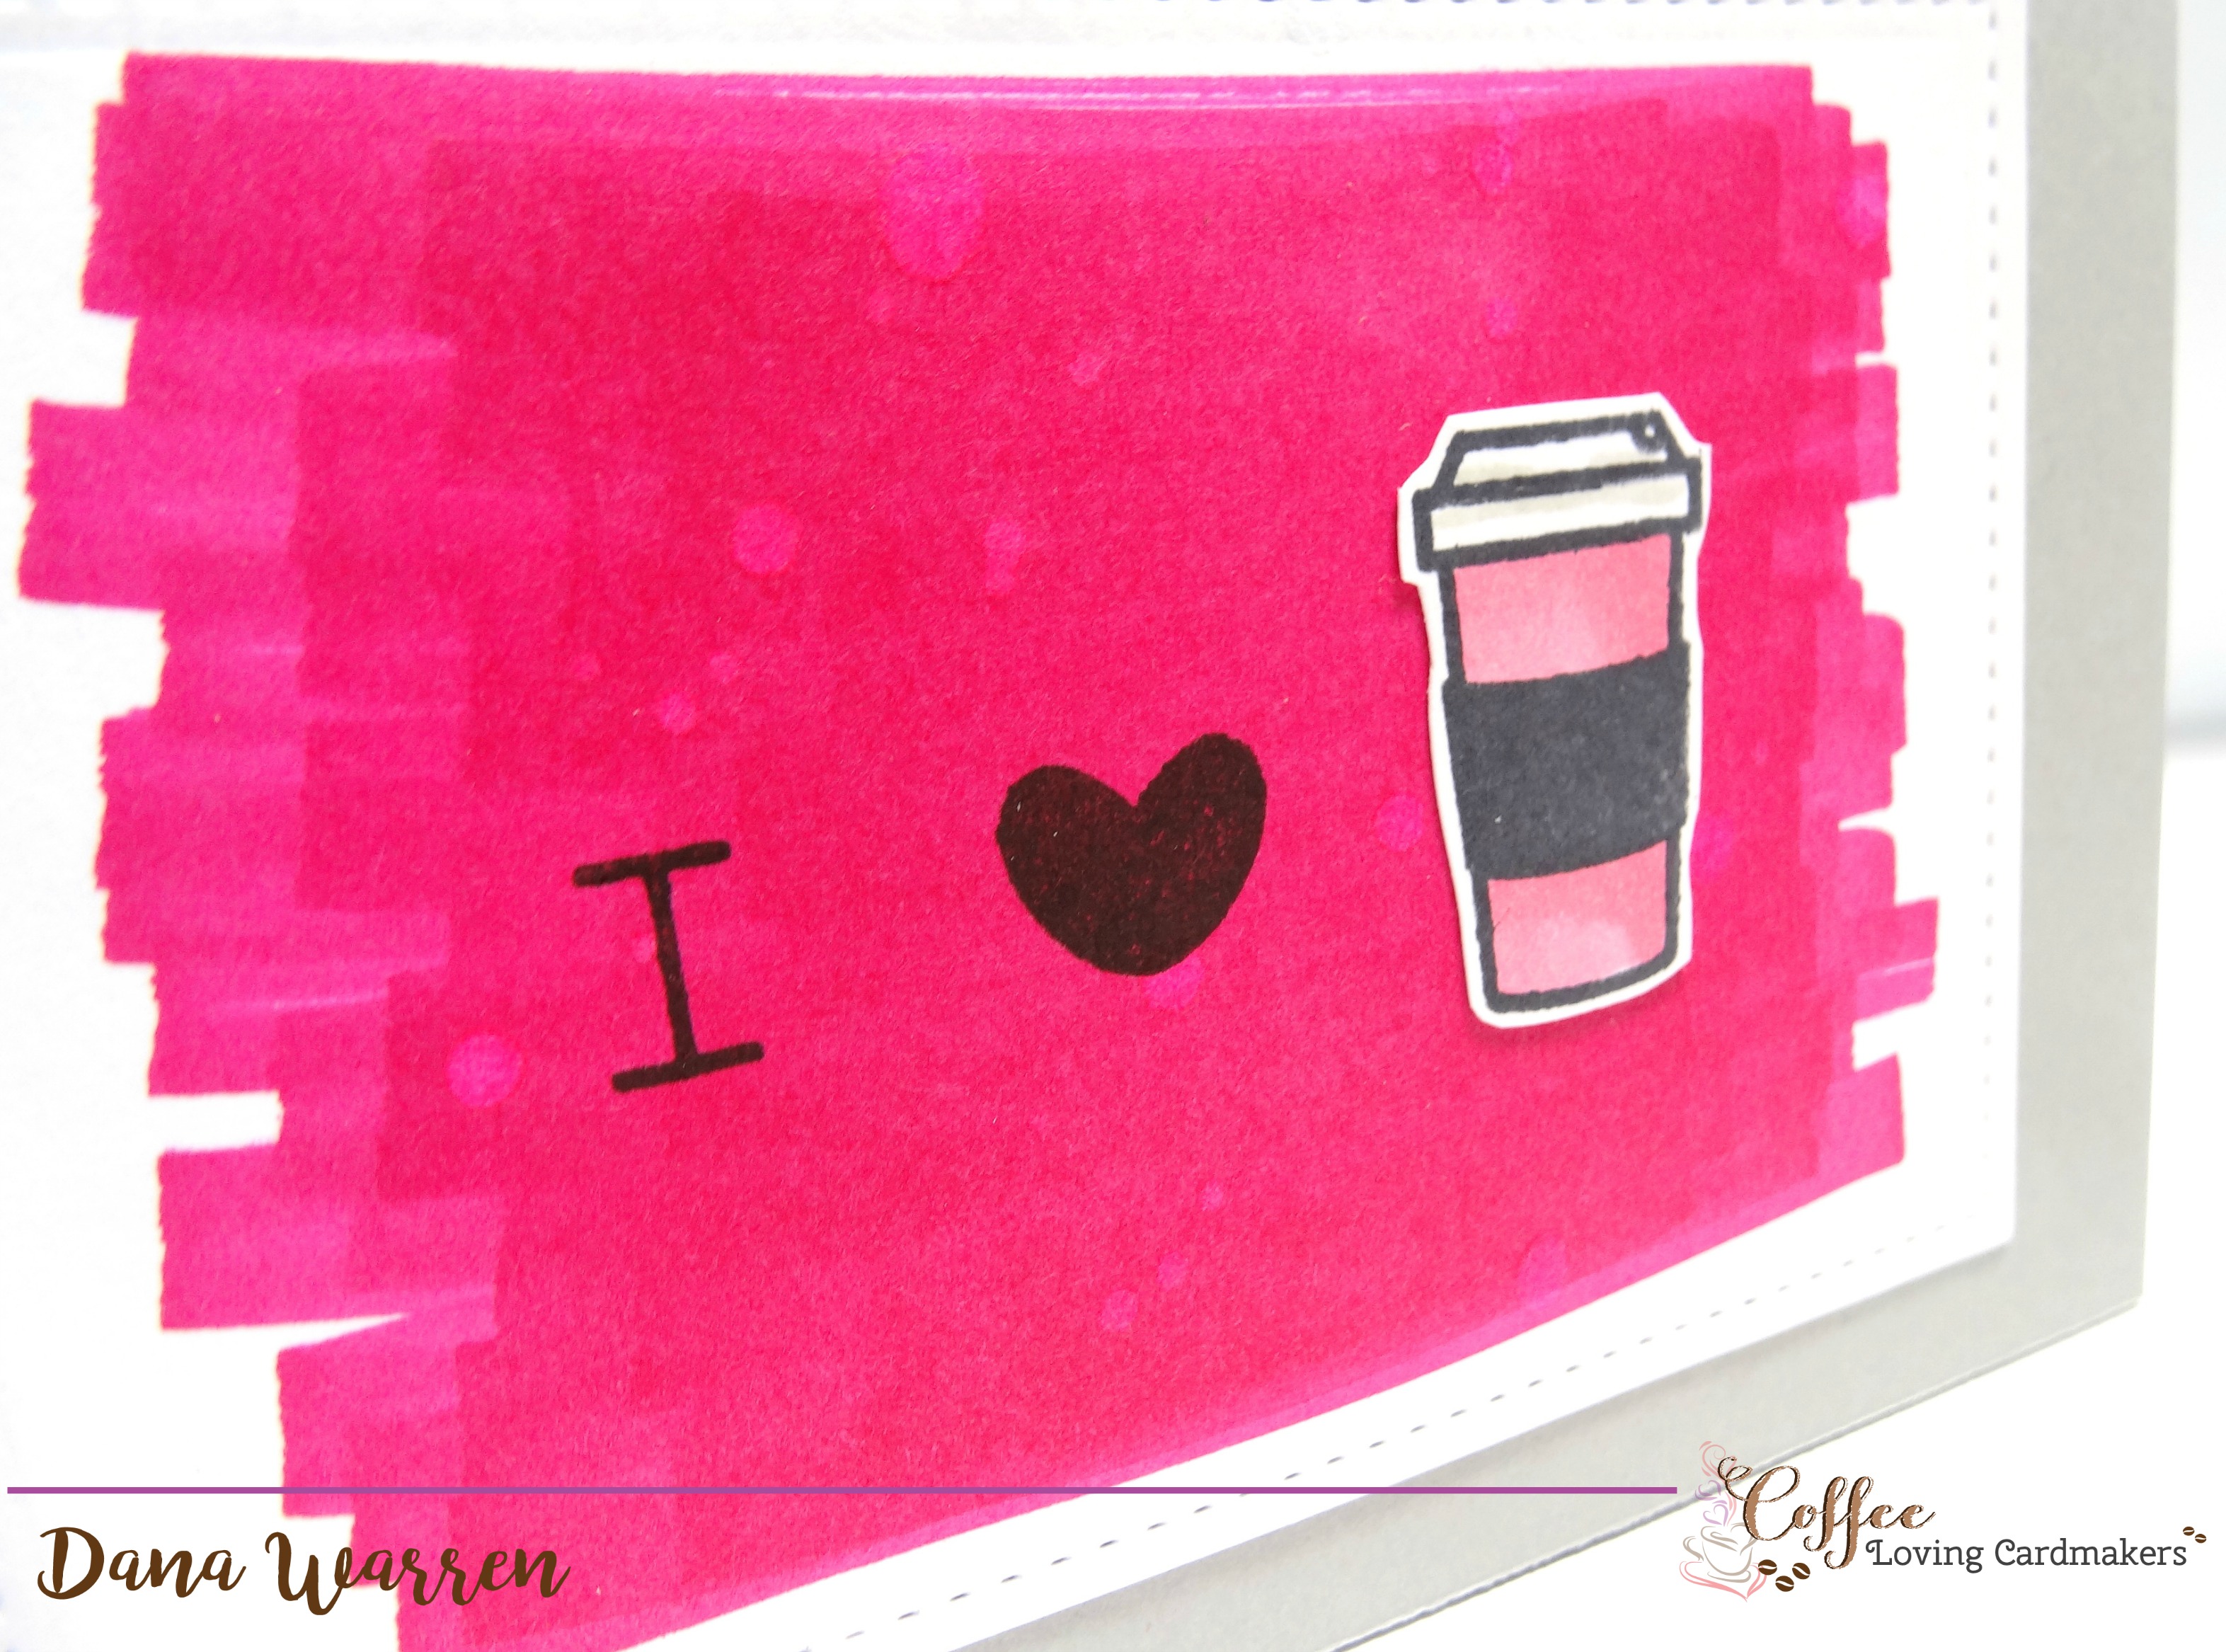
When the panels are dry I decided where to place the images and some sentiments. I used the Cuppa Coffee set and Greeting Farm’s Perk Up set. After stamping I made 3.5 x 5-inch card bases from a light gray cardstock and then adhered the panels to each card base.
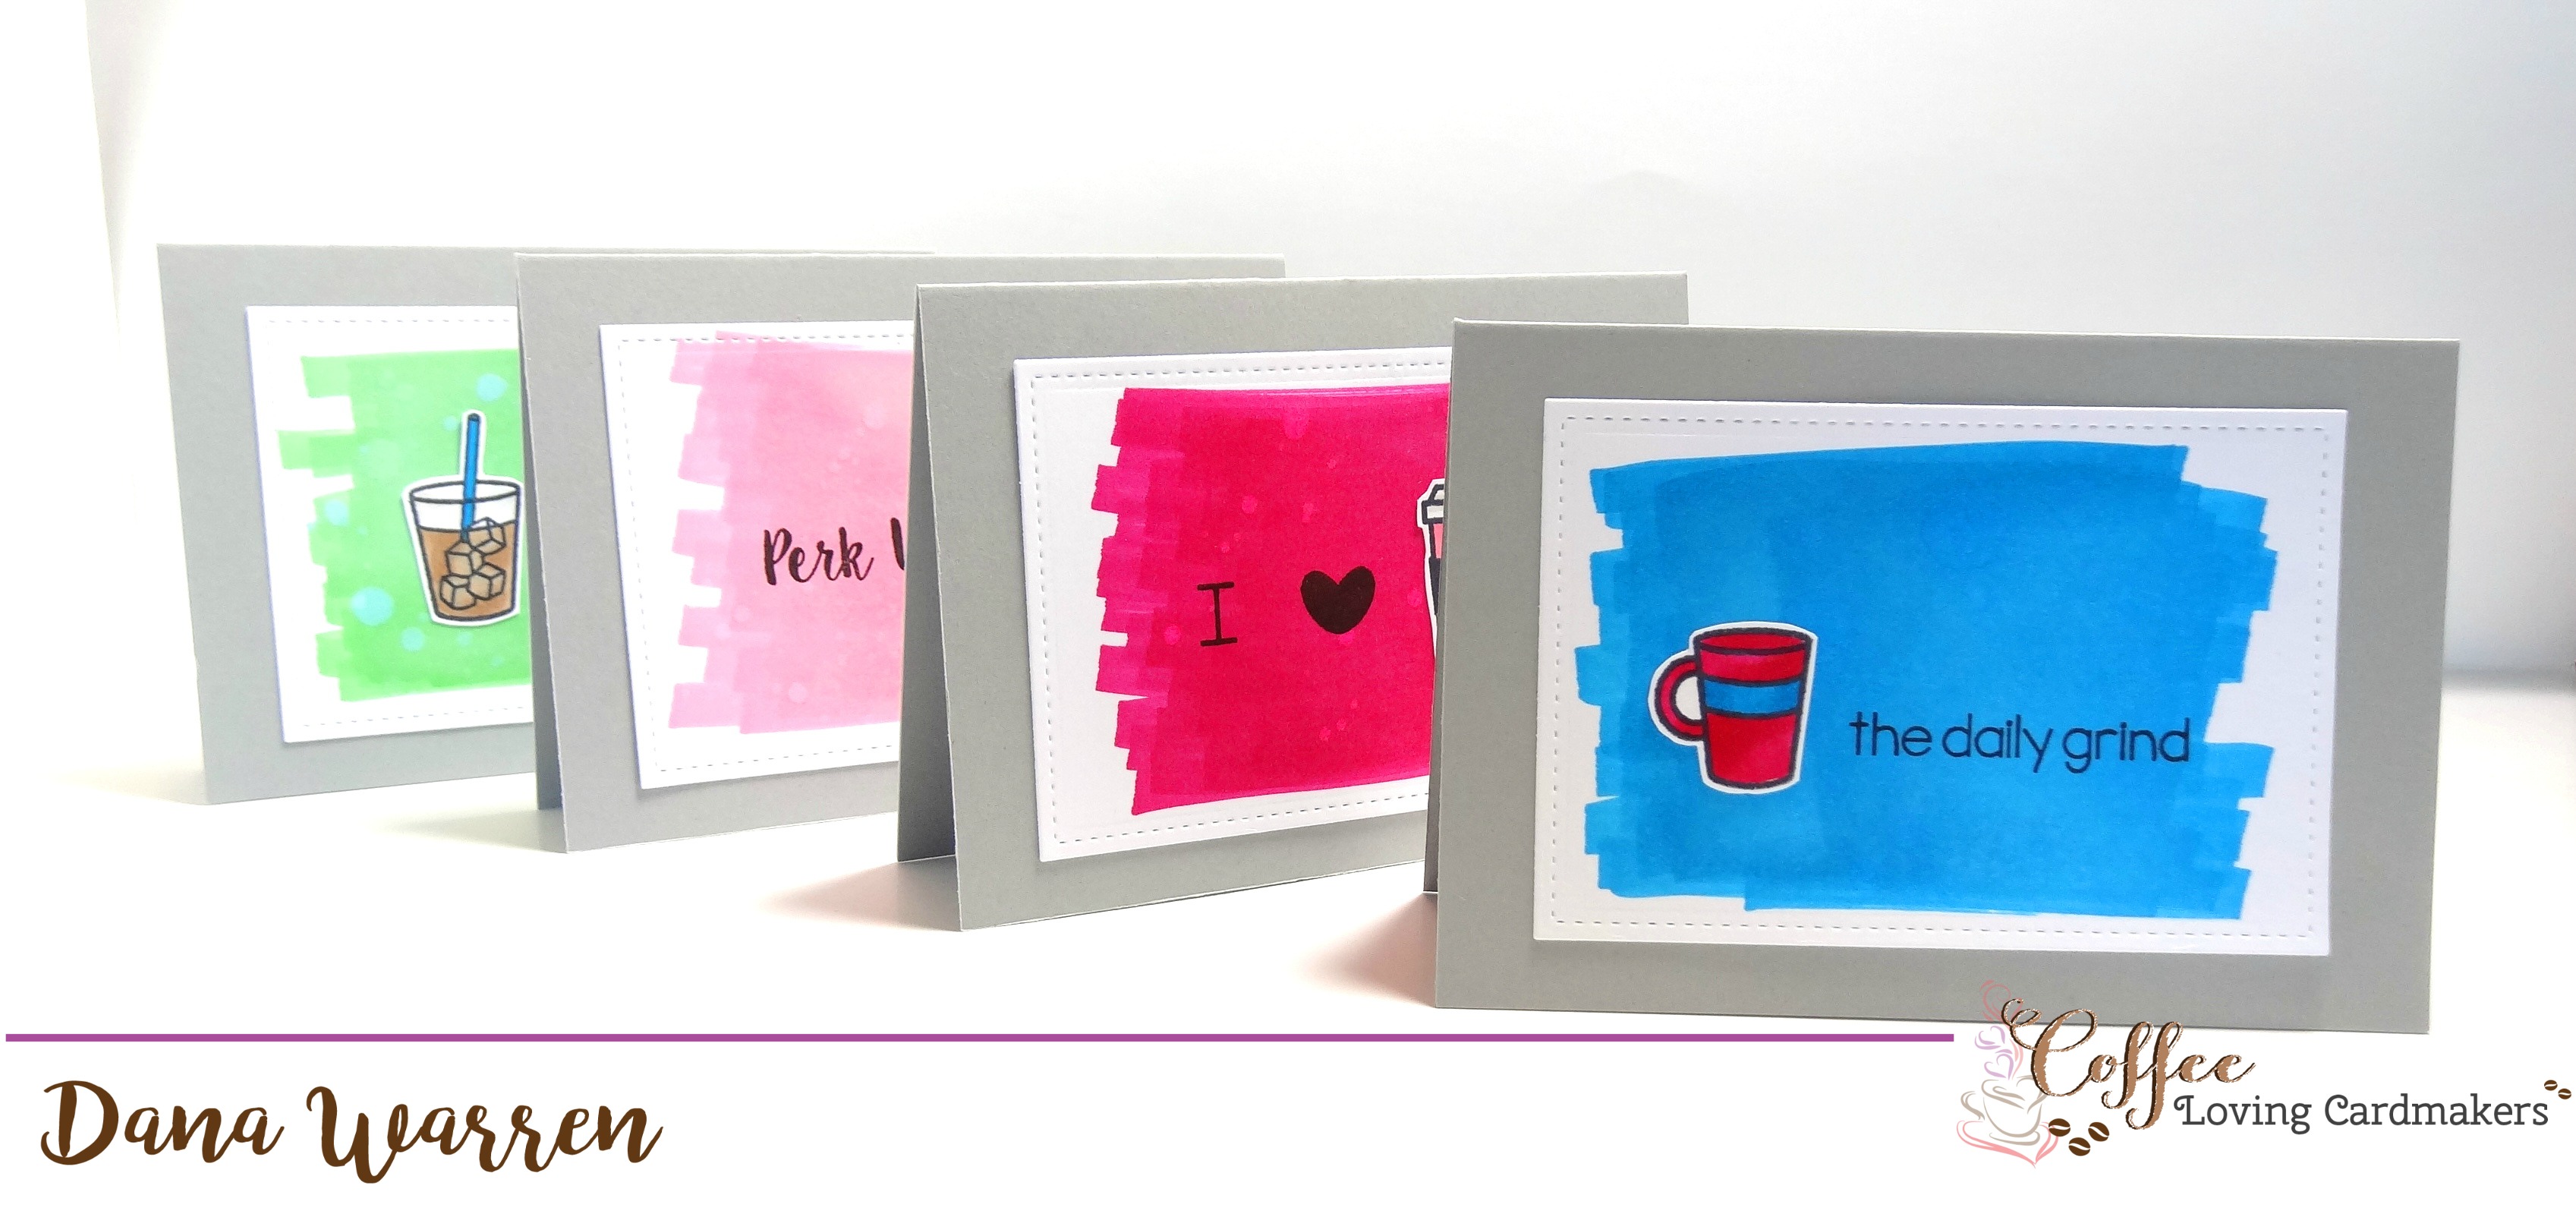
I hope this inspires you to try out your own splatter background with alcohol markers and maybe create an easy card set, a perfect gift for a coffee or tea lover!!
Dana
Supplies
Stamps: Sweet Stamp Shop – Cuppa Coffee. Greeting Farm – Perk Up
Spectrum Noir Markers
Lawn Fawn Stitched die
Bathroom cleaner


Leave a reply to Brew & Craft Your Stash – Recap | Coffee Loving Cardmakers! Cancel reply