Hello, Coffee Lovers
Dana here with a new installment of Brew & Craft Your Stash!!! Grab your coffee or tea and read on for some awesome ideas for Do It Yourself Flowers! If this is the first time you are seeing my feature or need a refresher, click here for my first post, it gives a little background explanation on my feature!!

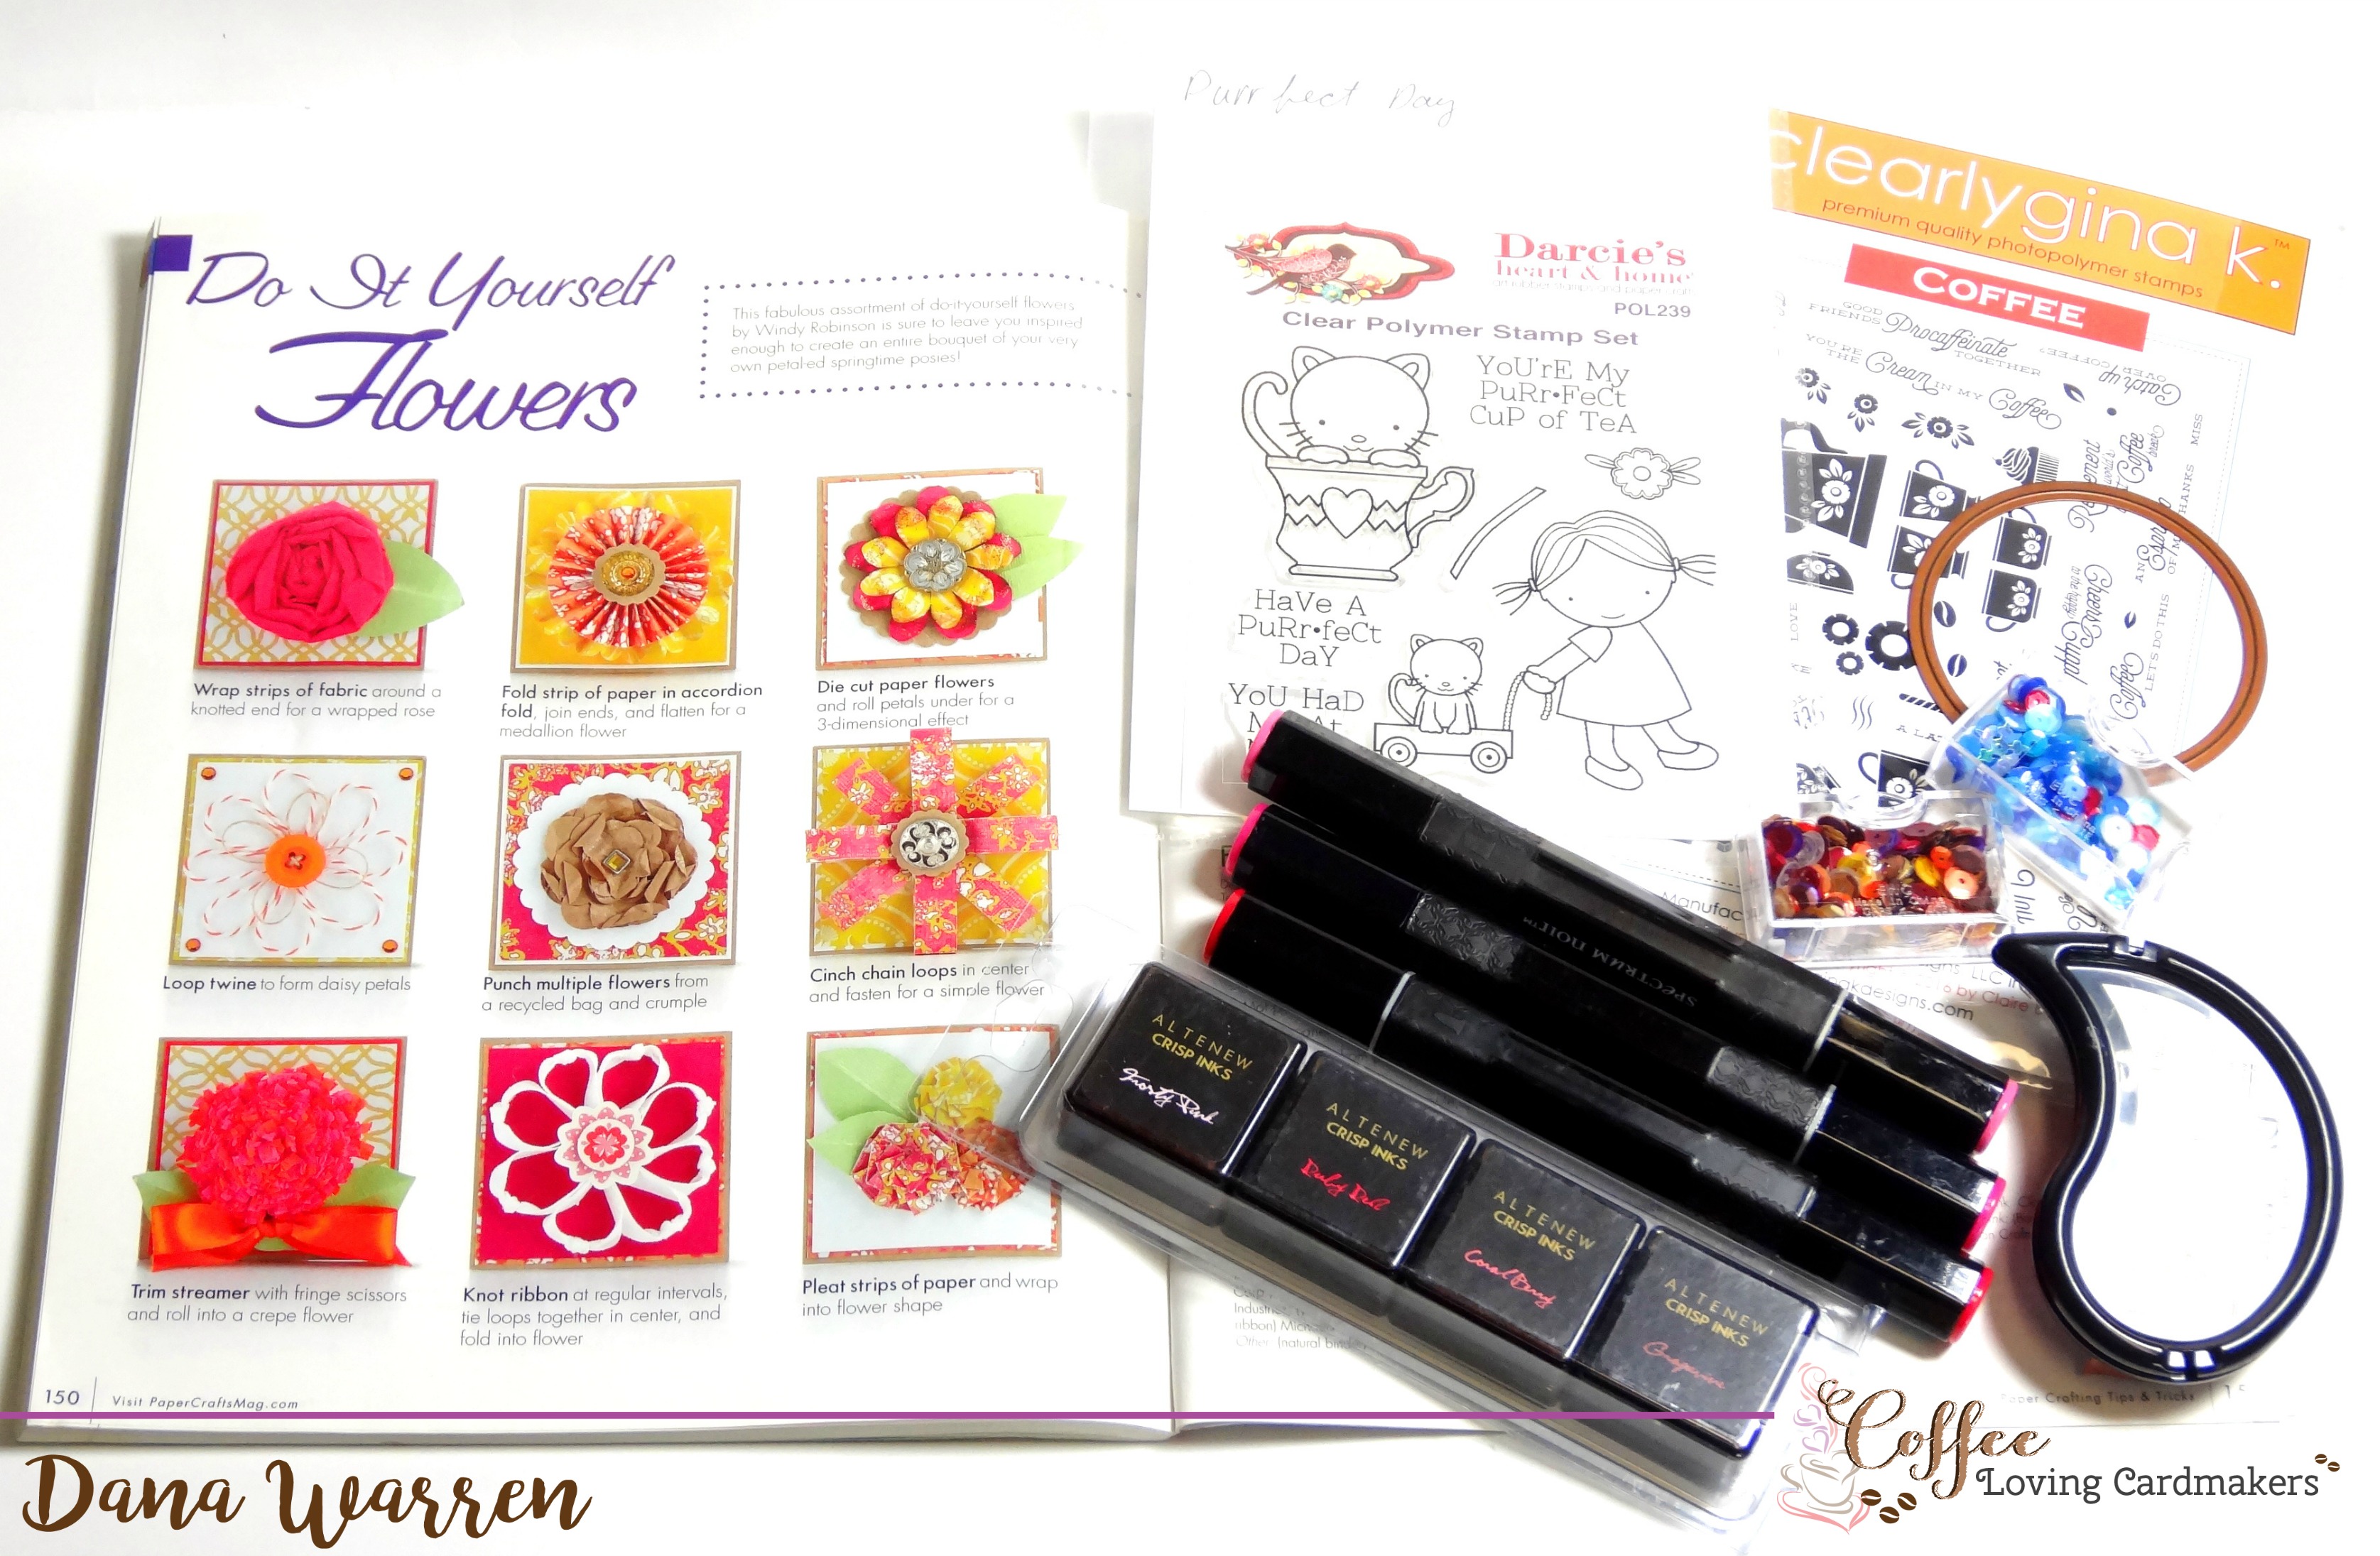
Continuing on to the next section in 2012 Paper Crafting Tips & Tricks magazine, Bonus Techniques. The next topic is in this section is Creative Craft Sticks, but if you’ve read my previous posts you know that I’m living on campus and since space is limited craft sticks did not come with me!! So I moved on to the next topic which is Do It Yourself, Flowers. Designer Windy Robinson has some great ideas when it comes to making your own flowers, including:
- Create a flower with fabric strips
- Make a medallion from an accordion folded paper strip
- Die cut flower and layer up
- Loop twine to create a flower
- Use punch shapes from recycled materials like paper bags to make a flower
- Create a flower with paper loops
- Trim a streamer and cut fringe, roll to create a flower
- Loop ribbon to create a flower, add some fancy knotting at each petal
- Pleat paper strips in a flower shape
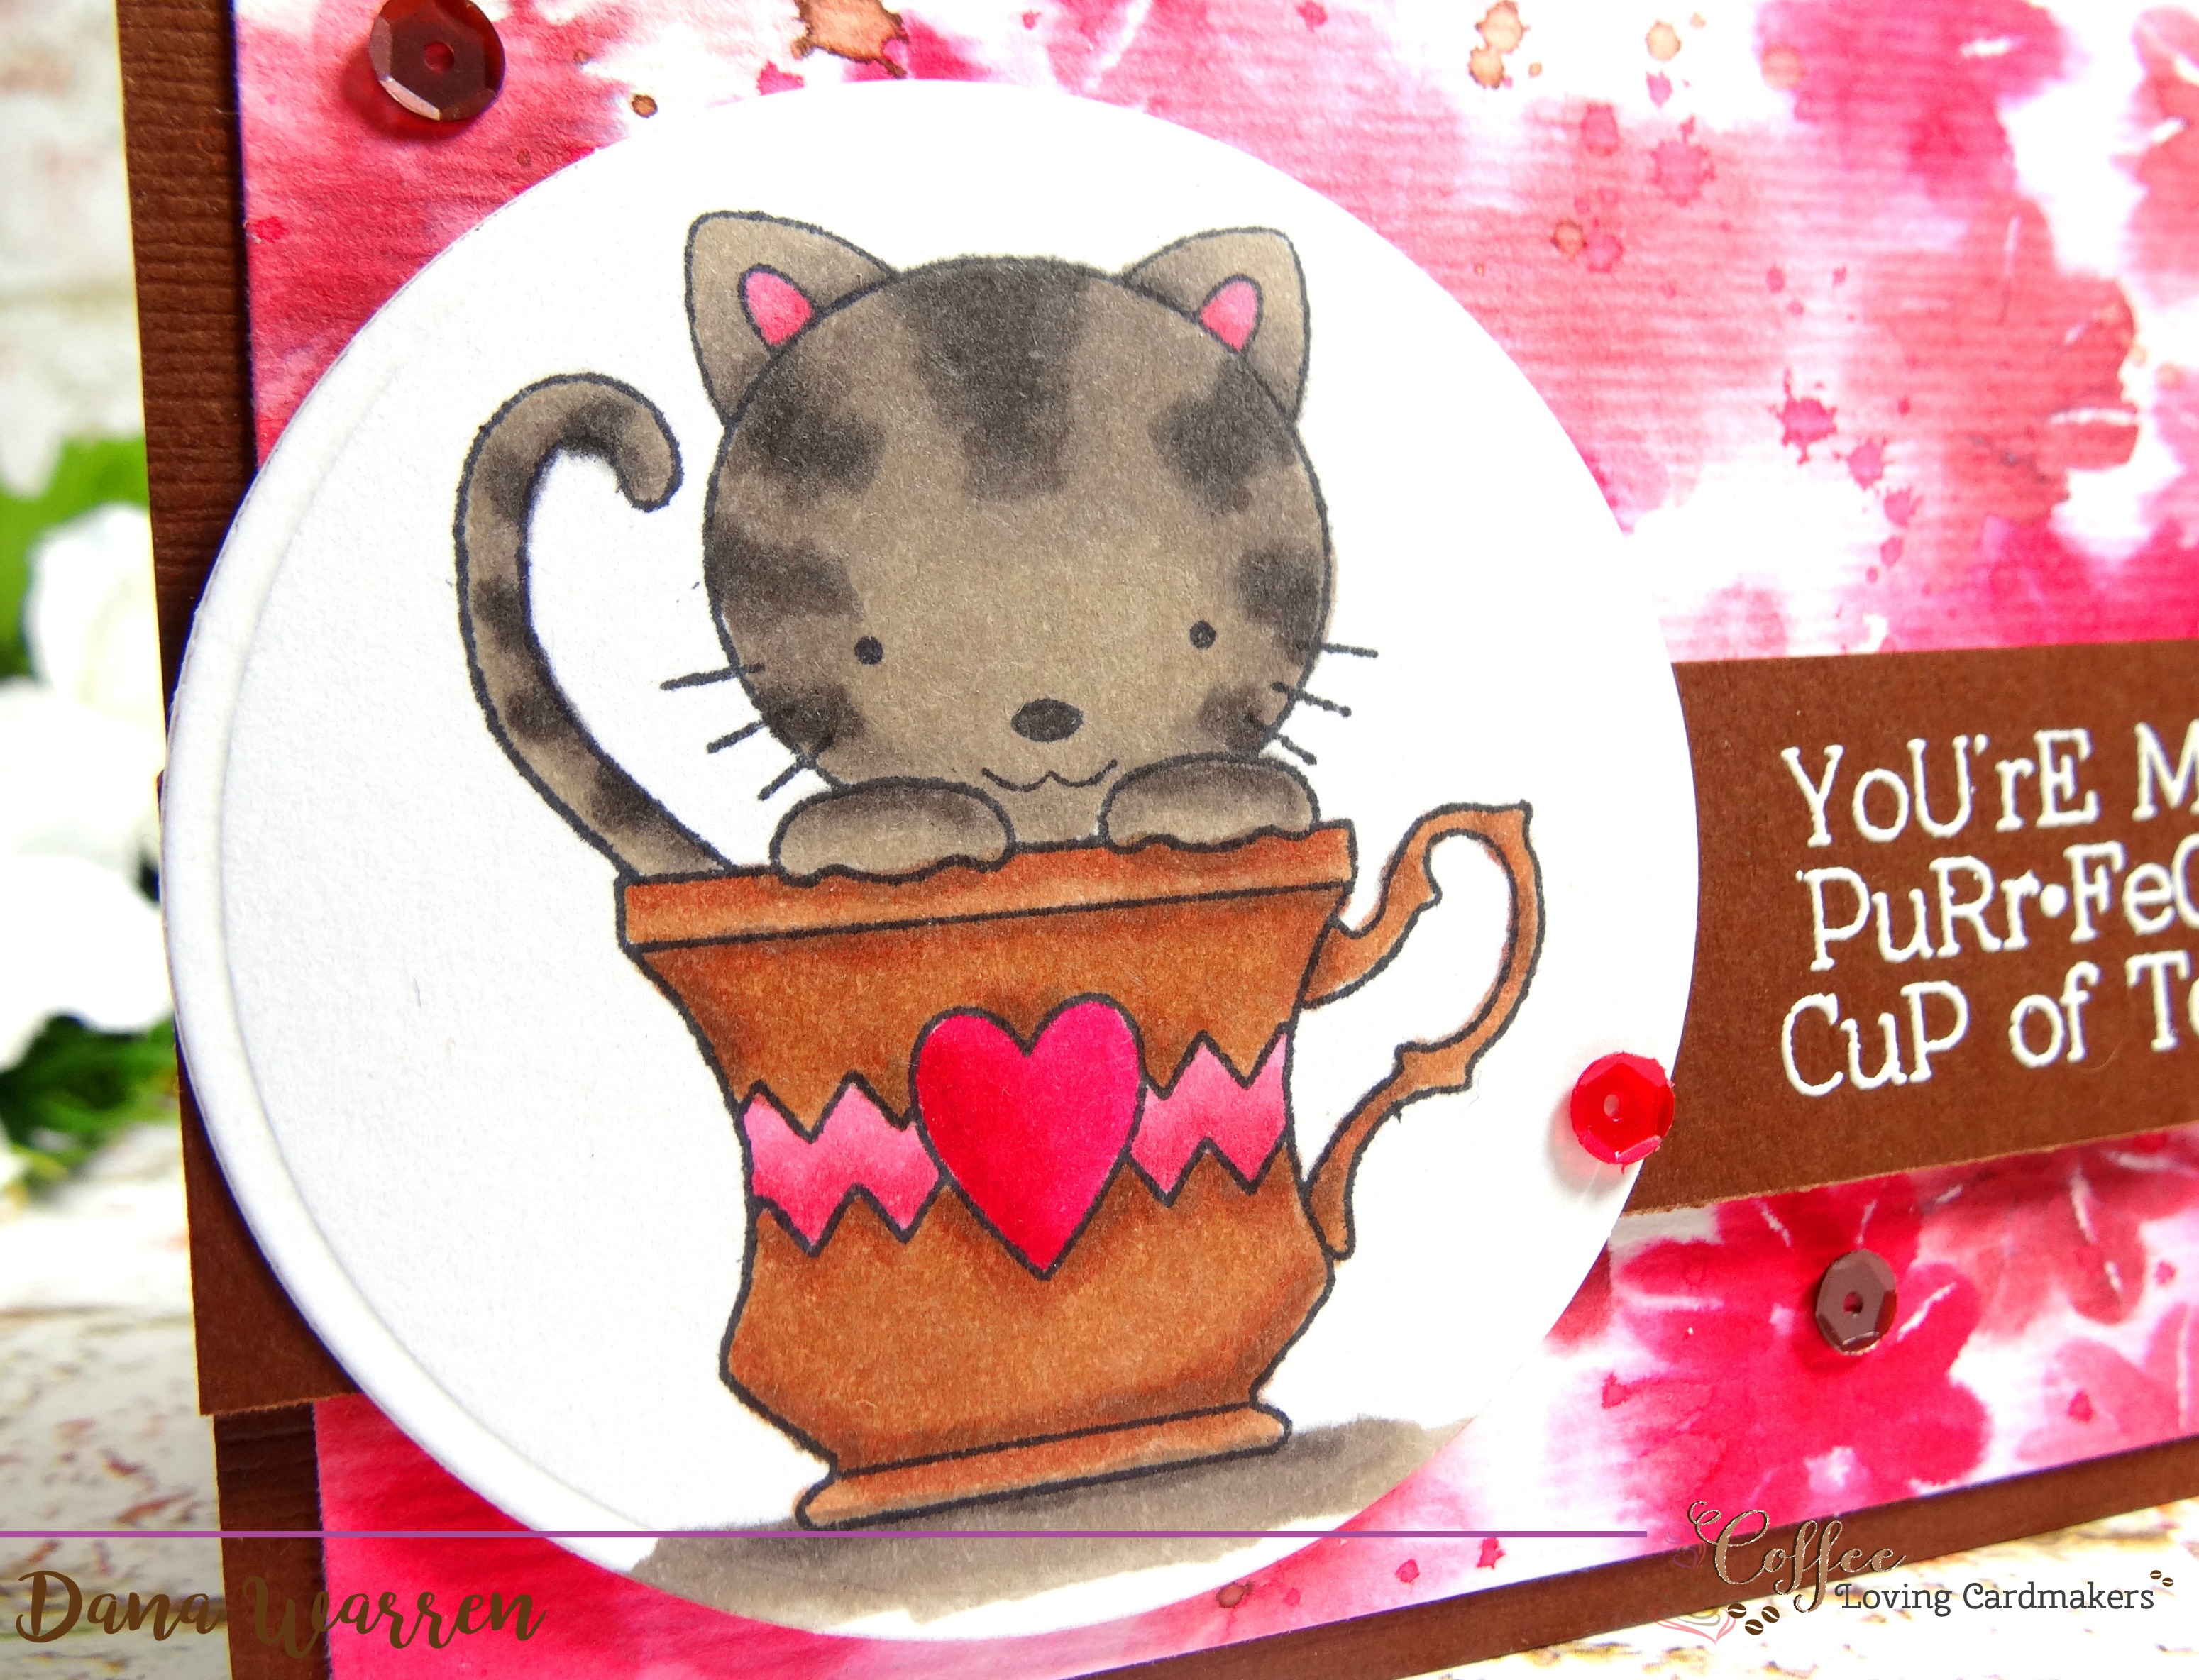
At first, I was going to create a flower from paper or fabric like the ideas above, but then the more I thought about, what if I stamped my flowers with nonflower stamps! So I went looking at my coffee themed stamps! Here is a close up of the flowers, can you guess what I used for the stamps????
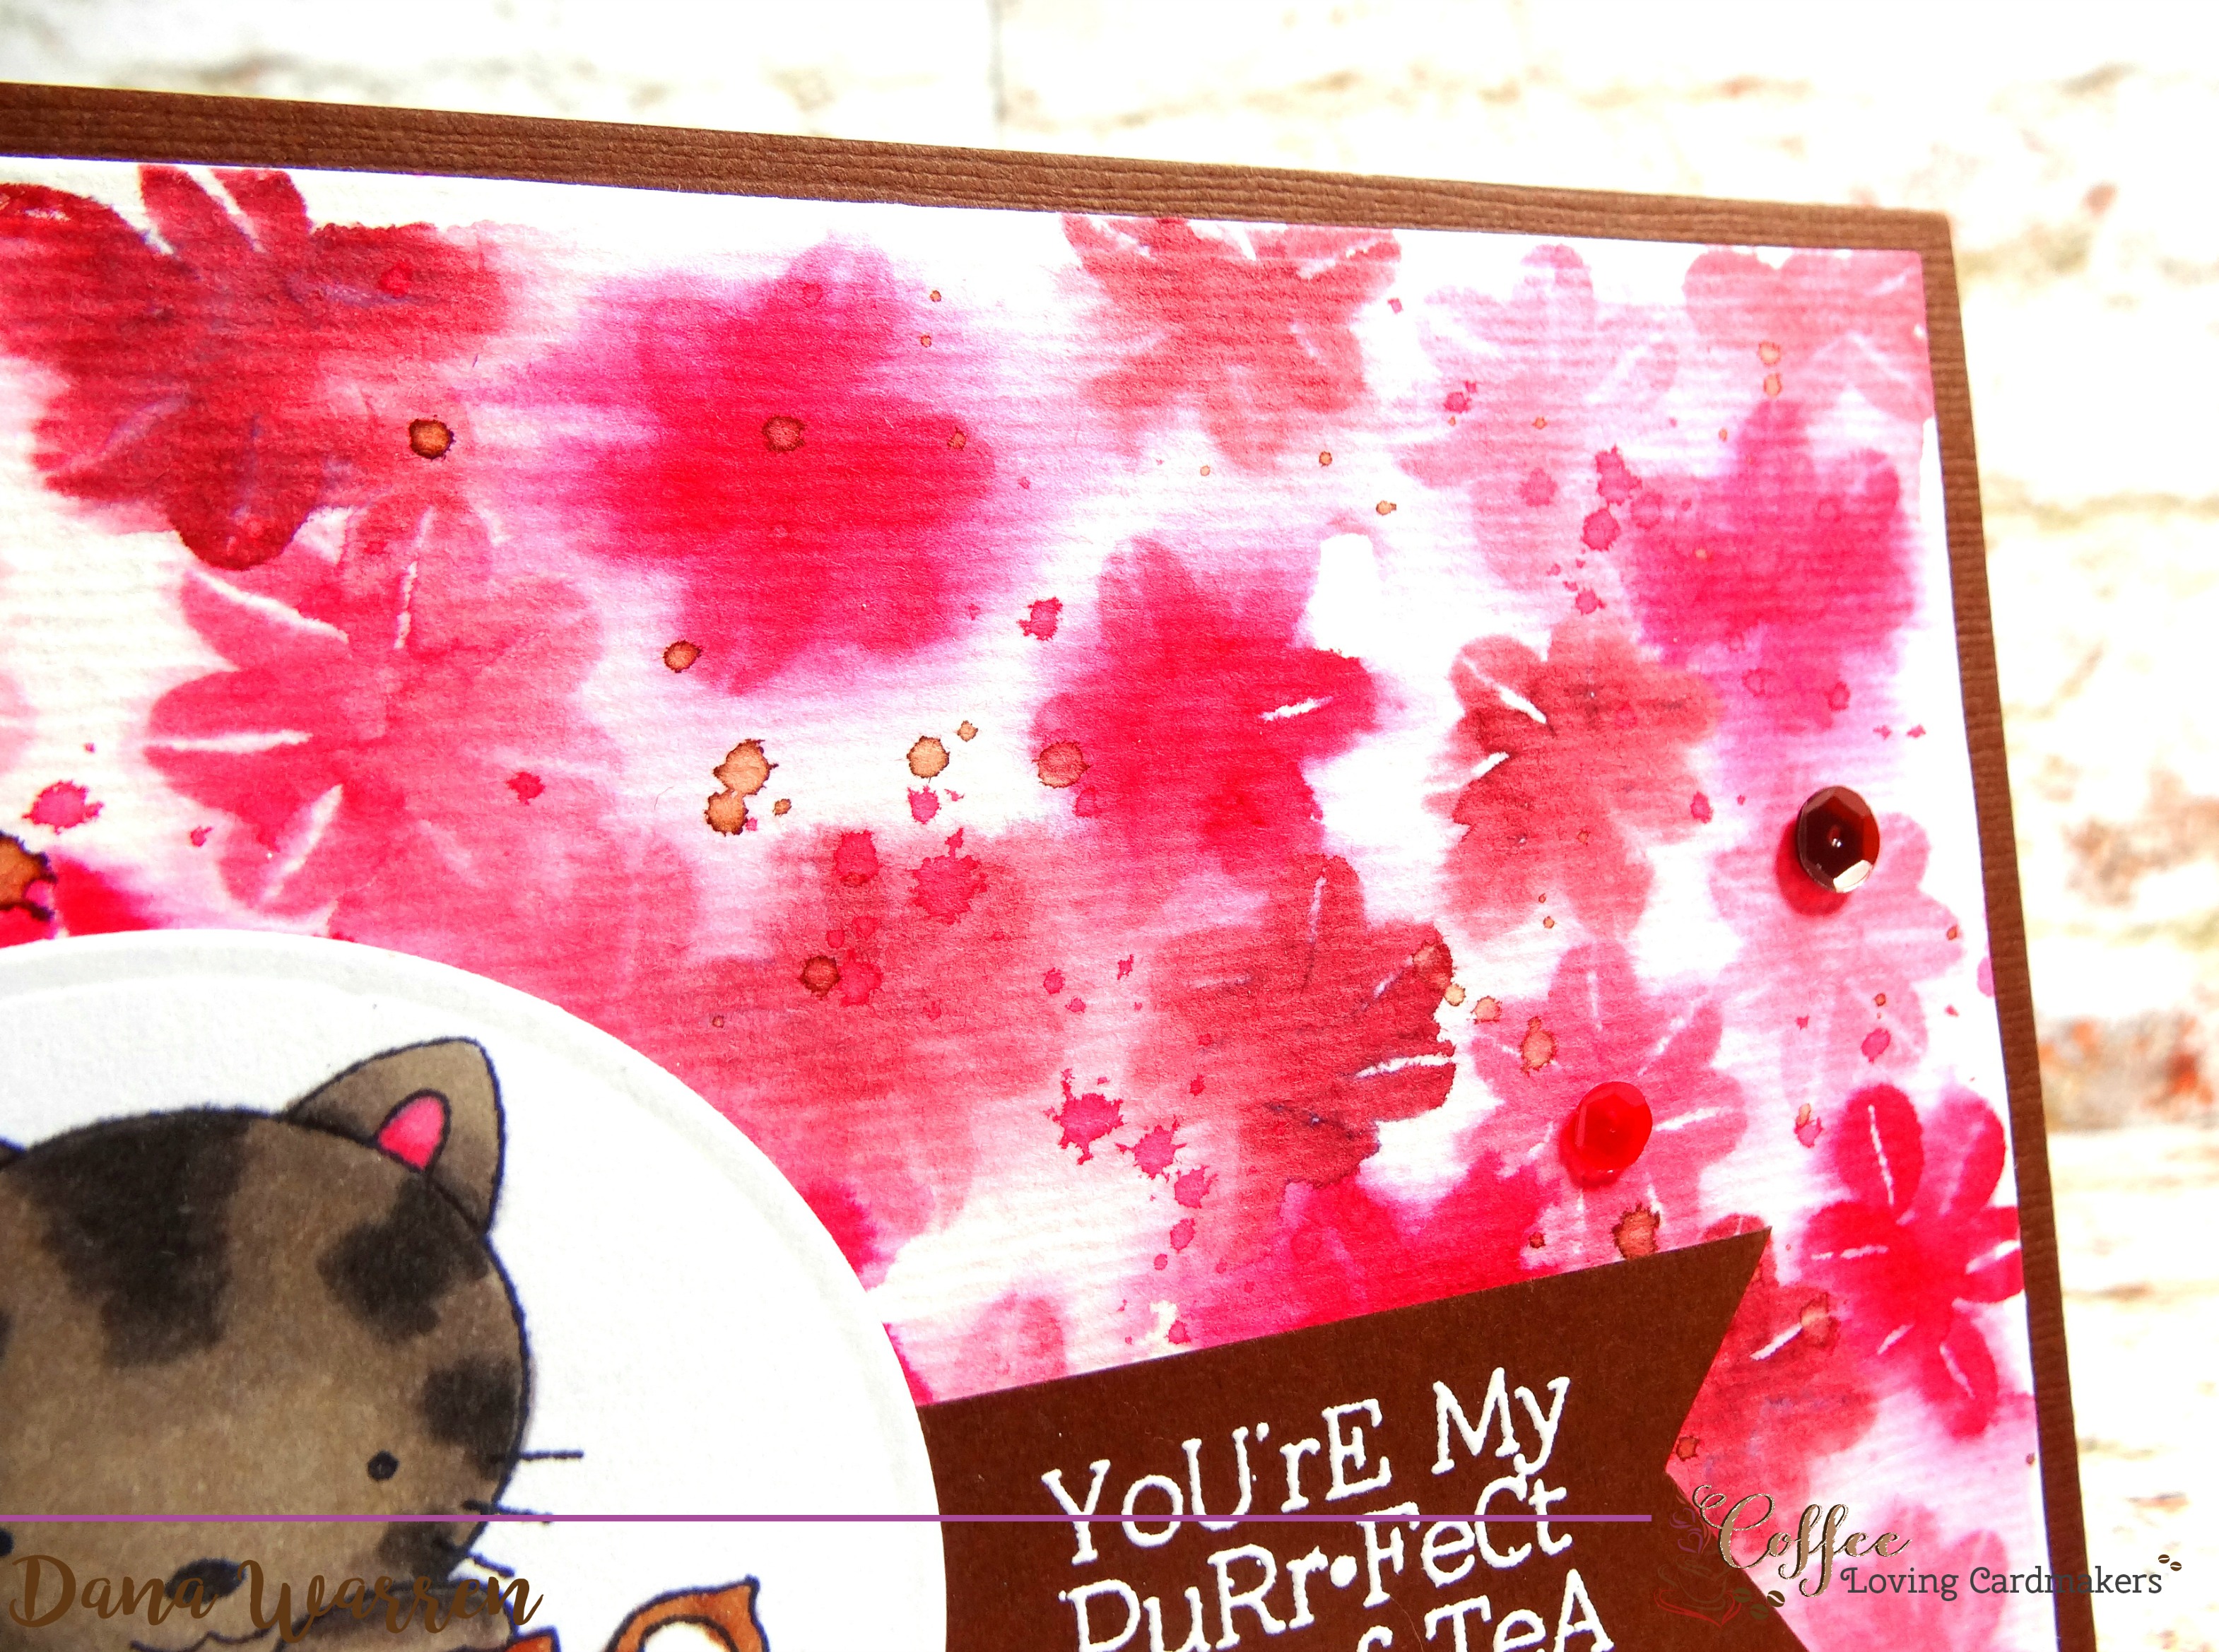
Can you believe it from… a coffee bean stamp!! I know, right! How awesome is that!! I did some experimenting on how I wanted to stamp these flowers and I kind of stumbled across a new to me stamping and watercolor technique. I used solid dot (for the flower center) and a solid coffee bean stamp from Gina K. Designs Coffee stamp set. Then to a panel of watercolor paper, I really added water to small areas of the panel. While the area was still wet I stamped the coffee bean flower with Altenew inks, I used Grapevine, Coral Berry, and, Ruby Red. Because the are is really saturated with water the ink wicked away into the water, creating a really cool halo look to each coffee petal I stamped. I worked my way around the panel, makeing sure the area’s was working on was saturated with water. I really loved how it turned out!
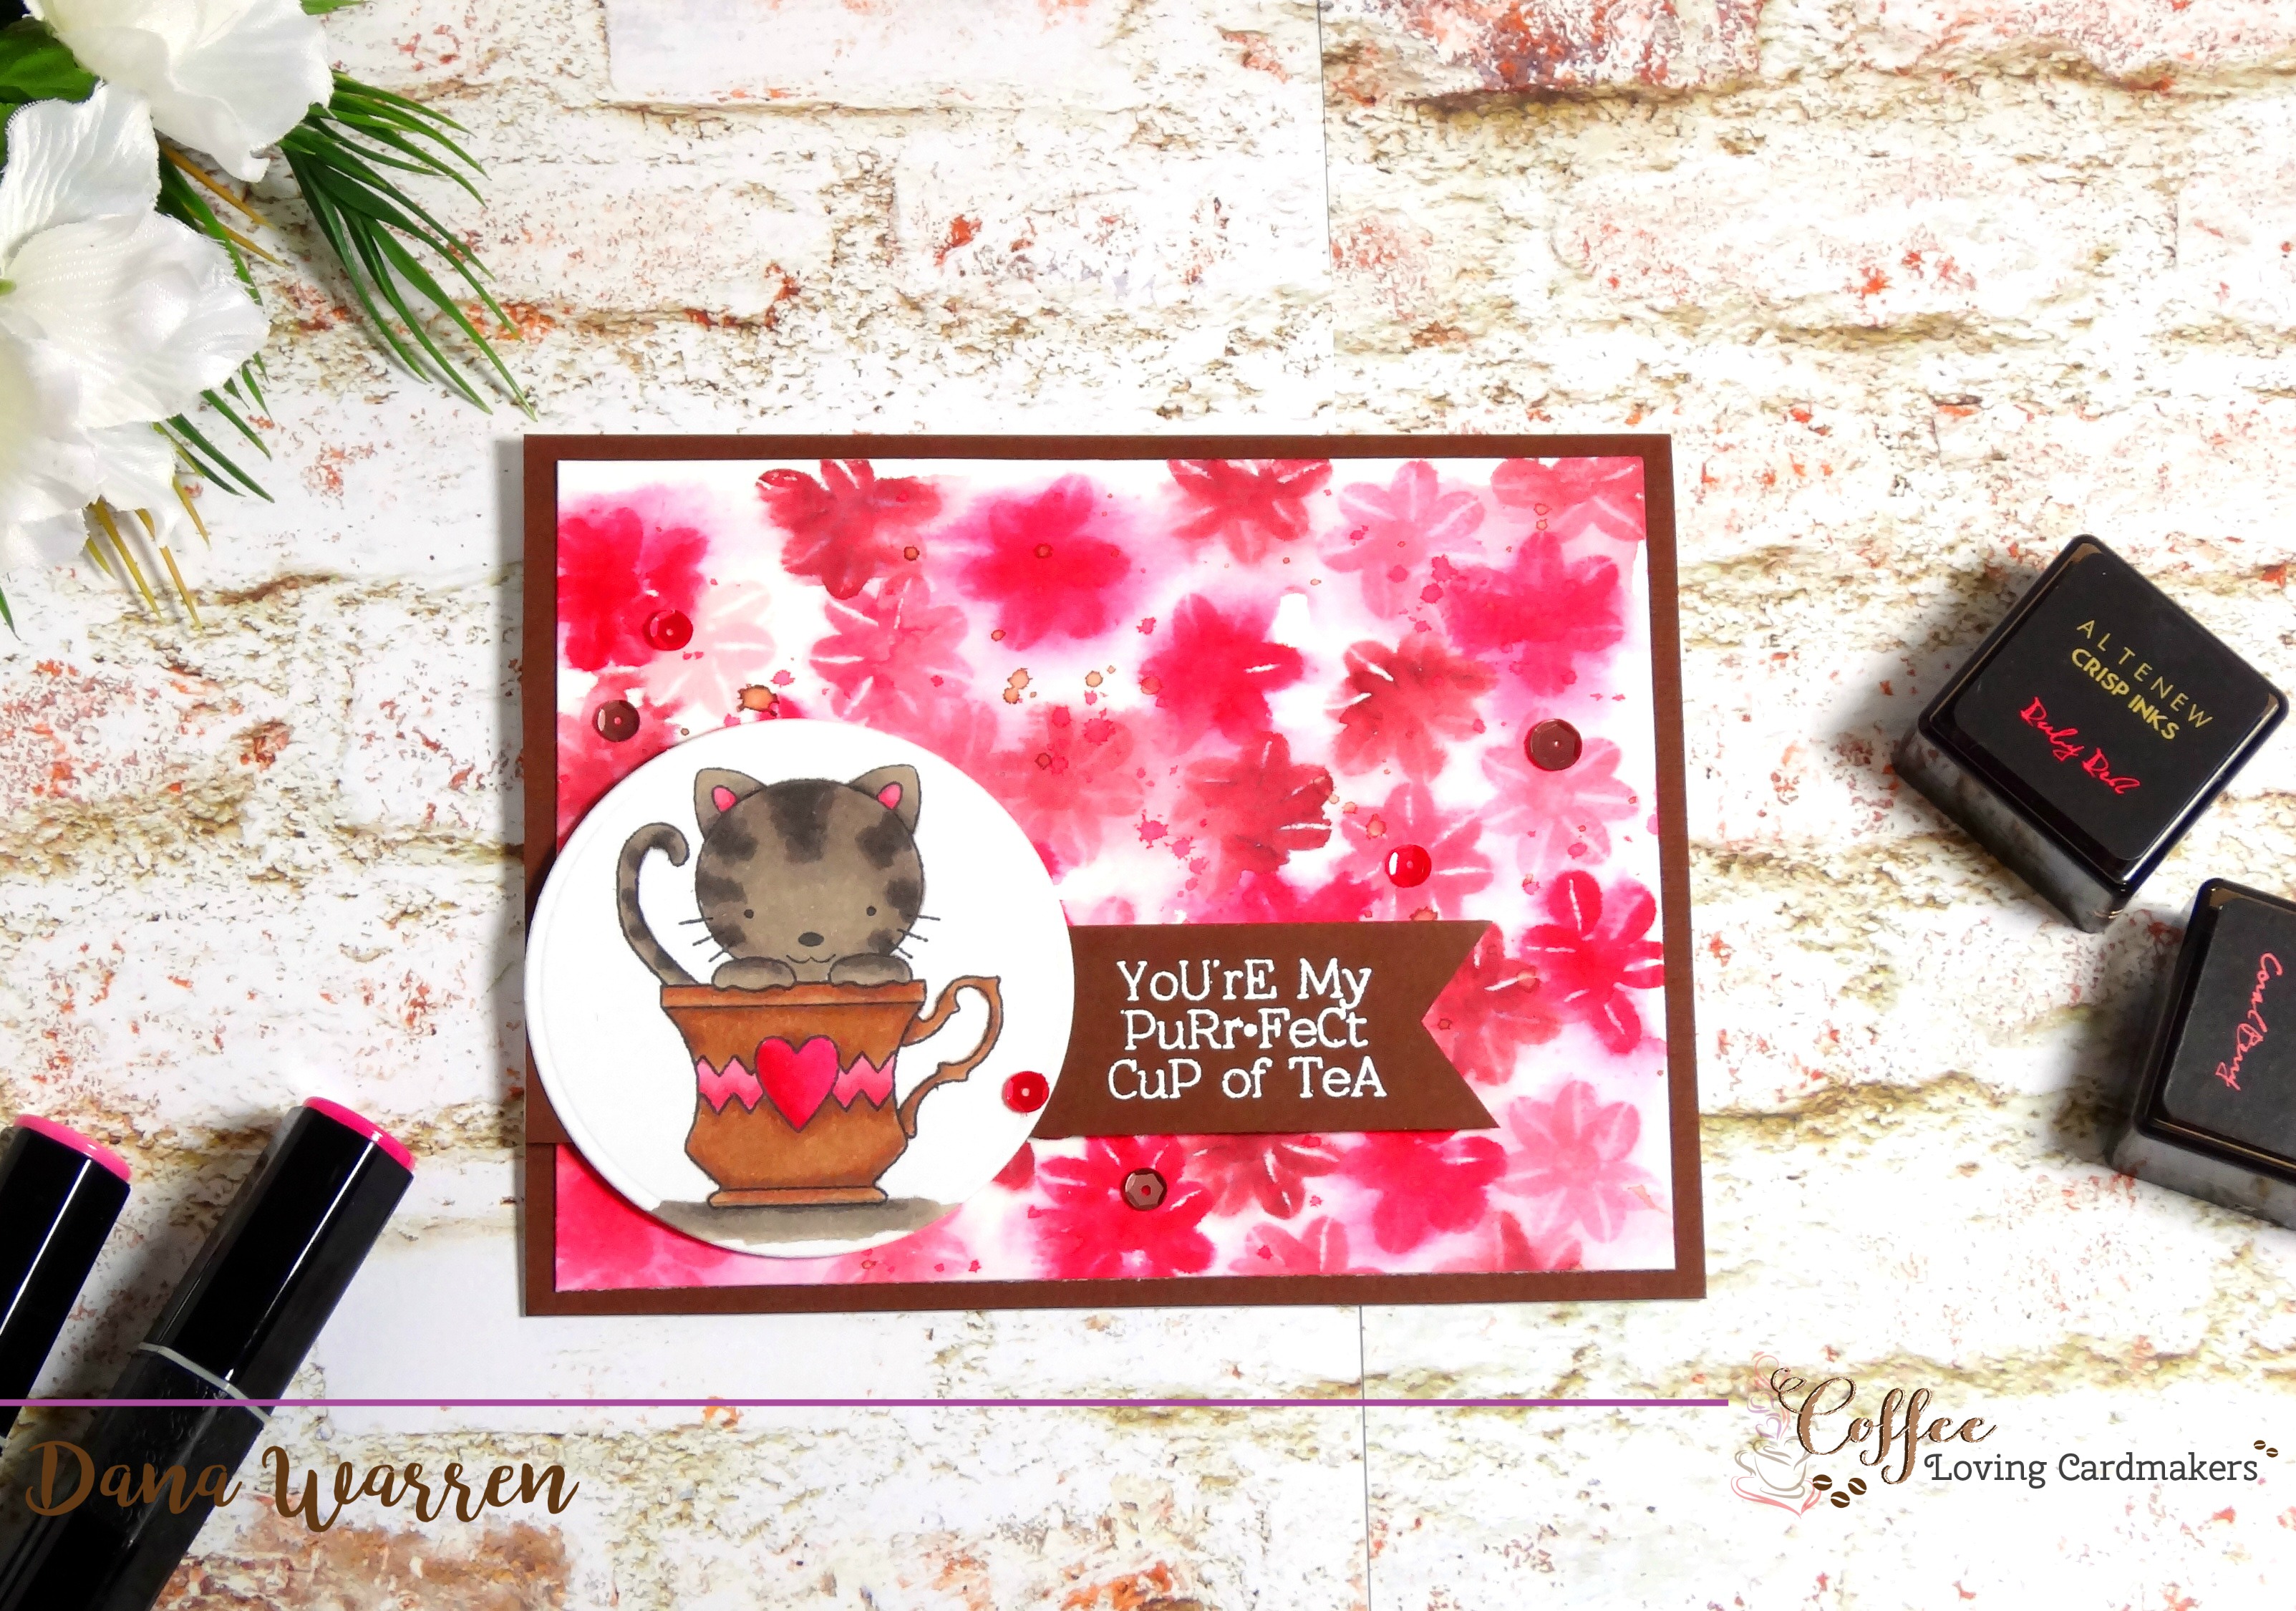
When my panel was done, I set it aside to dry and started my image. I stamped the kitten and tea cup from Darcie’s Heart & Home Purrfect Day stamp set on a white circle. Then I used my Spectrum Noir markers to color it, I used: BG5, BG6, BG7, CR5, MG3, MG4, MG5, PV2, RB1, RB2, RB3.
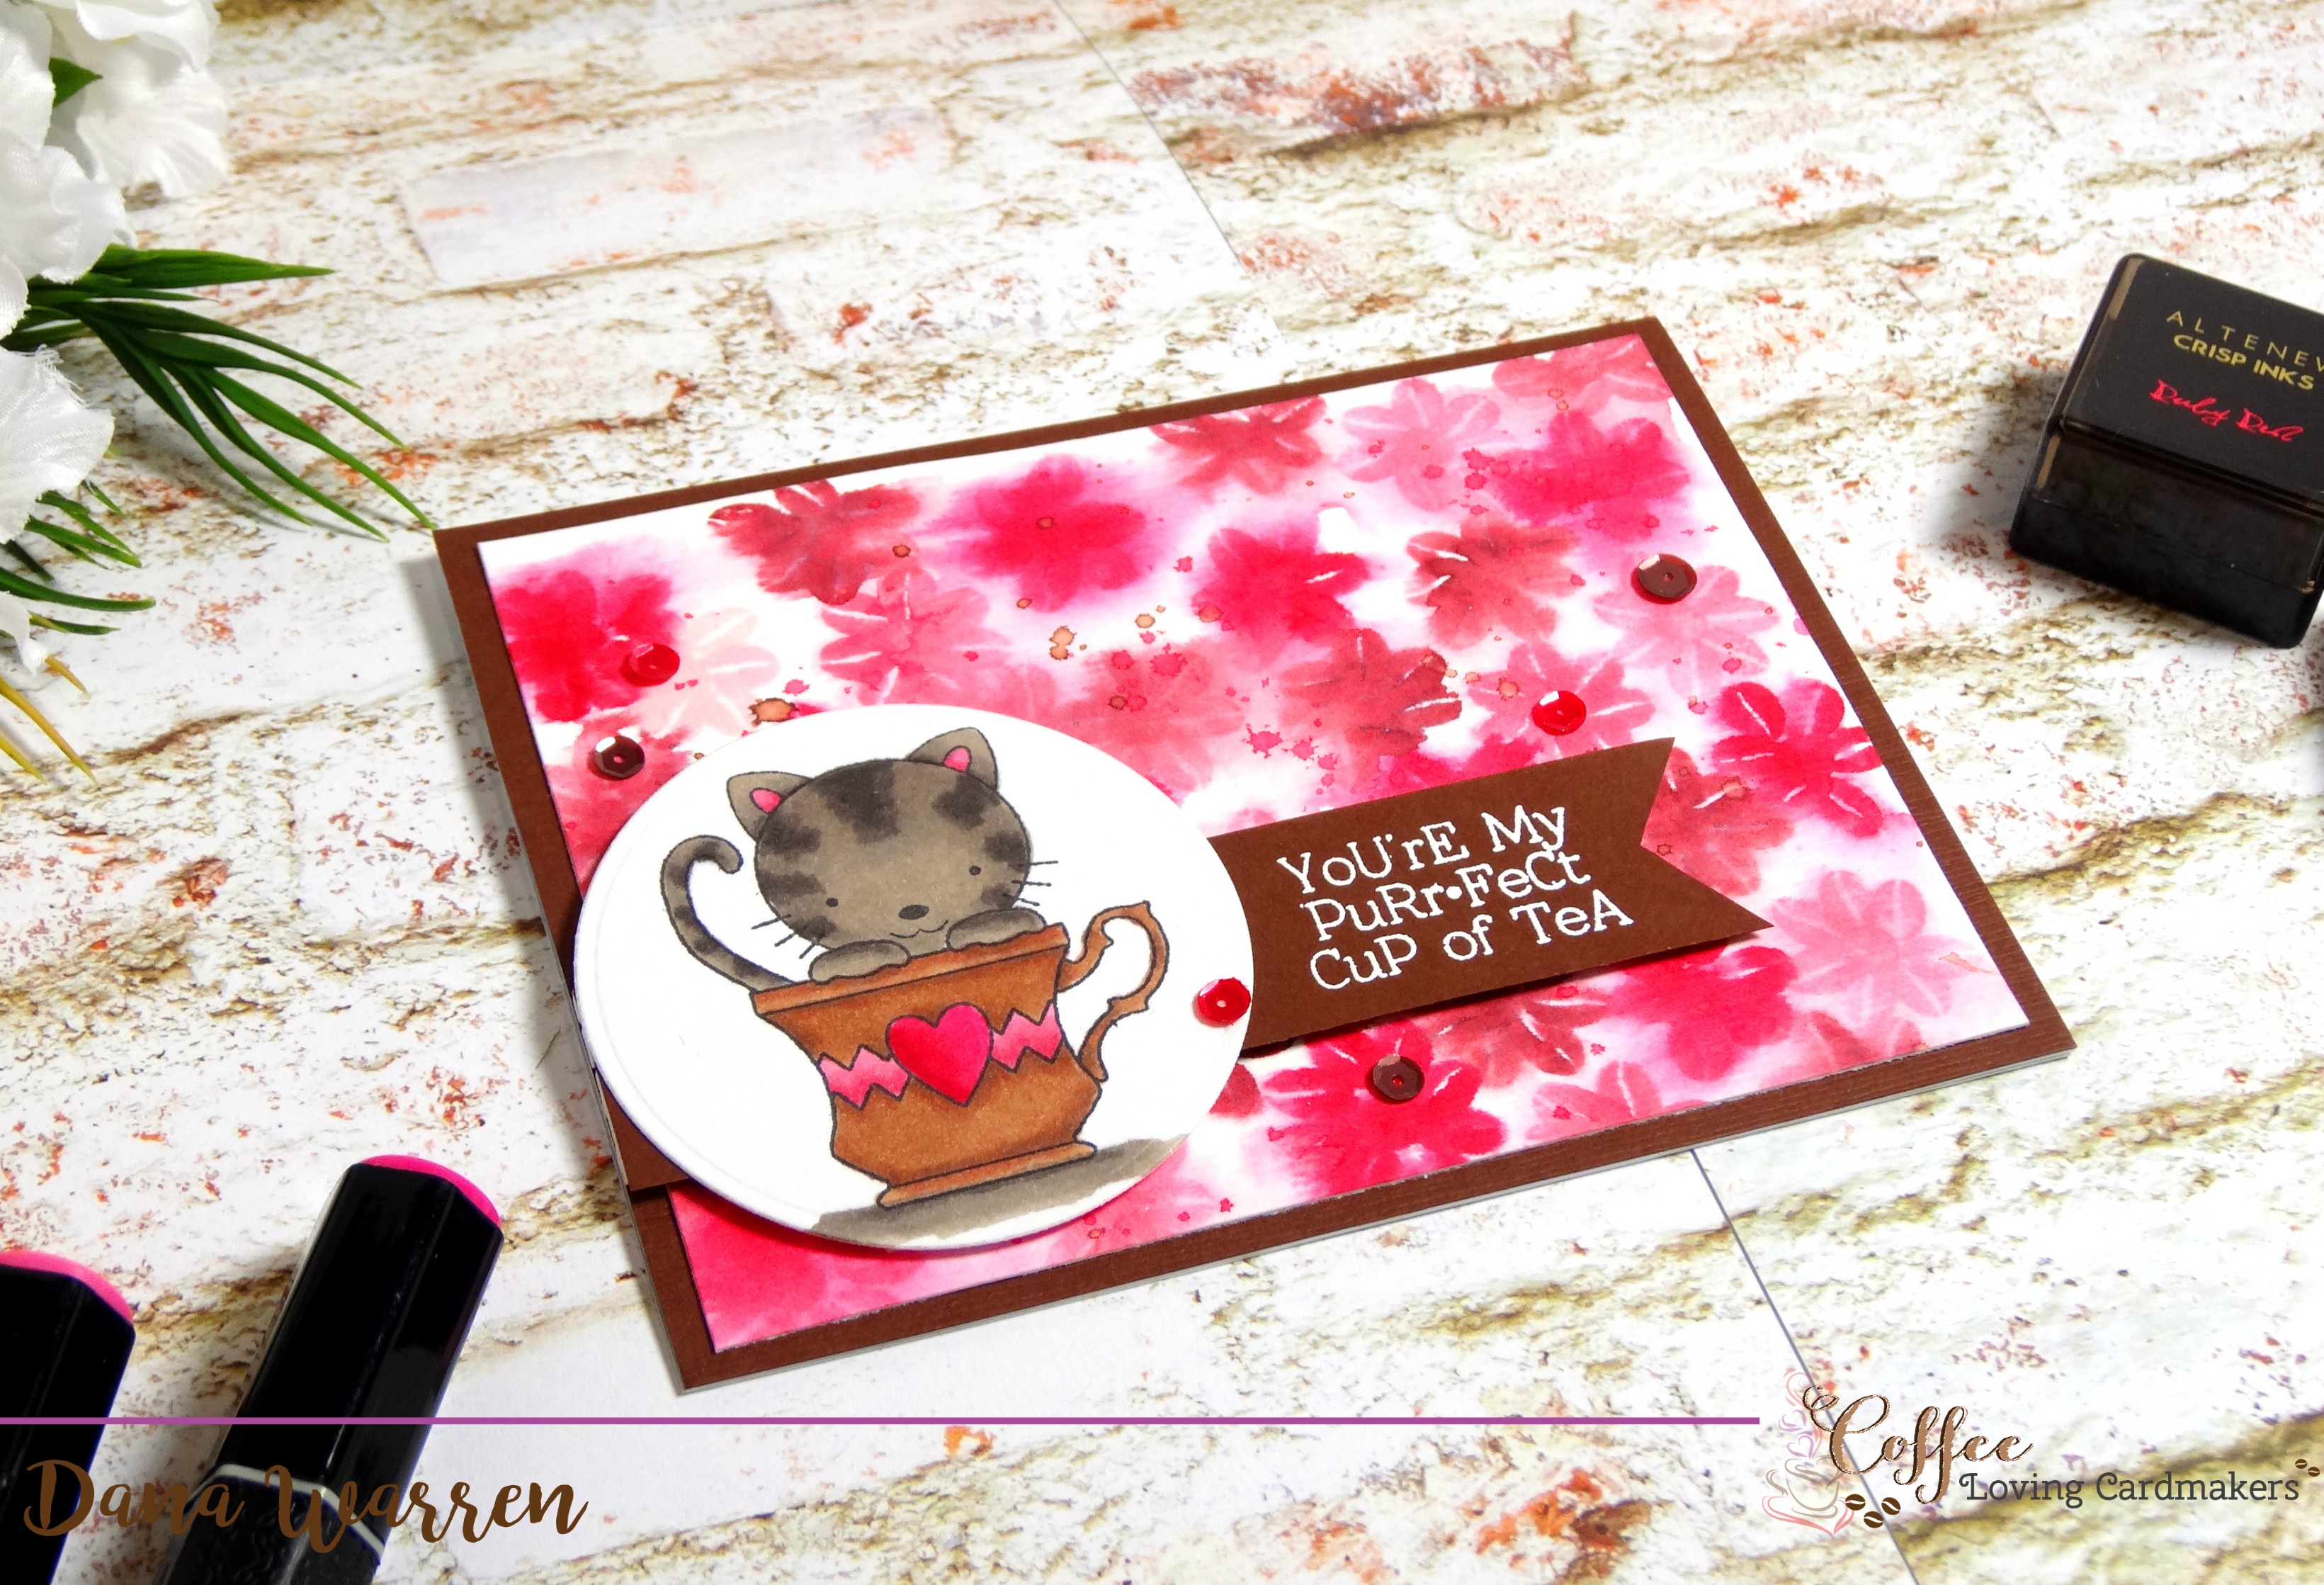
Next, I white embossed the sentiment in white on some brown card stock, notching one end of the strip.When my stamped background was dry I pressed on of the Altenew ink pads on my mat and then added some water to splatter it on my background. When that was dry I did the same think with some Papertrey Ink Dark Chocolate ink.
When everything was dry I added the stamped panel to a panel of brown card stock, then added this to a white card base. I added the sentiment strip and colored image to the card with foam tape. Last I added a few brown and pink sequins.

Thanks so much for stopping by! I hope this helps you look at your coffee stamps in a new light!!
Dana
Supplies
Stamps: Gina K. Designs – Coffee, Darcie’s Heart & Home – Purrfect Day
Ink: Altenew – Grapevine, Coral Berry, Ruby Red. Papertrey Ink – Dark Chocolate
Sequins: Neat & Tangled – Festive Fall Mix, Winter Wonderland Mix
Spectrum Noir Markers


Leave a reply to Terri Burson Cancel reply