Hello, Coffee Lovers!!
Dana here with a new installment of Brew & Craft Your Stash!! Grab some coffee or tea and read on for some awesome Dry Embossing ideas!! If this is the first time you are seeing my feature or need a refresher, click here for my first post, it gives a little background explanation on my feature!

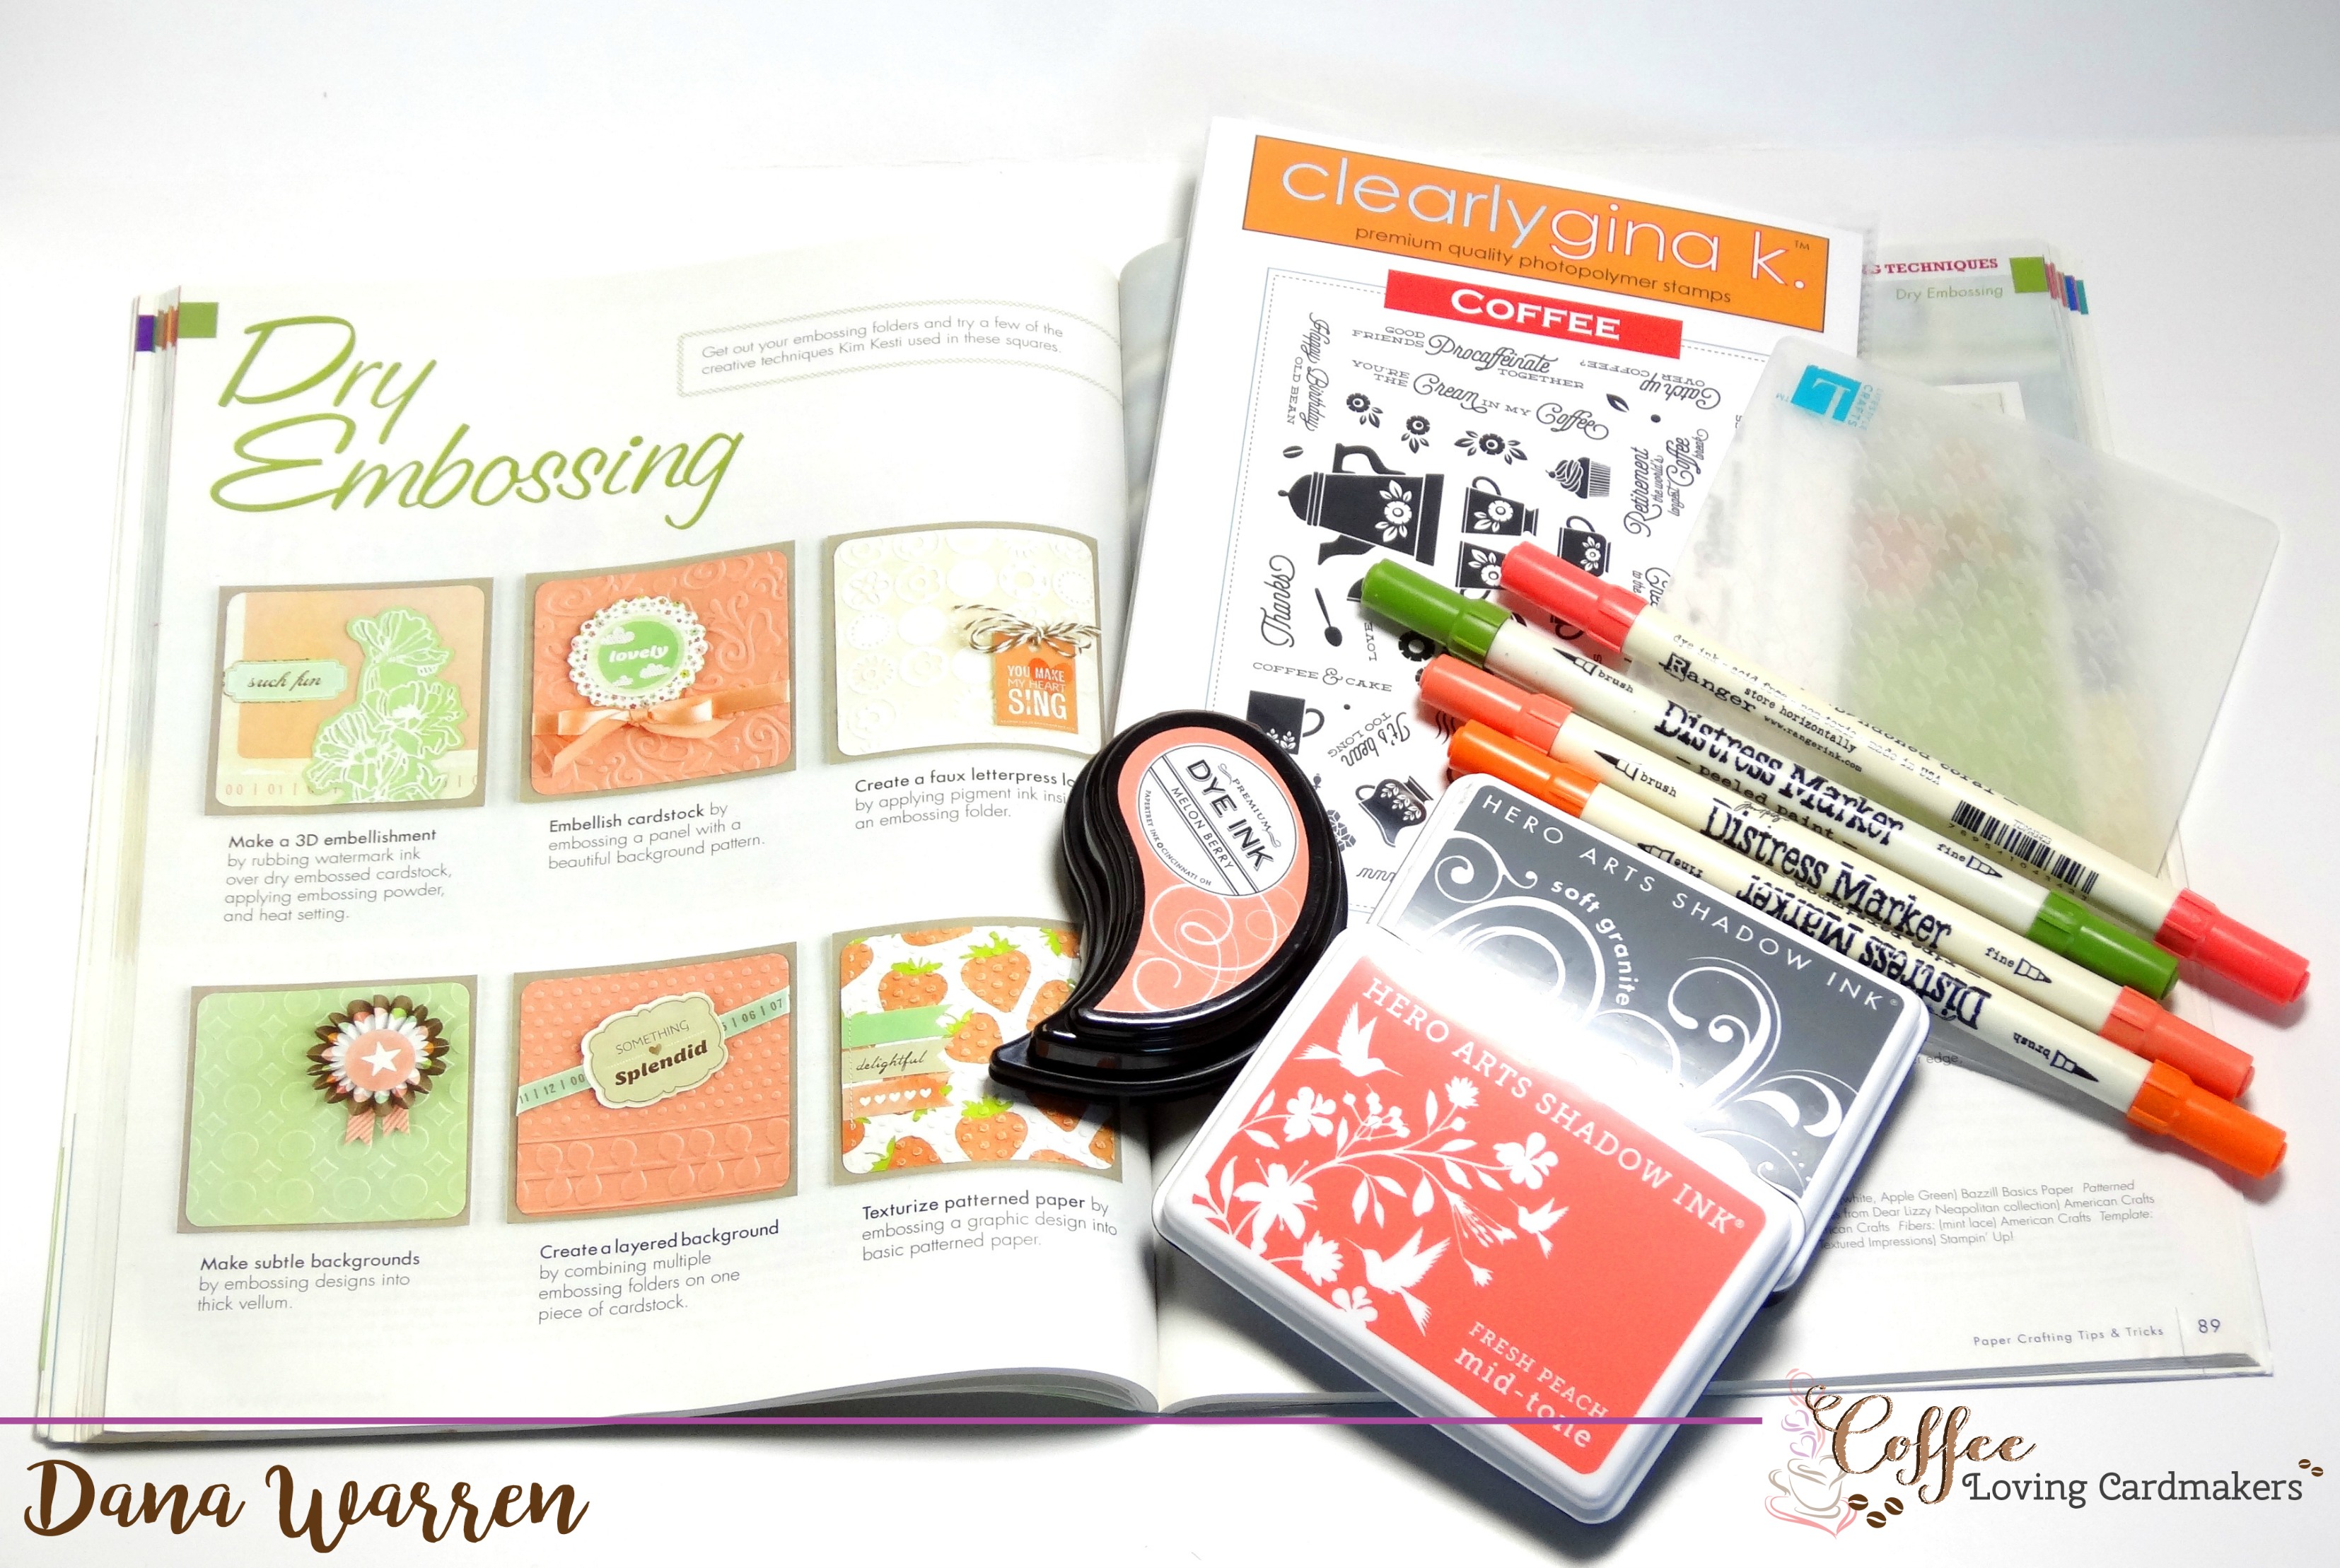
We are visiting the Applying Techniques section in the 2012 Paper Crafting Tips & Tricks magazine and we are taking a look at Dry Embossing. Kim Kesti gives us several ways to use those embossing folders!! I have a few embossing folders and brought just a couple with me and today I’m doing a favorite technique I like to do with my embossing folders. But first, a few ideas that Kim mentions in the magazine!
- Make a 3D embellishment, emboss card stock, then apply watermark ink and heat embossing powder.
- Add a dry embossed background to a card
- Add ink to an embossing folder to get letterpress look
- Dry emboss vellum
- Use multiple embossing folders on one background
- Dry emboss with pattern paper
As you can see there are a lot of ways to use dry embossing on your project. One of my favorite ways to watercolor with my embossing folders!!! It’s super easy!! Use a watercolor marker (like Distress Markers, or Spectrum Noir Aqua Markers) and color the emboss folder. You want to color the side the pattern is indented. You can do this to a detailed folder or one with big open spaces!! Spritz the folder with water and place a panel of watercolor card stock in the folder. Immediately run through your die cutting machine (have it ready for embossing folders!!) Remove the panel from the folder and let dry. In hindsight, I should have taken a few photos to show the technique!!
You can get several different looks depending on how much water you add. A lot will make the watercolor move around and mix with other colors more. Not much water will give a cool splotchy watercolor look. The image of the embossing folder can also play into your results! Have fun and experiment!!
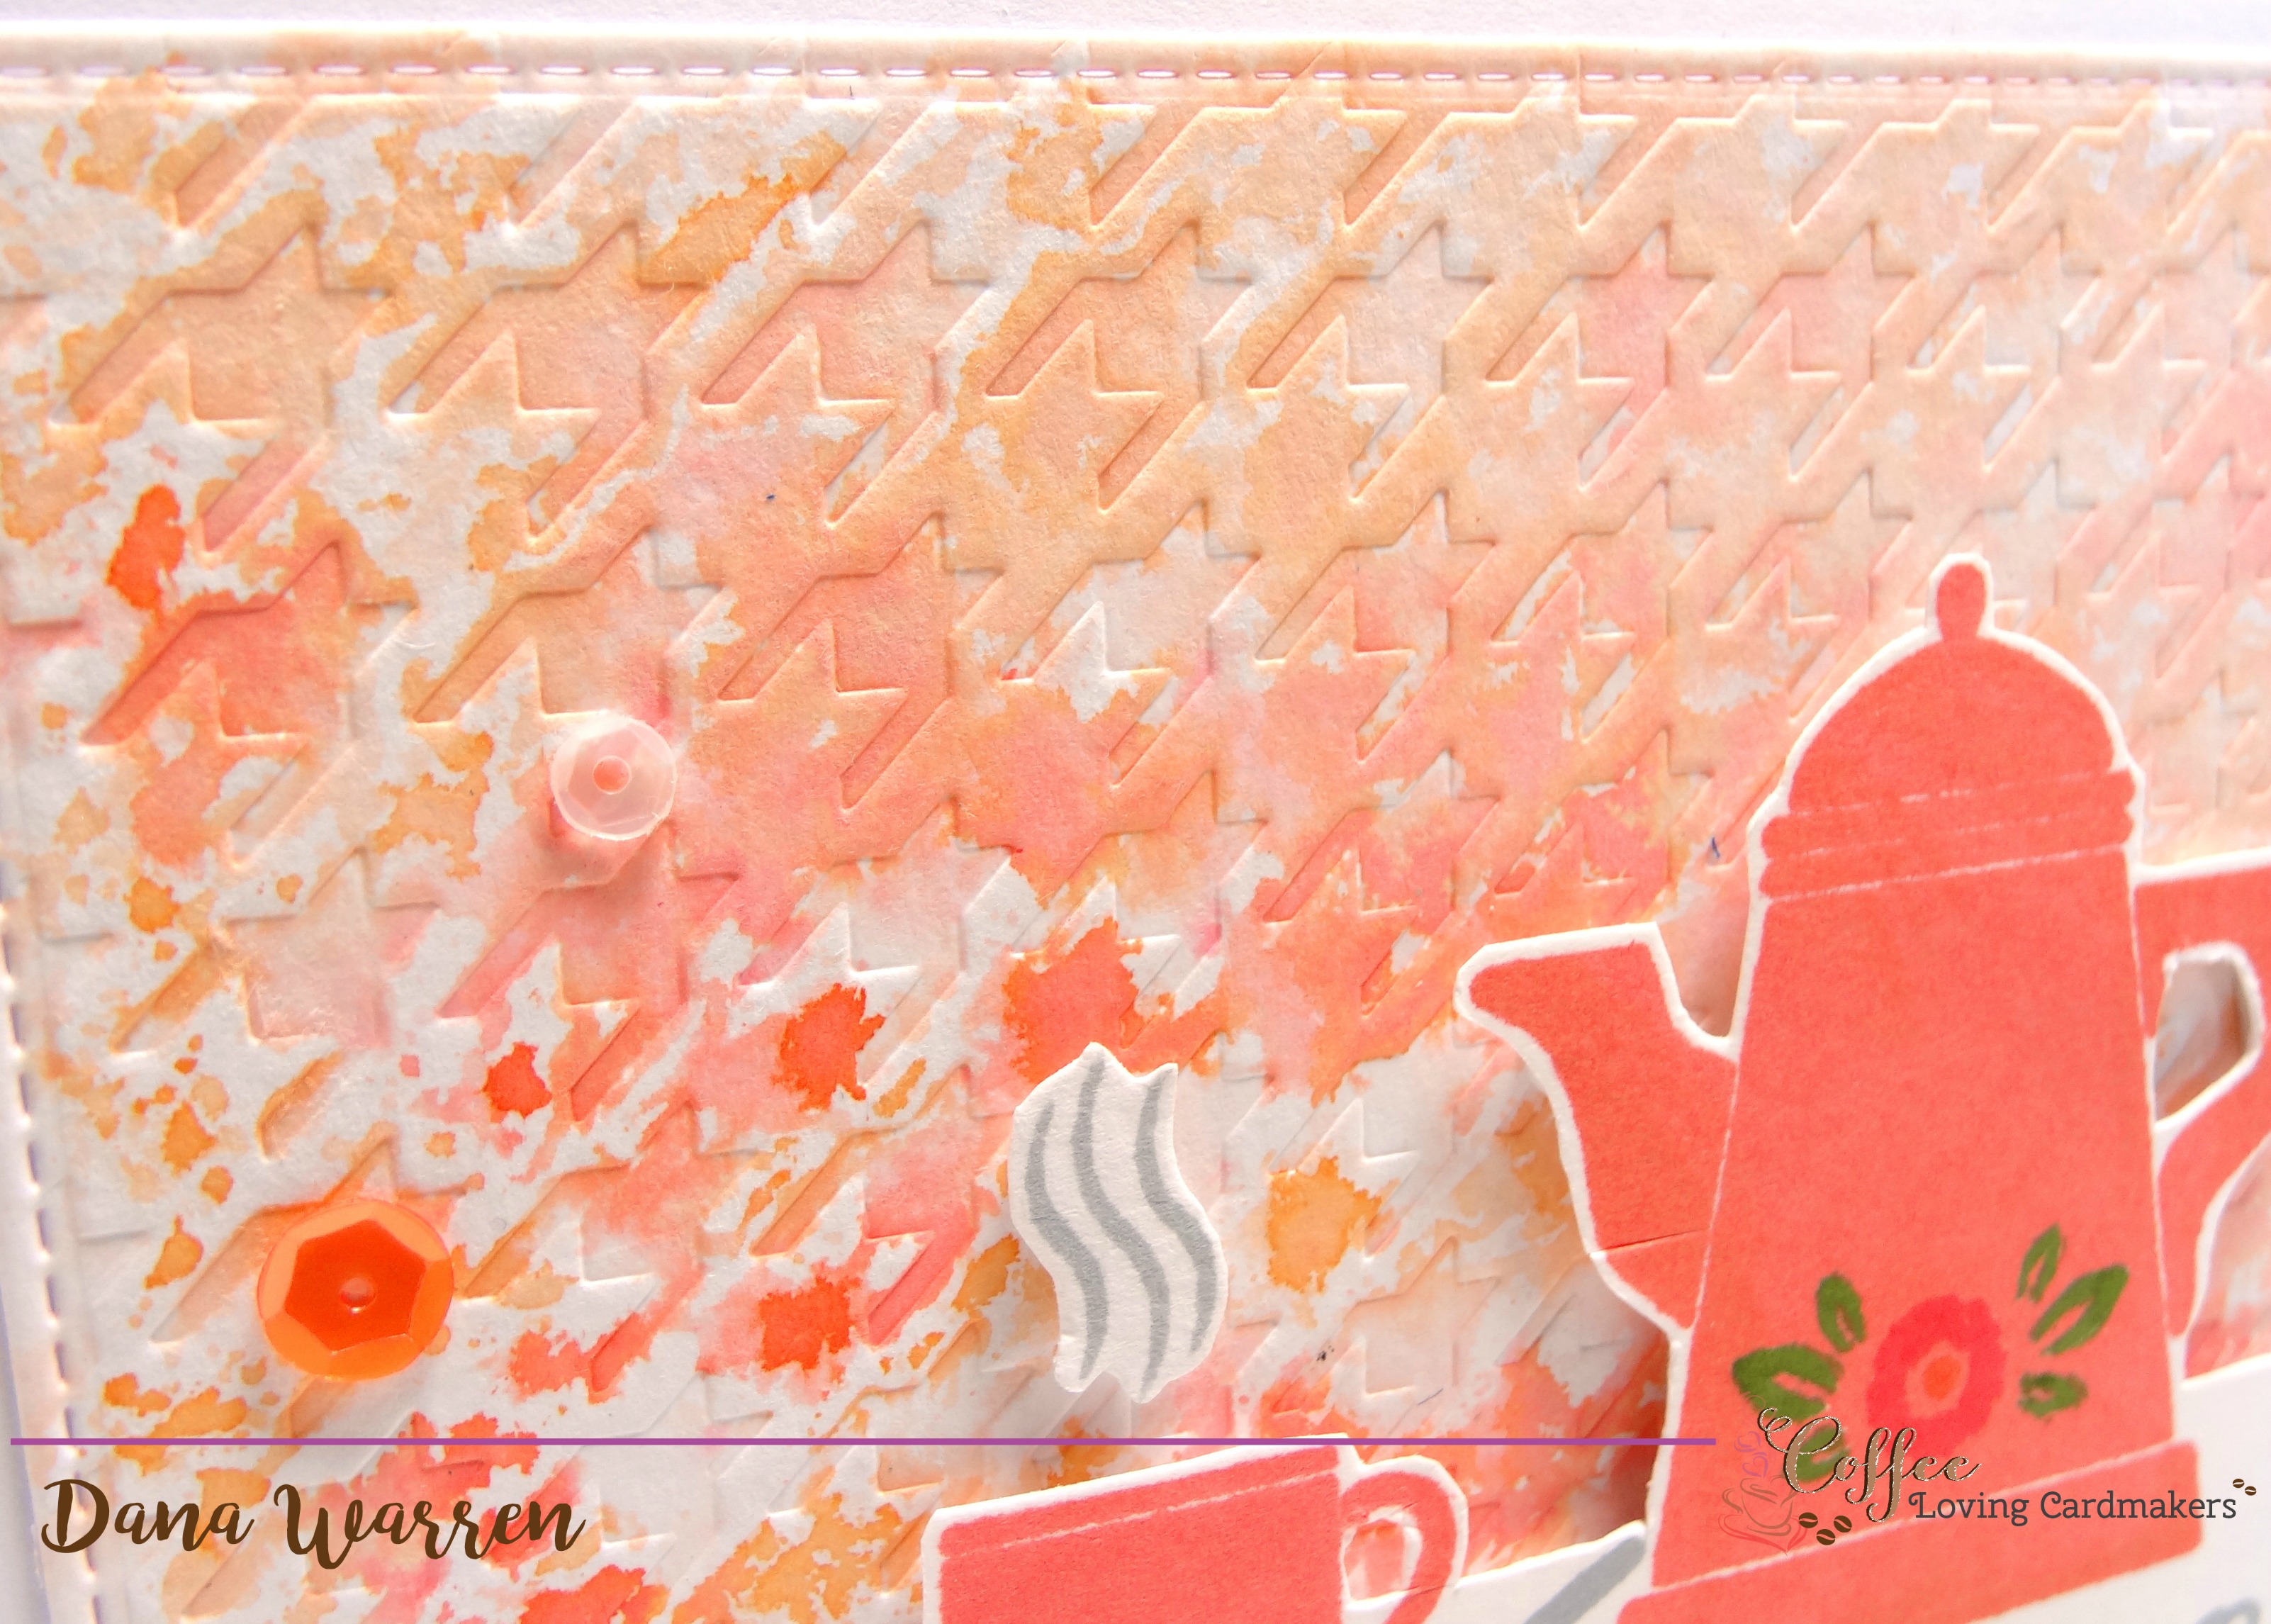
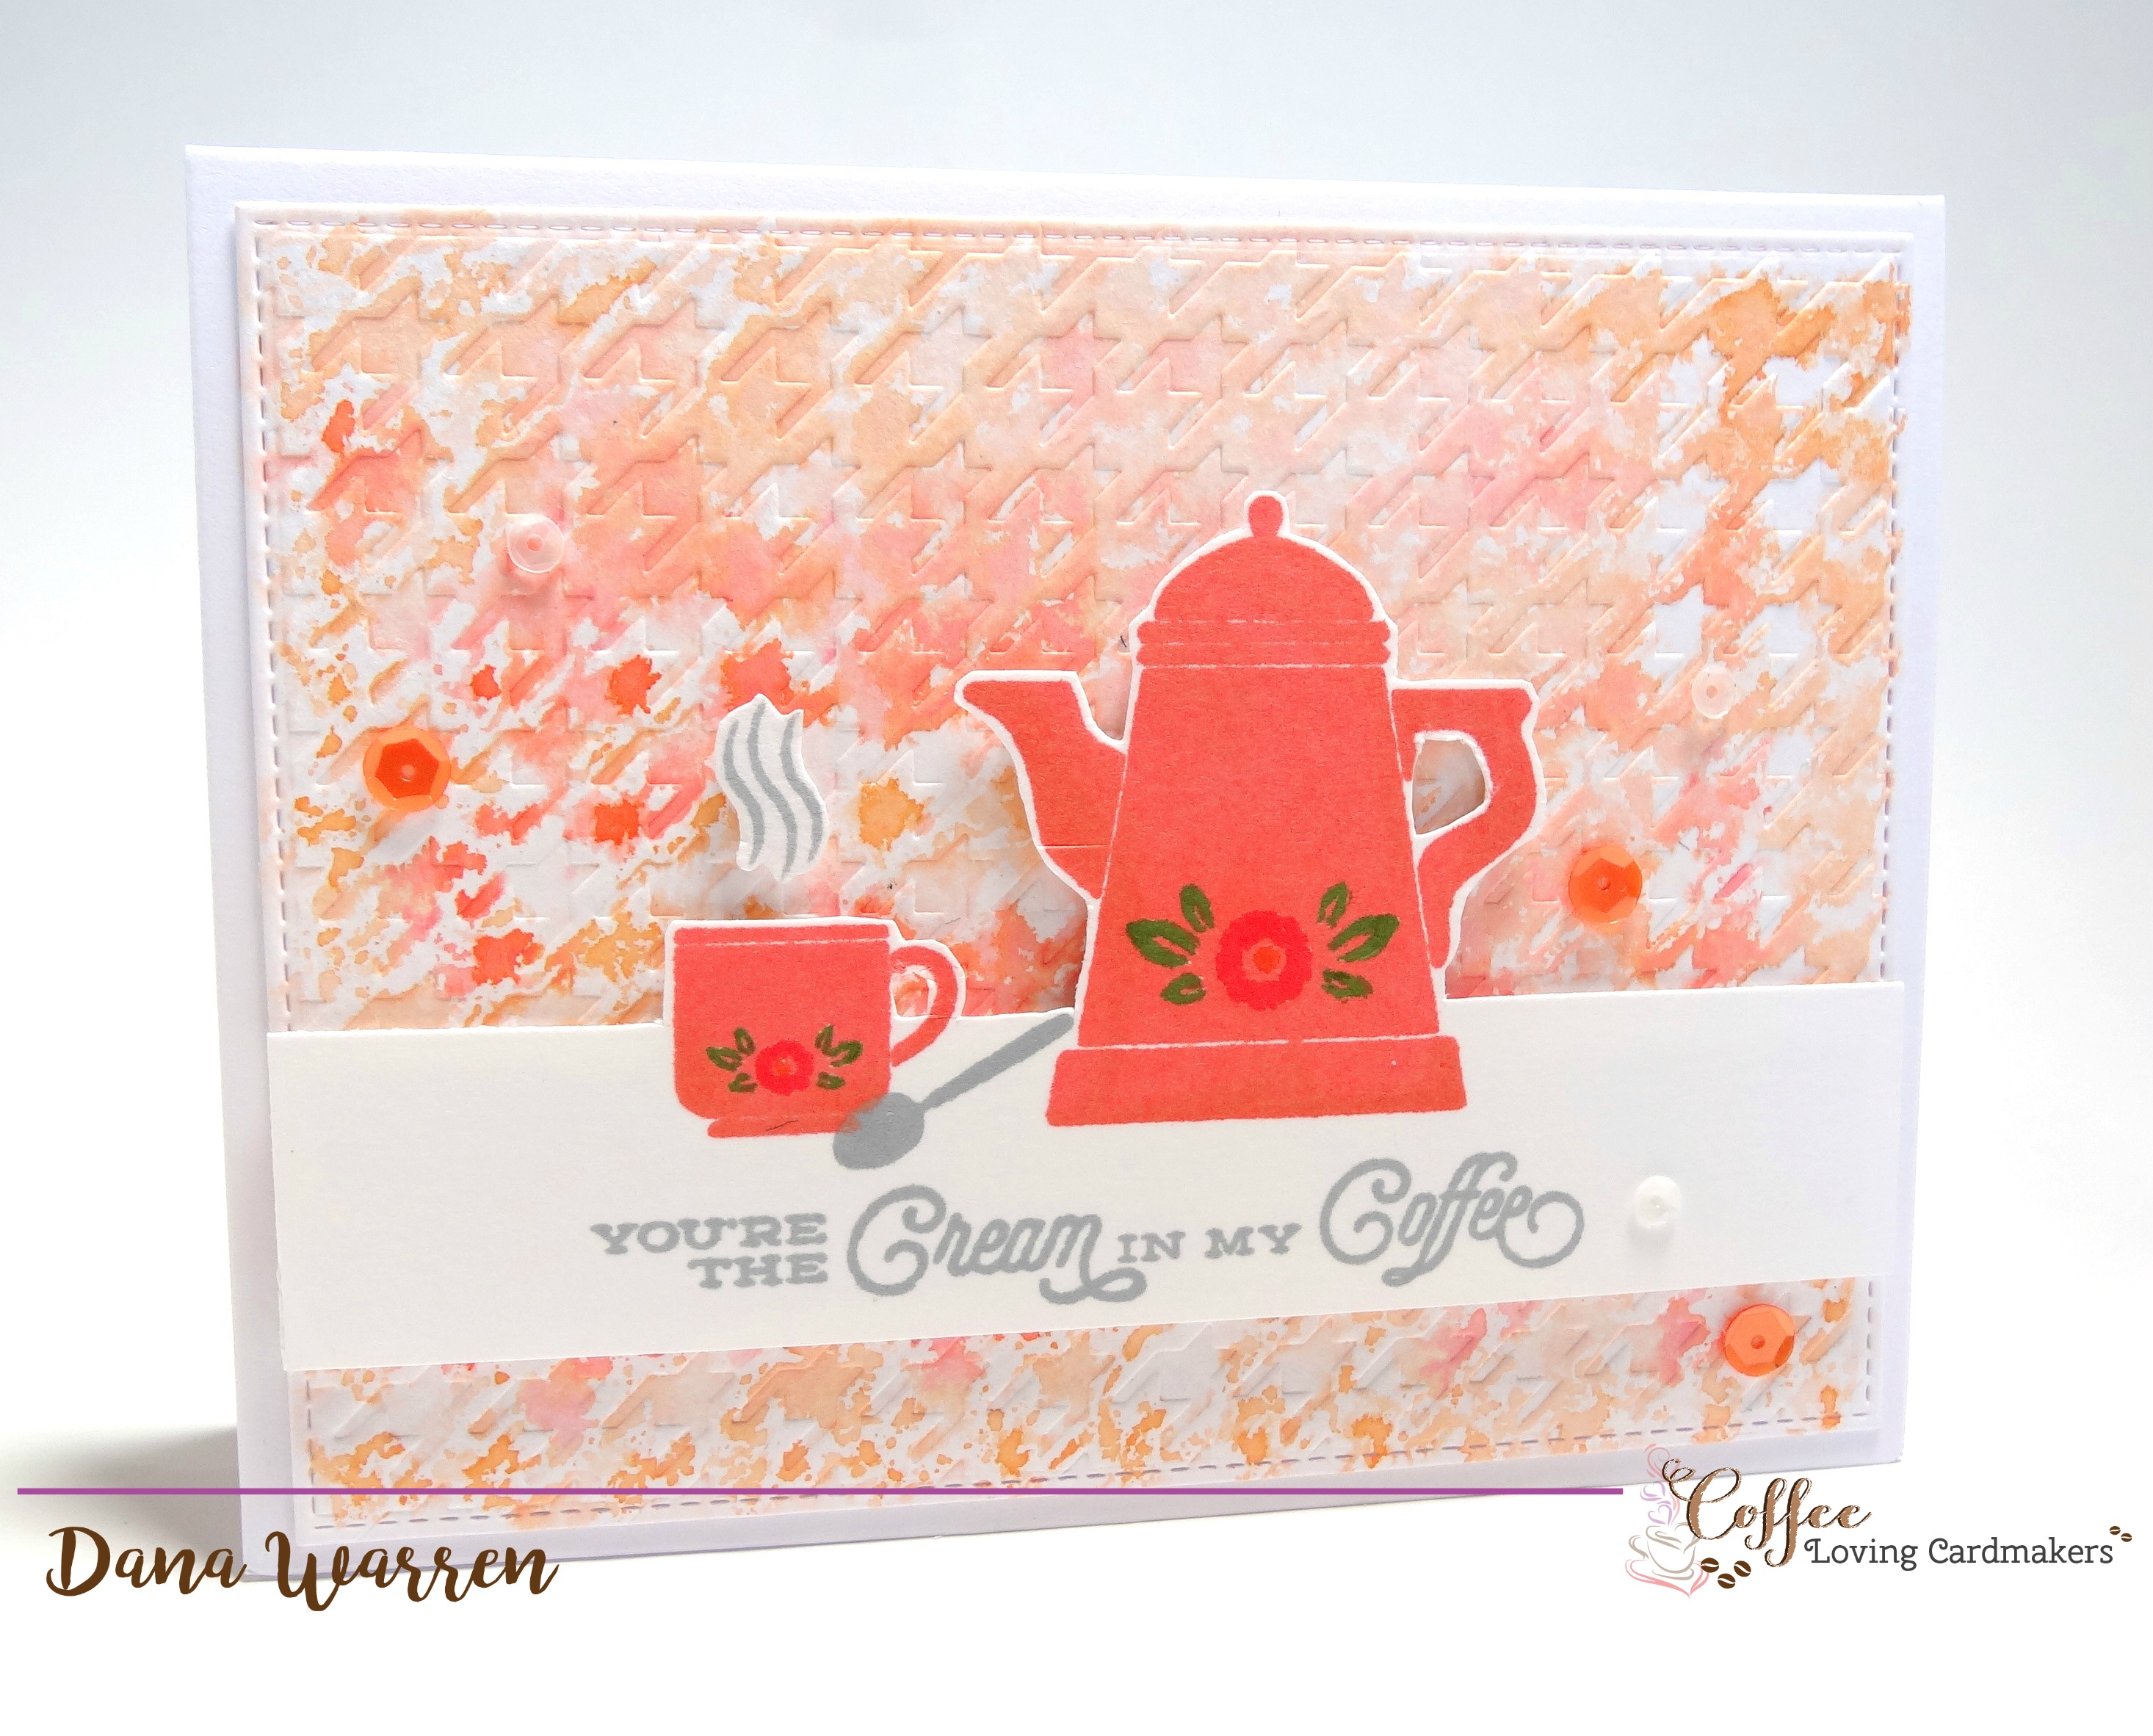
I started with some watercolor card stock and used an old embossing folder, a Houndstooth pattern by Lifestyle Crafts. I used Ripe Persimmon, and Dried Marigold to randomly color the embossing folder (remember color the side that the pattern is inset). After the piece was dry I used a stitched die to trim it down so it was about 1/4 smaller than an A2 card base.
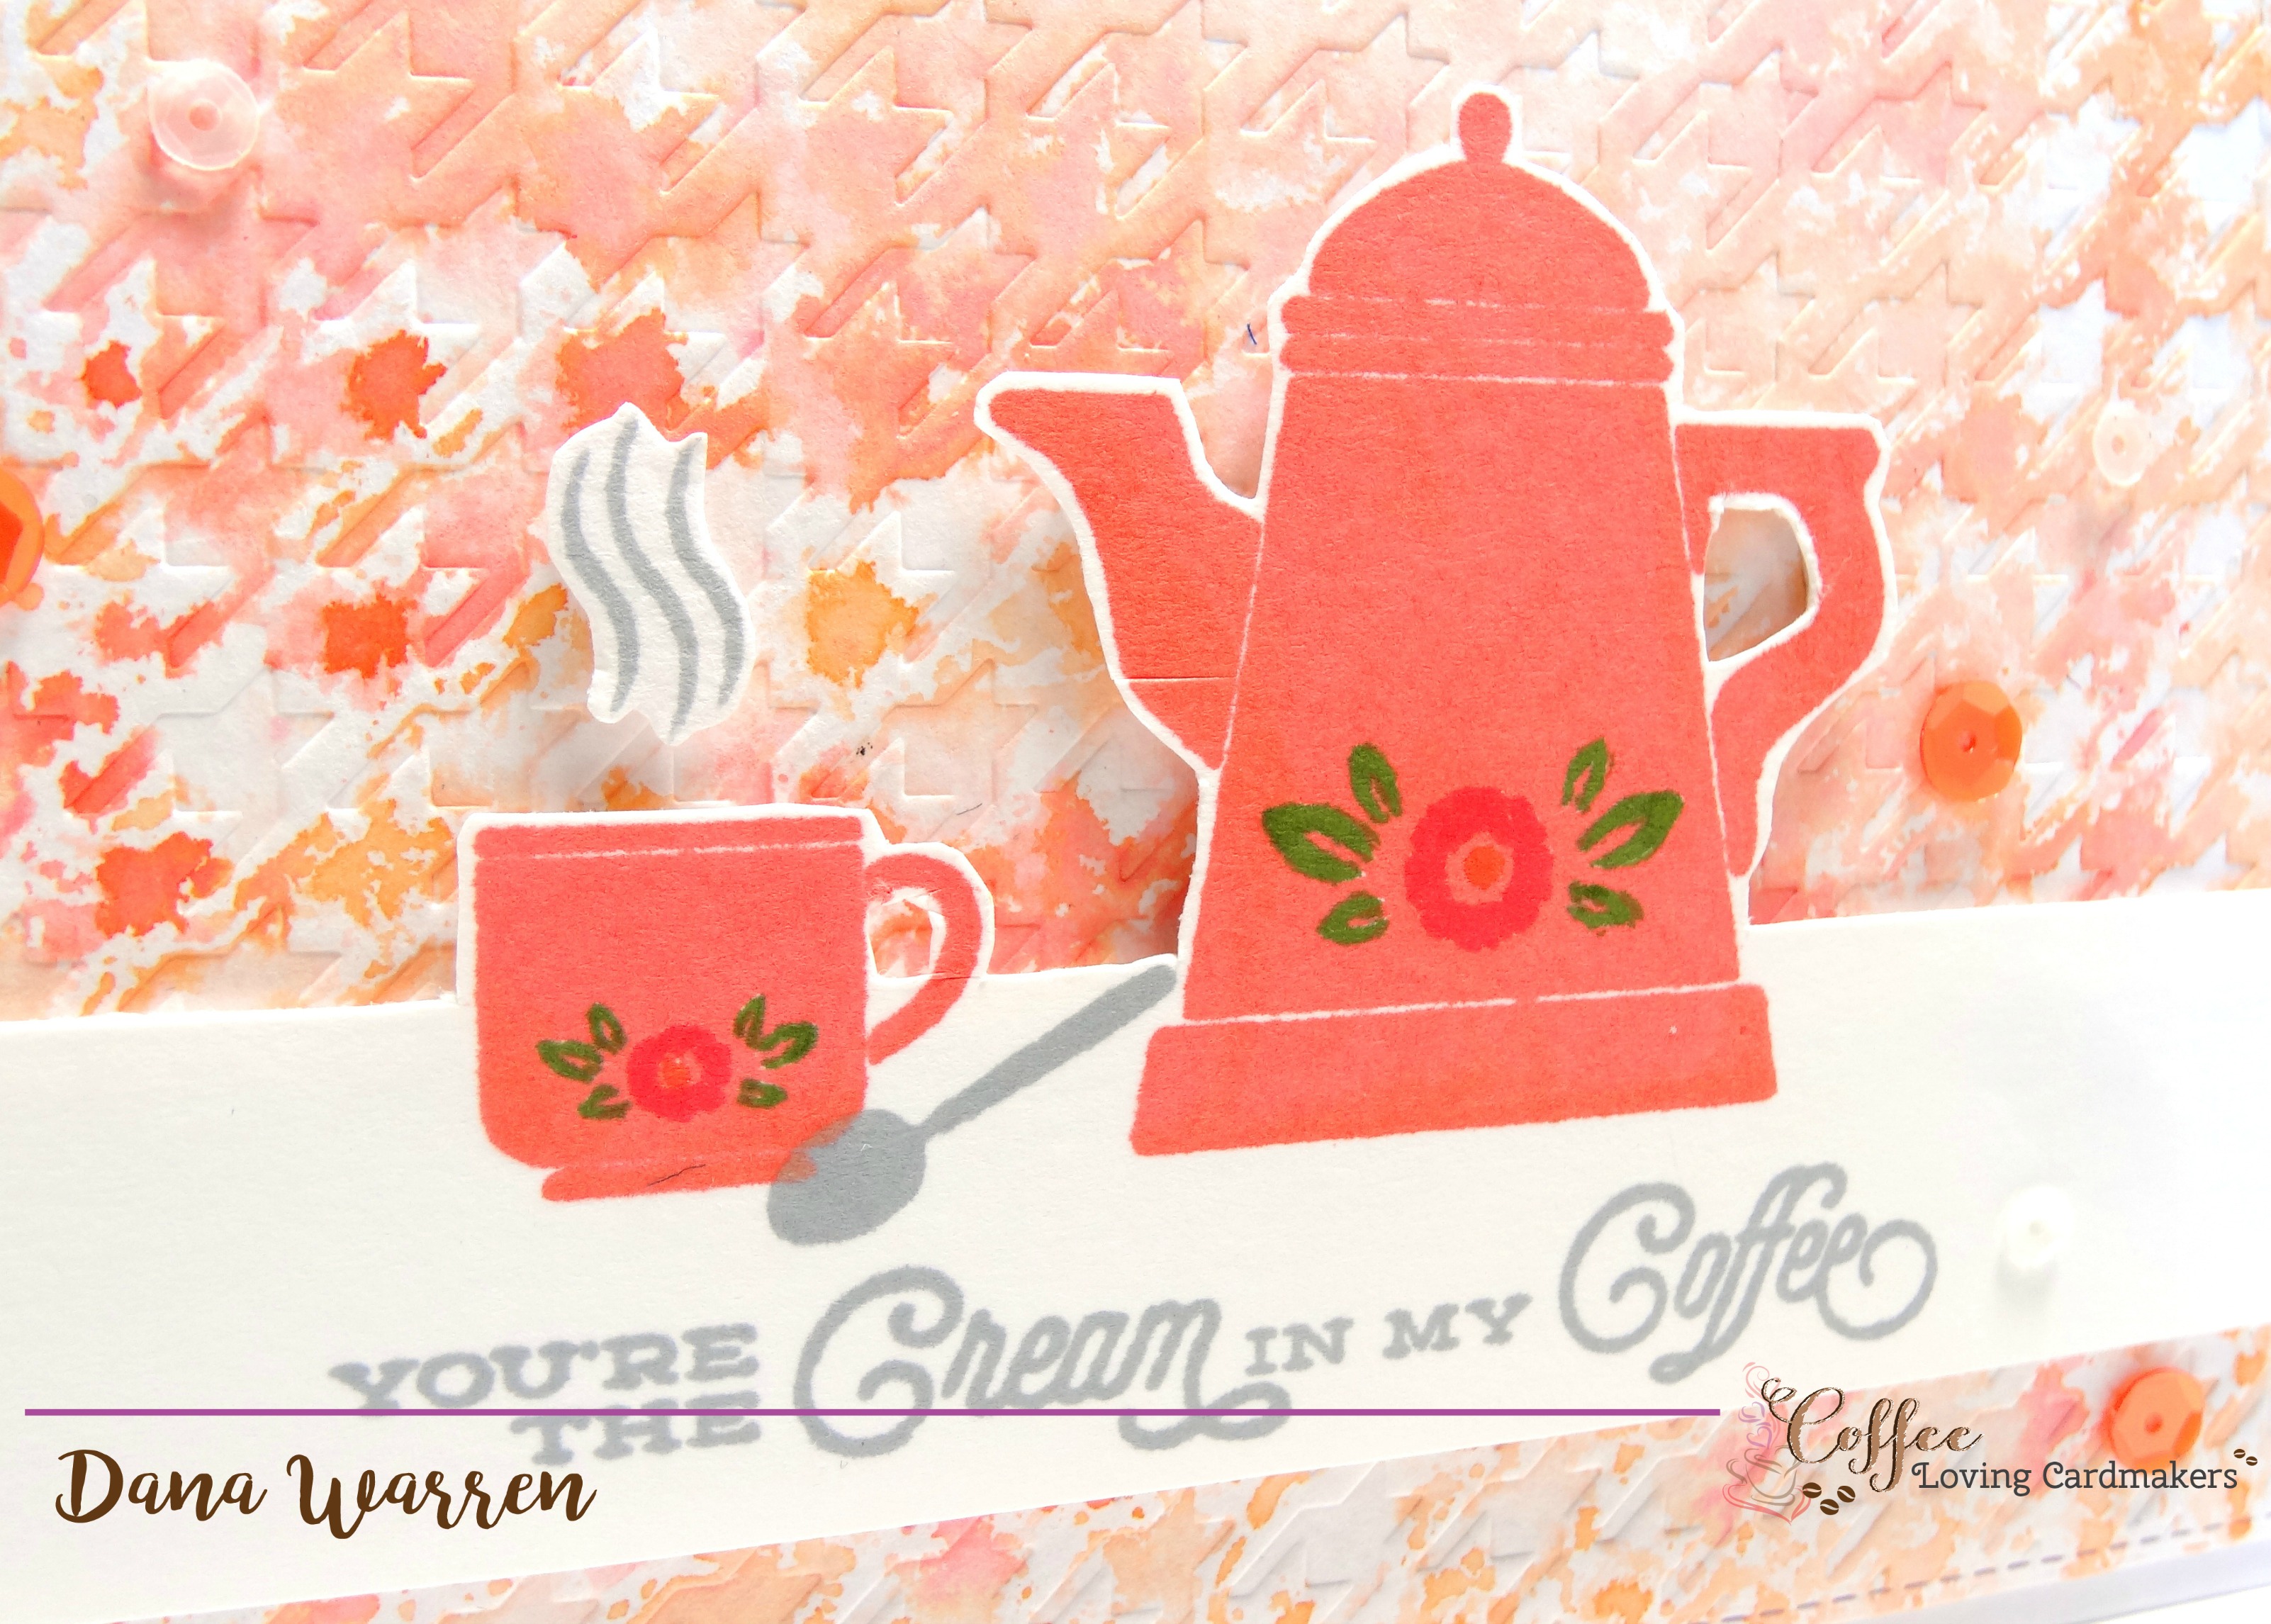
Next, I pulled out my Misti and Gina K. Designs Coffee stamp set and got to stamping. I used two inks on the coffee pot and cup, but you can’t really see that in the photo like you can in person. But, with a darker ink, I inked just the edges after already stamping with the lighter color and then inked again with the lighter color to help blend.
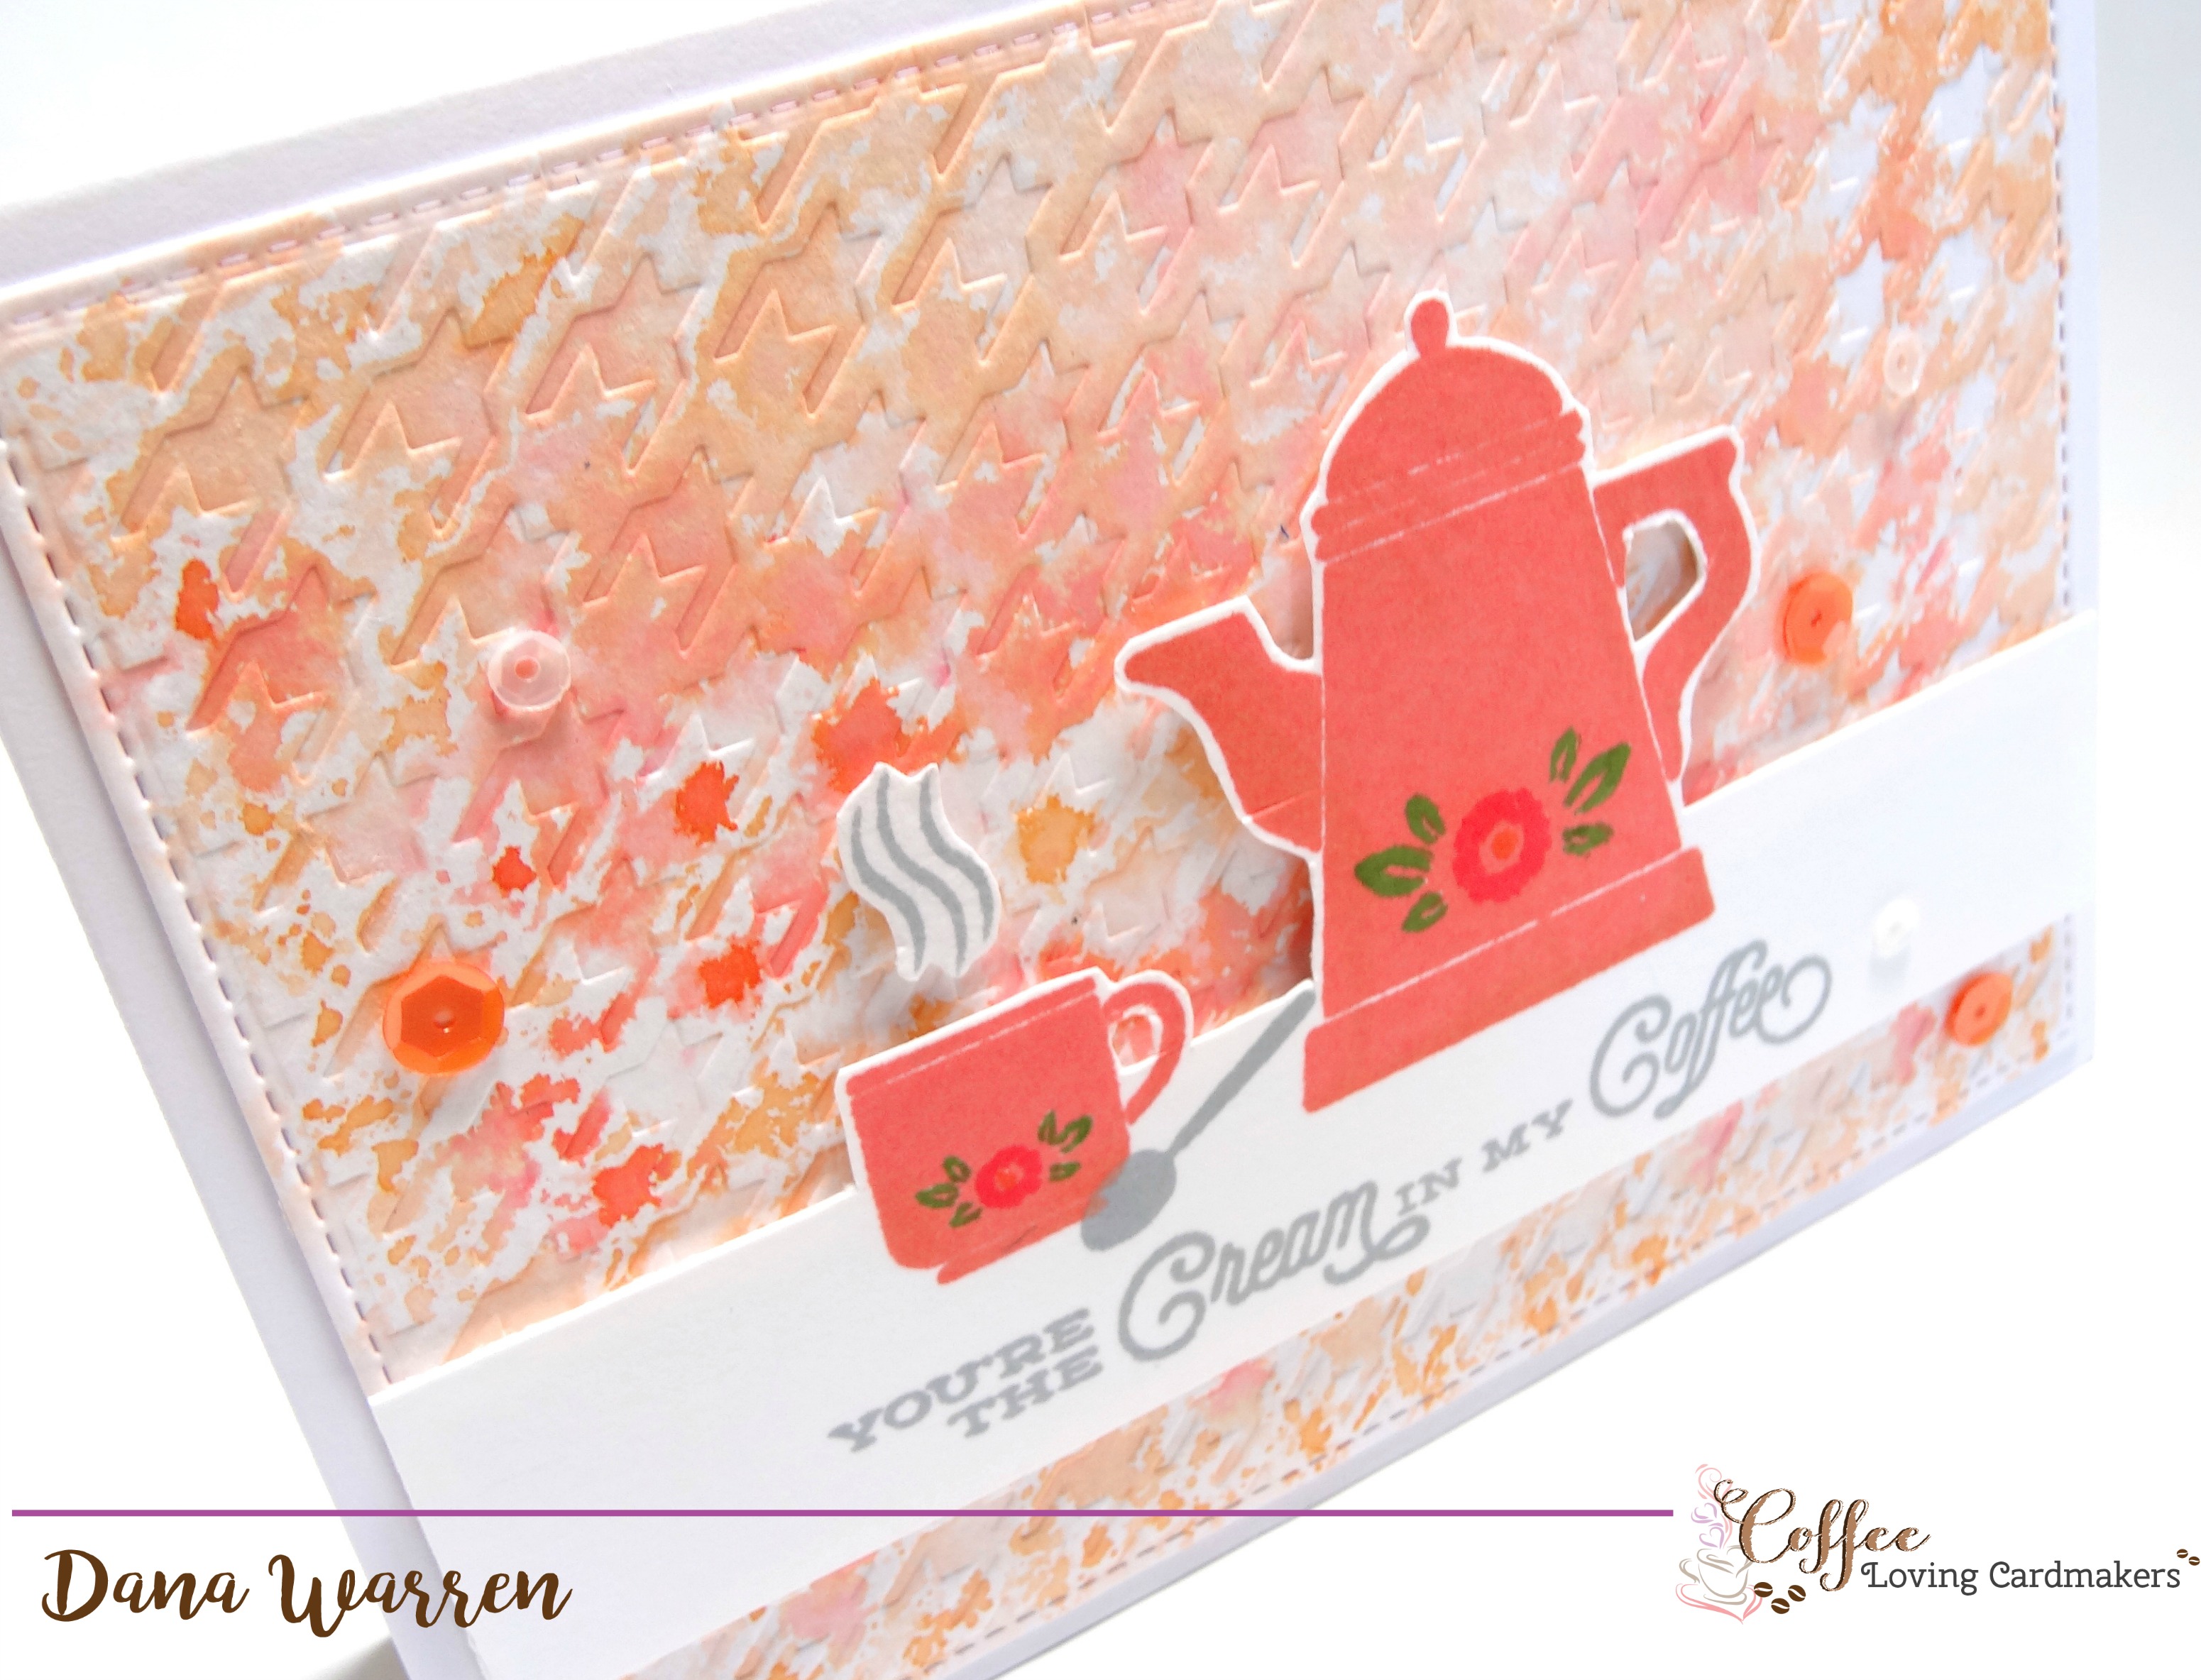
Below the image, I stamped the sentiment in gray ink, along with a spoon. With Abandoned Coral, Ripe Persimmon and Peeled Paint Distress Markers I colored in the flowers that are on the pot and cup.
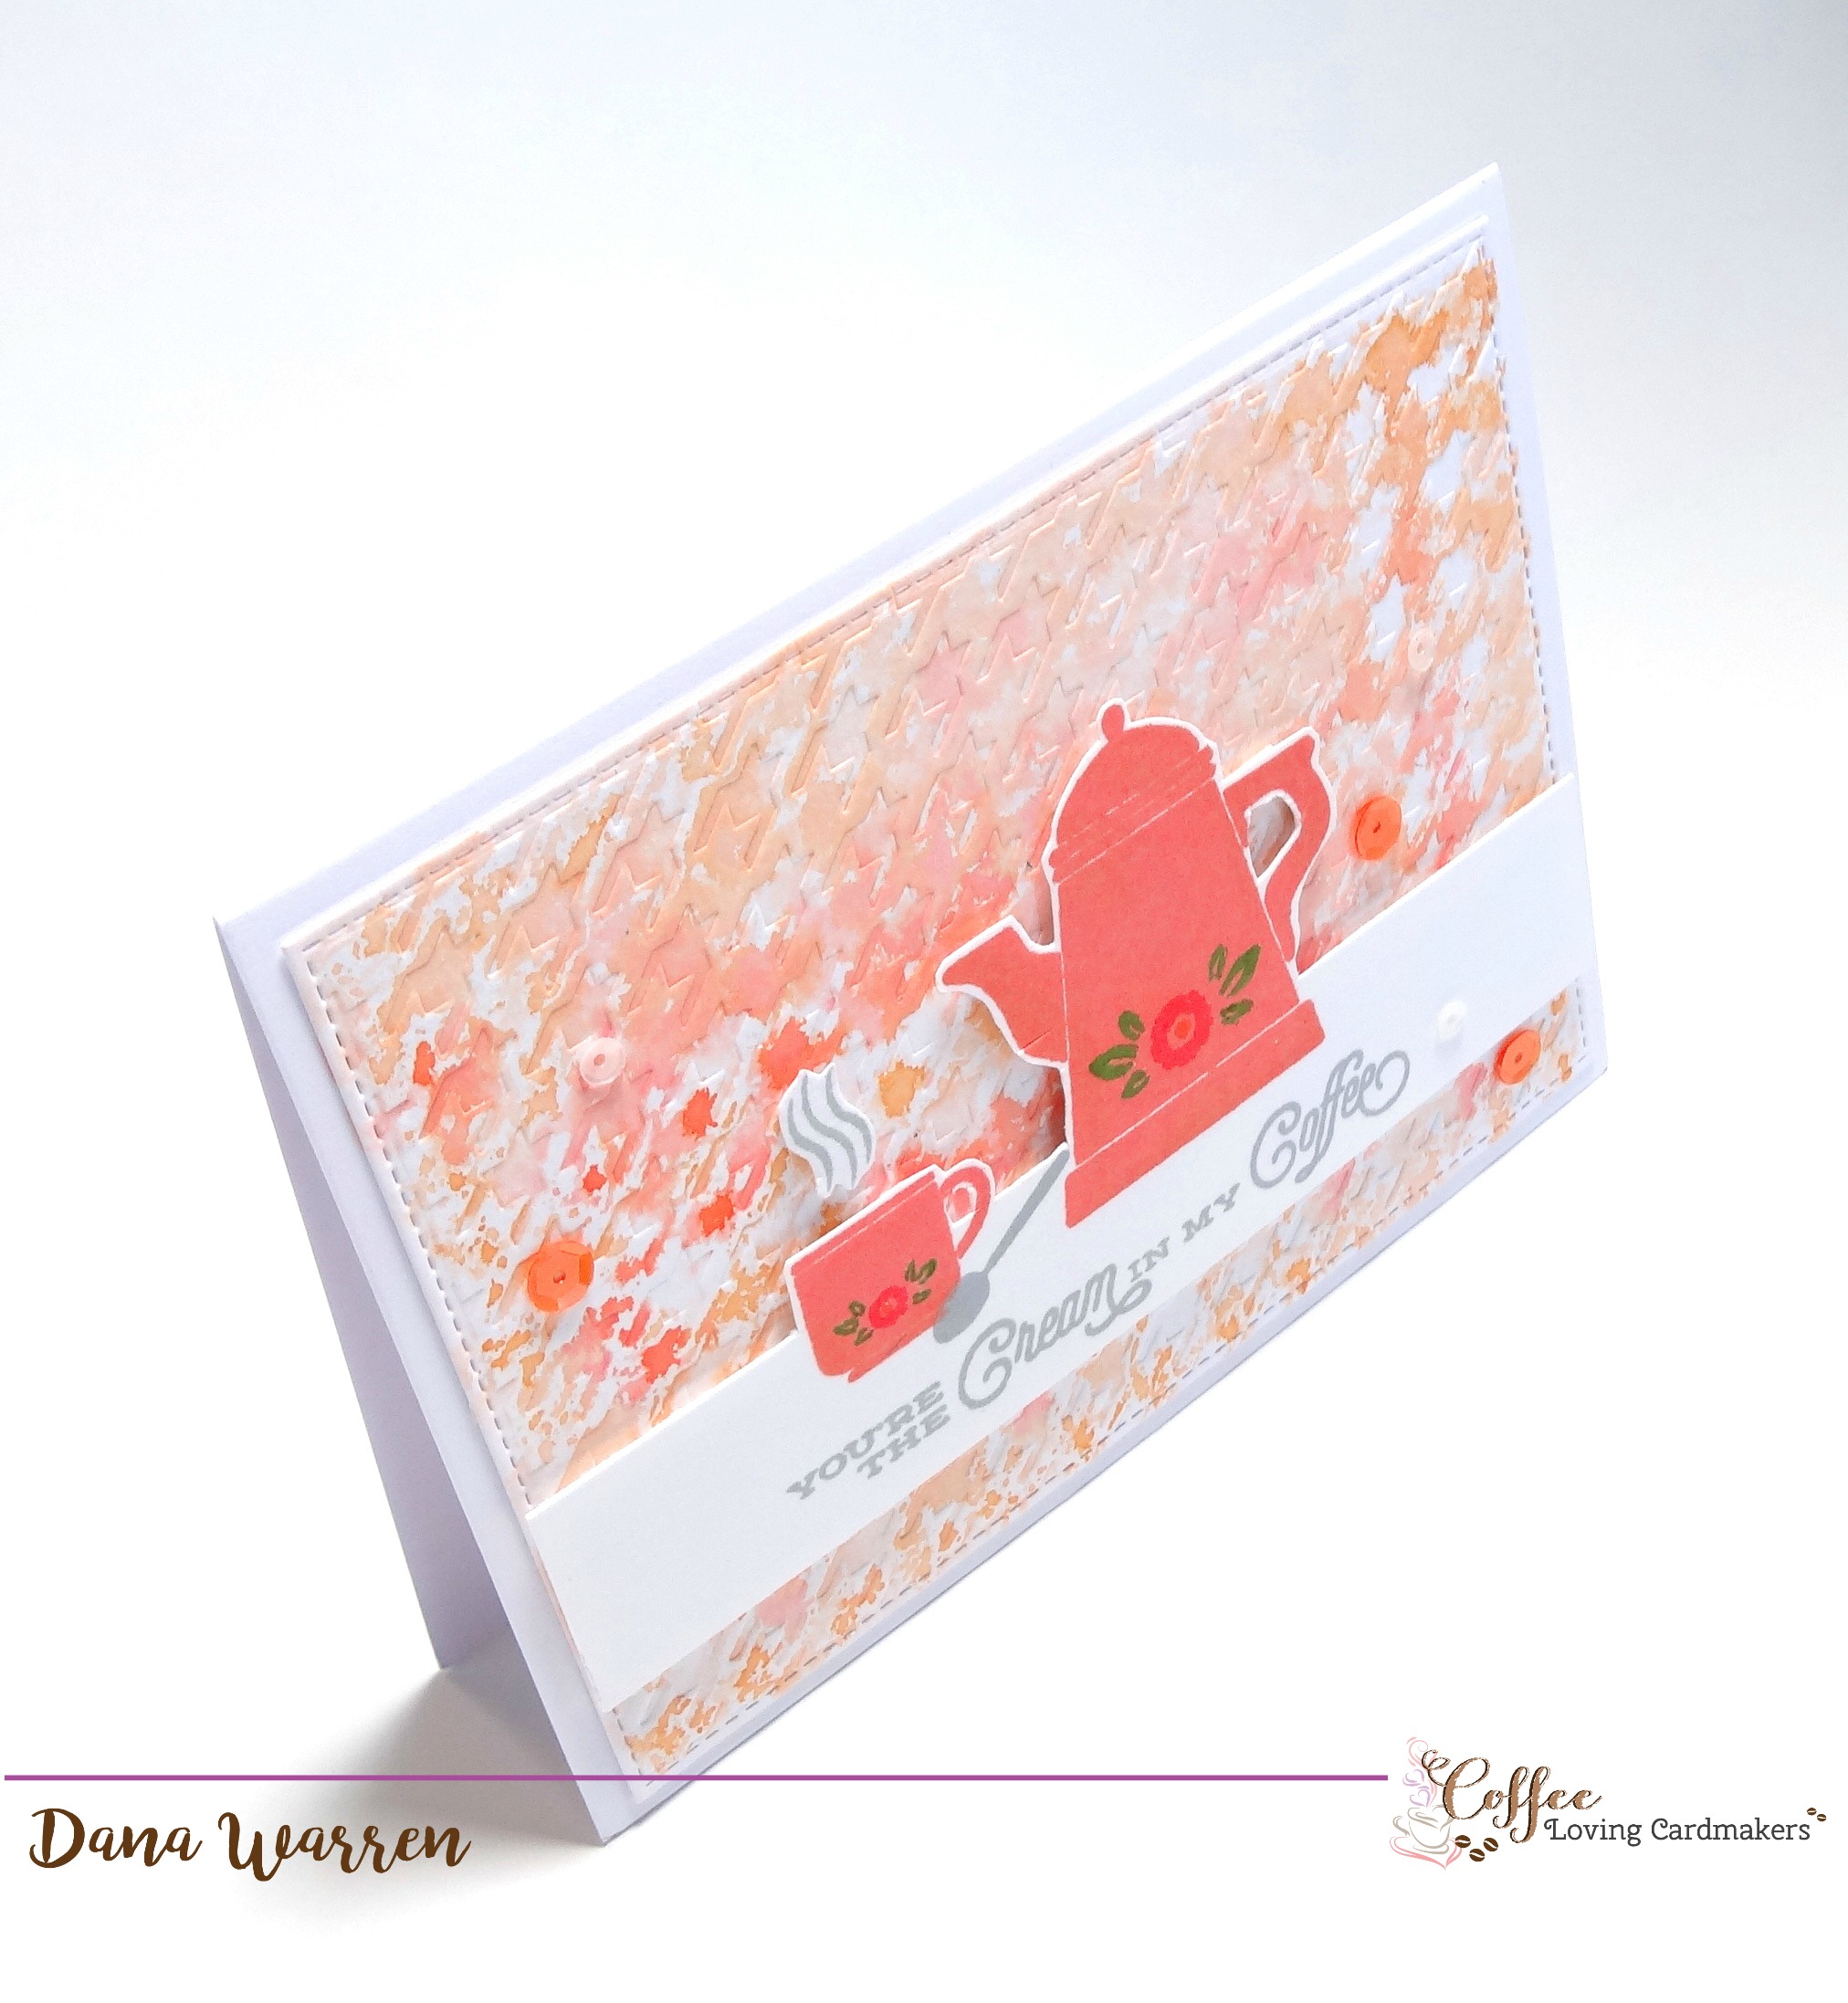
I fussy cut around the top portion of the stamped image and then adhered it to my embossed background with foam tape. The whole panel when on a white card base and last I added a few white and orange sequins.
Thanks so much for stopping by! I hope this inspires you to break out those embossing folders and use them!!! 🙂
Dana
Supplies:
Stamps: Gina K Designs – Coffee
Embossing Folder: Live Style Crafts
Distress Markers: Peeled Paint, Abanded Coral, Ripe Persimmon, MerigoMarigold
PeahcInk: Papertrey Ink – Melon Berry. Hero Arts – FPeach, Soft Granite
Sequins: Pretty Pink Posh – Sweet Pea Mix. Tangerine Satun (unknown, was a gift and had no mfg)


Leave a reply to Brew & Craft Your Stash – Recap | Coffee Loving Cardmakers! Cancel reply