Hello!!!
Dana here with a new installment of Brew & Craft Your Stash!! Grab some coffee or tea and read on for some DIY Stamping ideas!! That’s right folks, Do It Yourself Stamping!!! If this is the first time you are seeing my feature or need a refresher, click here for my first post, it gives a little background explanation.

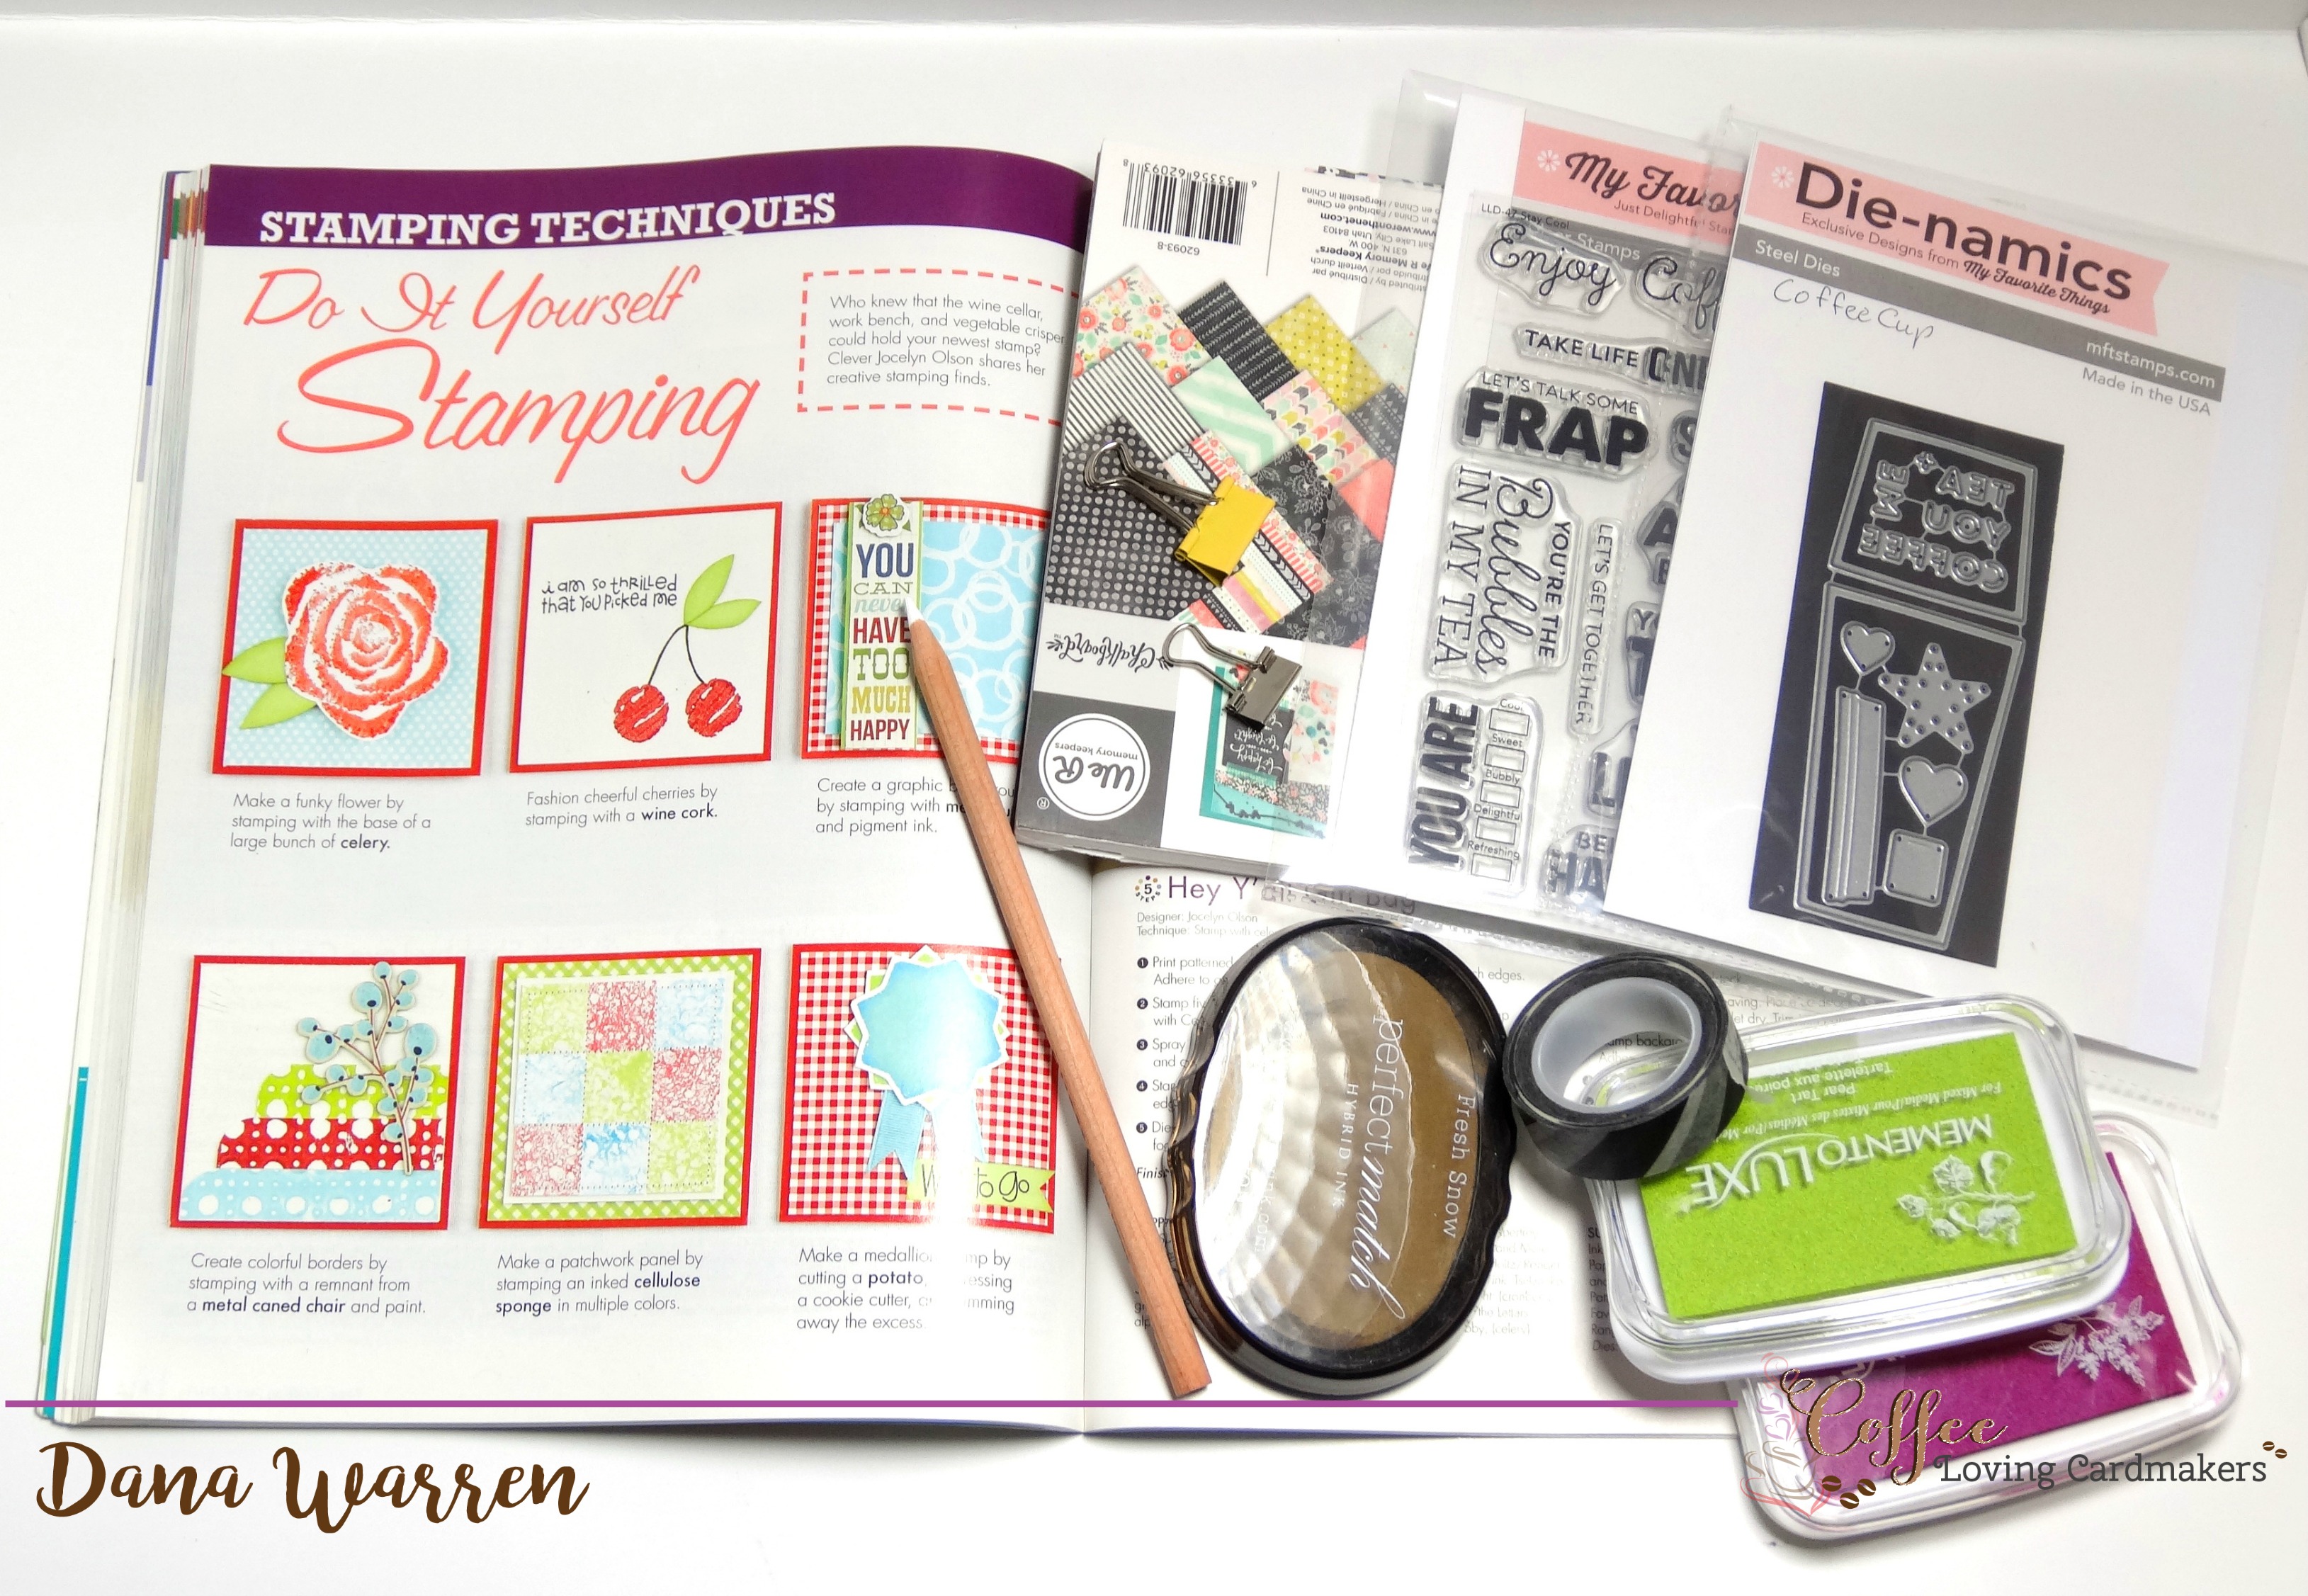
But as a recap, I am challenging myself to use my stash by with Paper Crafting Tips & Tricks, a Paper Crafts special issue magazine from 2012. Today I am moving to the Stamping Techniques section and first, up is Do It Yourself Stamping!
DIY Stamping basically means stamp with anything other than a traditional clear, wood and cling stamp! In the magazine, Jocelyn Olson gives us some great DIY samples using natural elements (like celery) and even hard everyday things around your house like a metal nut! It was a bit of a challenge for me, living on campus, in a suite really limits what’s available, there is no junk drawer! And there was no way I can waste food and try to stamp with it (I don’t like celery anyway!!) Before I get to what I used here are some ideas from Jocelyn Olson:
- Make a flower with a stump of celery
- Stamp some cherries with a wine cork
- Use metal nuts and pigment ink to make a background
- Create a border with paint and a metal caned chair
- Ink a cellulose sponge
- Cut a potato and press it in a cookie cutter to make a fun shape
Aren’t these ideas fun!! So looking around my room I was kind of stumped to find something that would make an unusual pattern with stamped. I tried stamping with my Chemistry Molecule Kit, but that just gave me squares, then I tried binder clips and wa-la I had my DIY Stamp!! I, of course, used pigment ink and tried it out. I thought I would get a solid rectangle but instead got two cool lines. With two different sizes, I had my DIY Stamp ready to go!
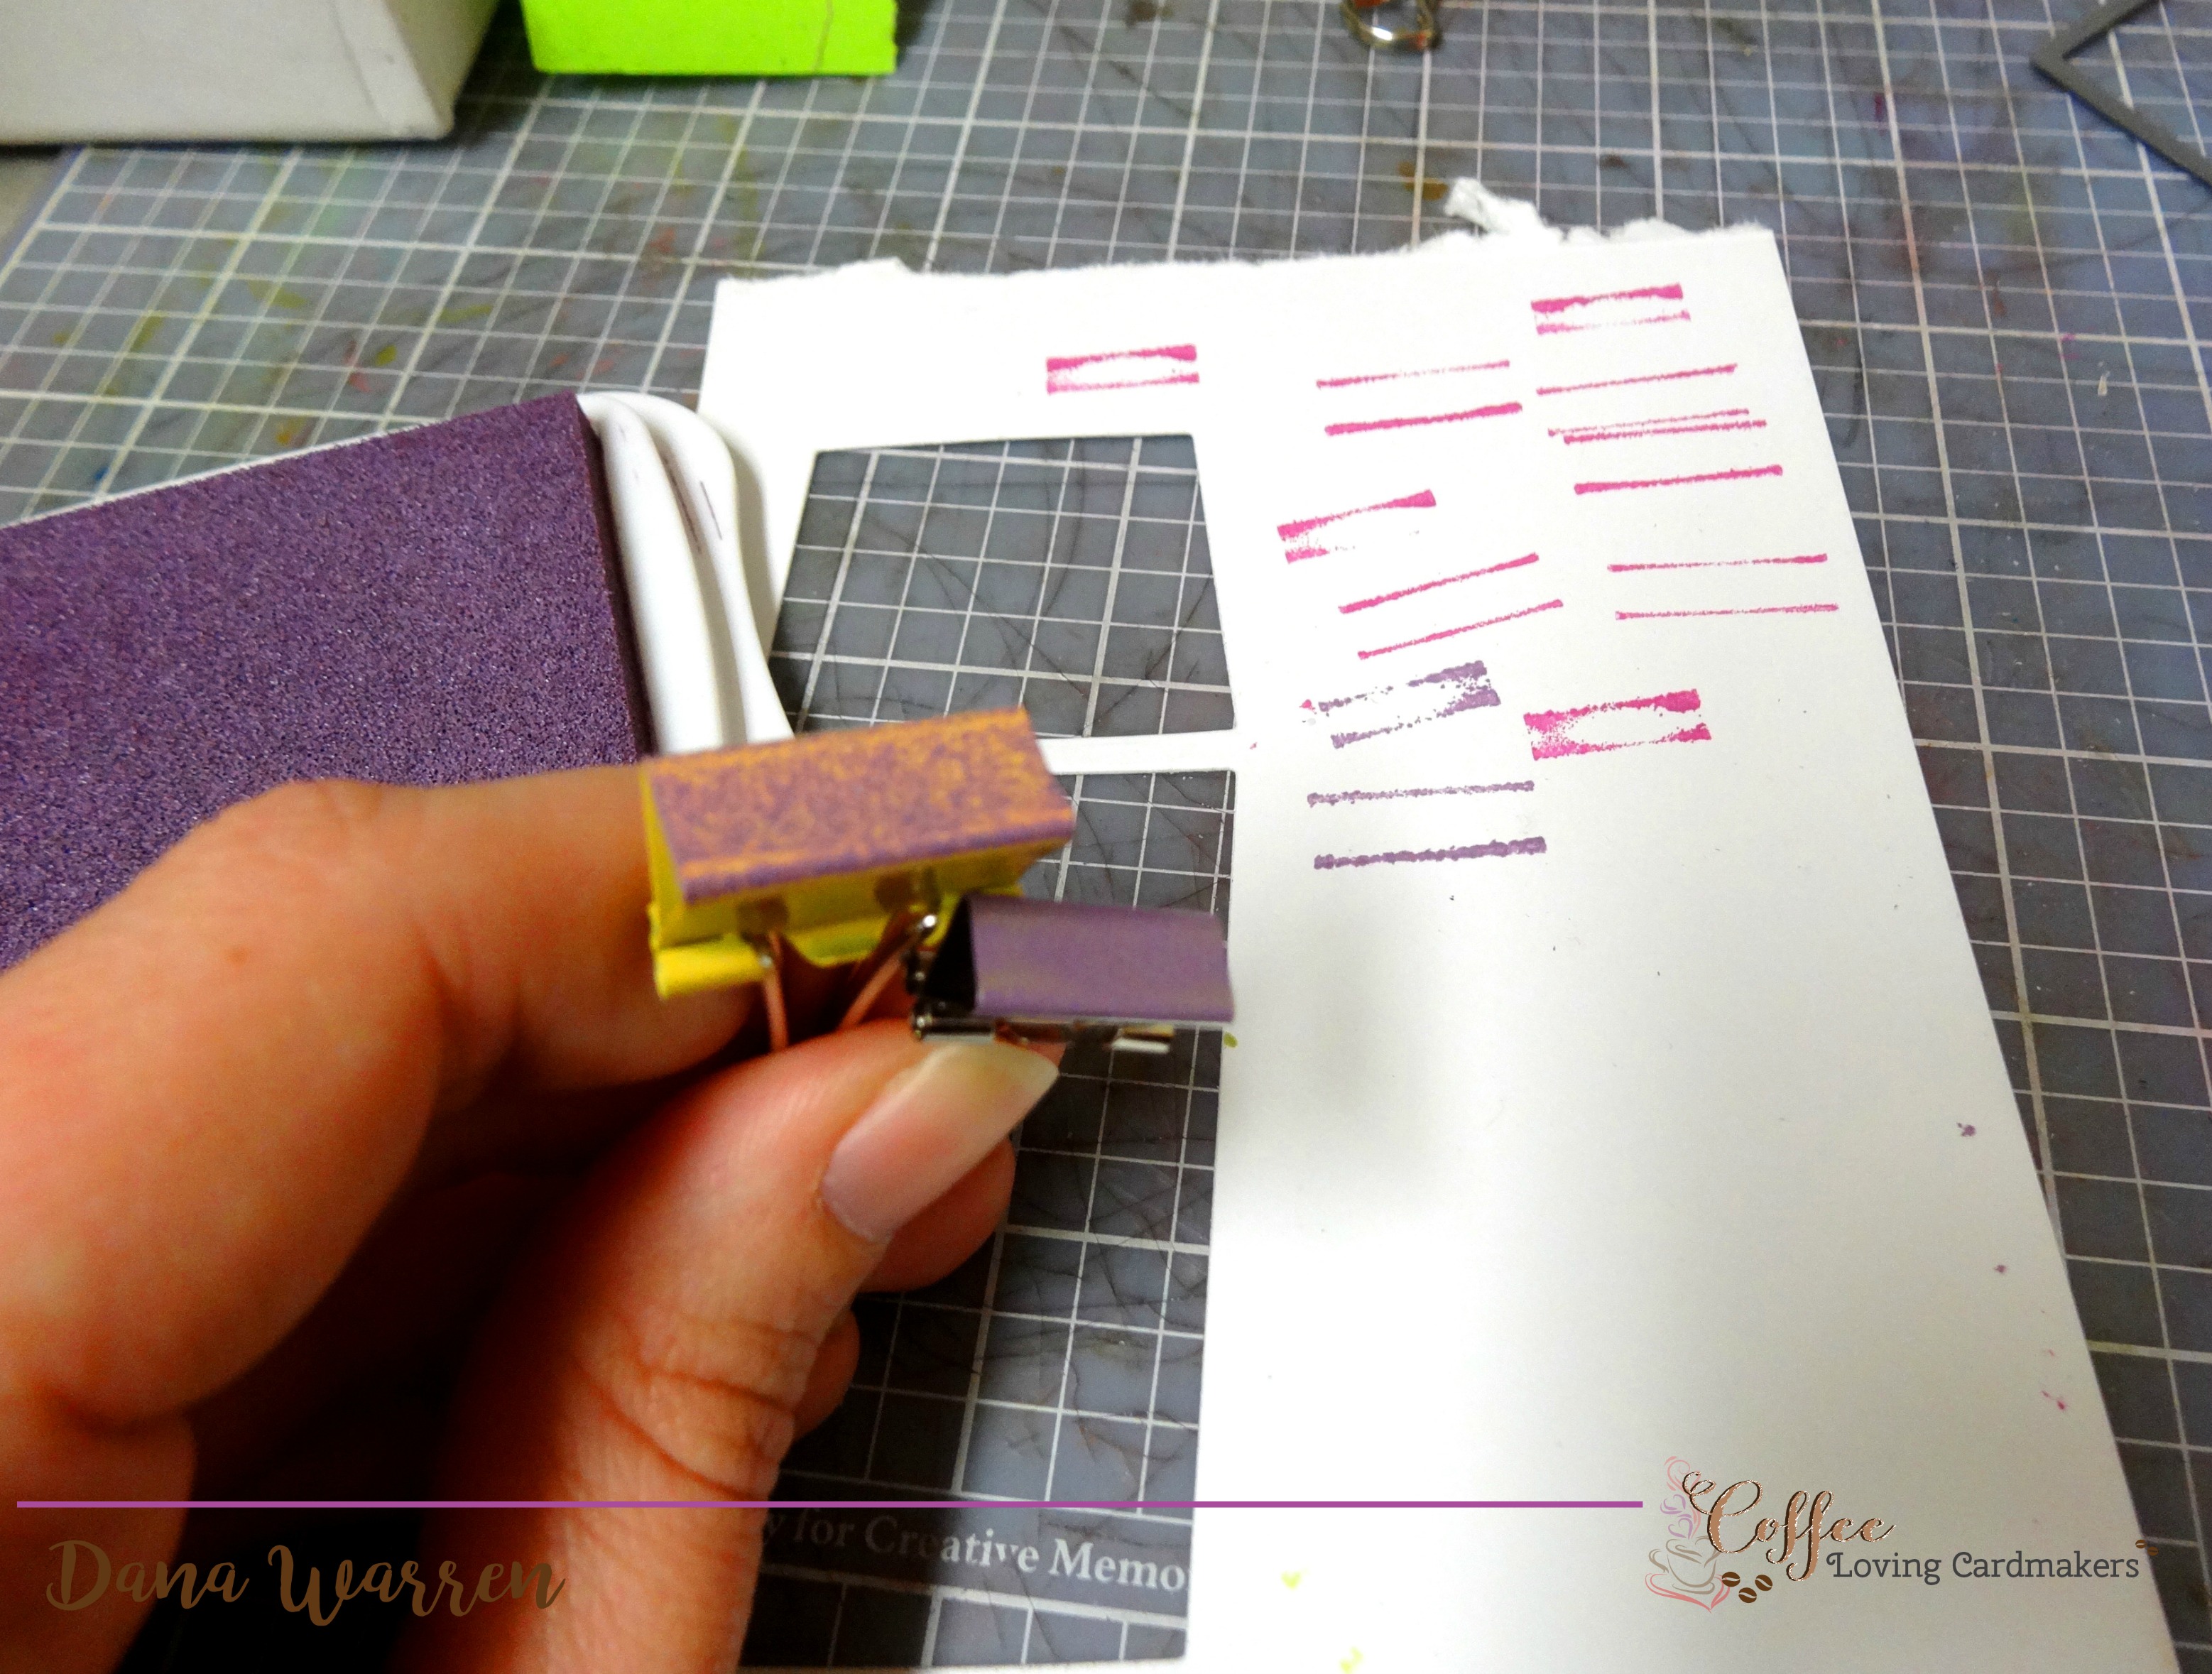
I decided to cut out My Favorite Things Coffee Cup die from white cardstock and then used both binder clips to randomly stamp in two colors. I did purples for the cup and greens for the coffee wrap. With a black spray ink, I flicked on some black splatters. I adhered the wrap to the cup and then moved on to the rest of the card.
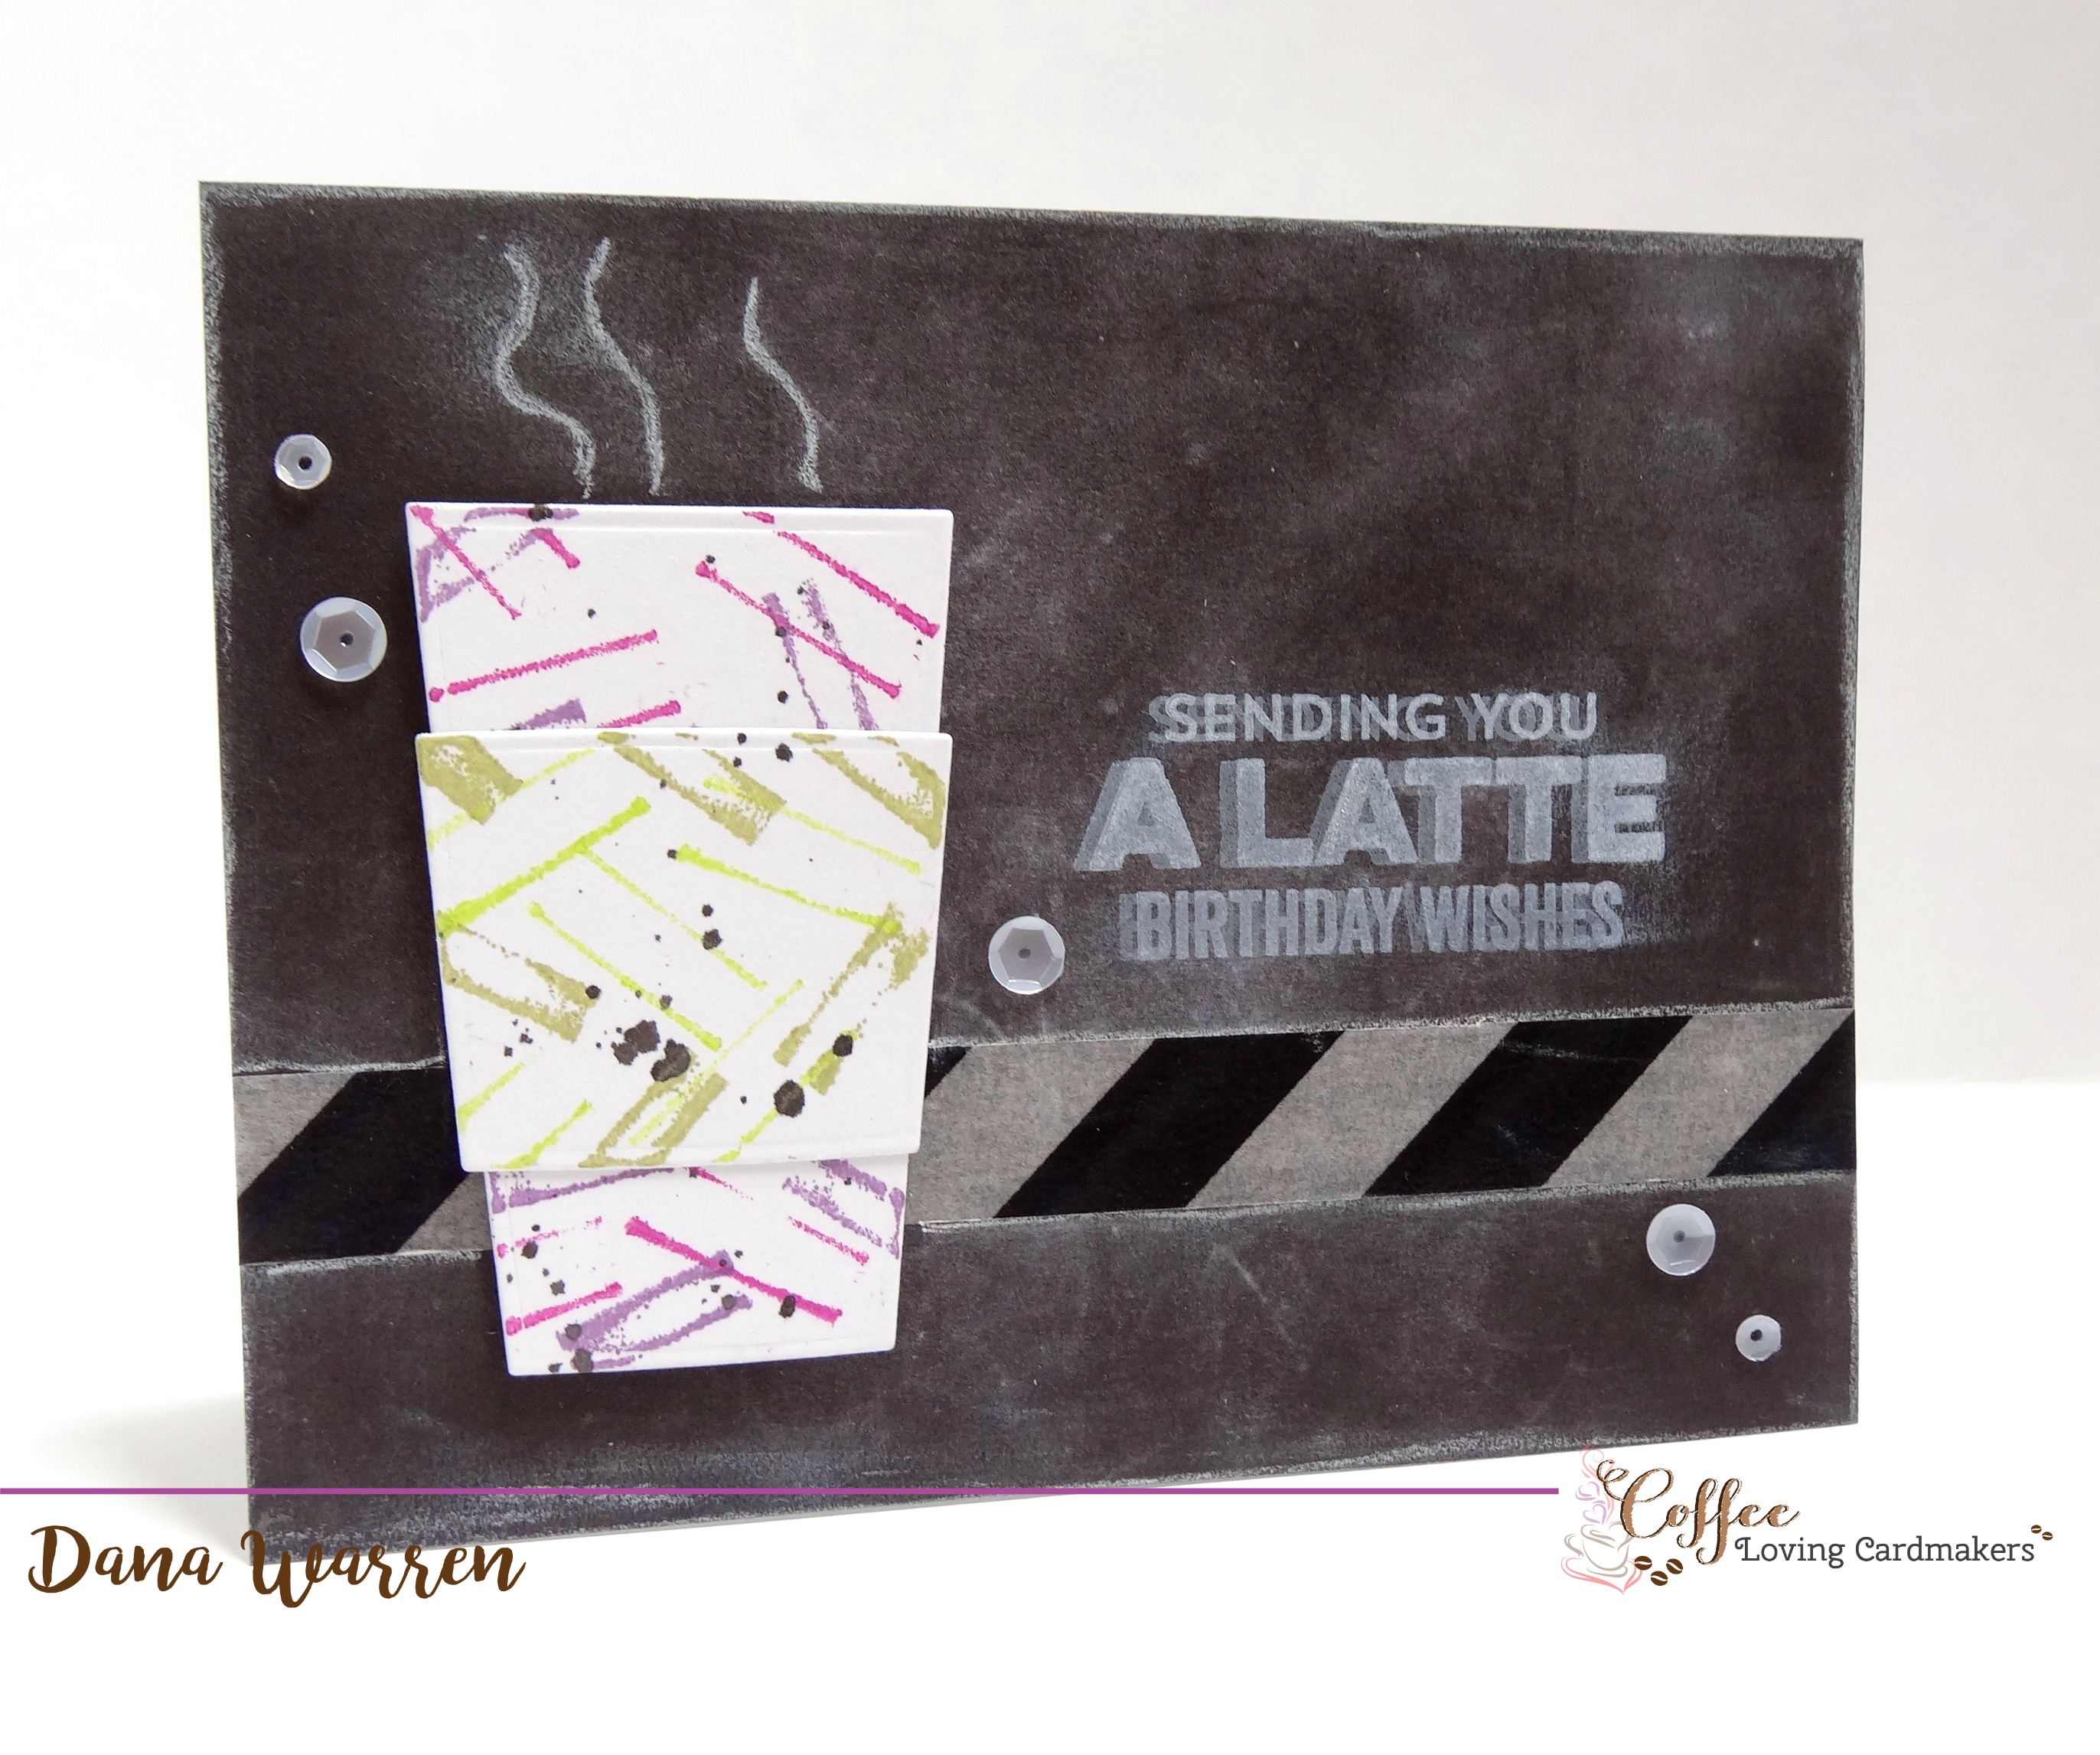
From the We R Memory Keepers Chalkboard paper pad, I picked out the paper that well looks like a chalkboard!! I adhered it to a white card base and then added a strip of black and white washi tape (sorry I don’t know the manufacture, apparently I forgot to write down who it was for this roll).
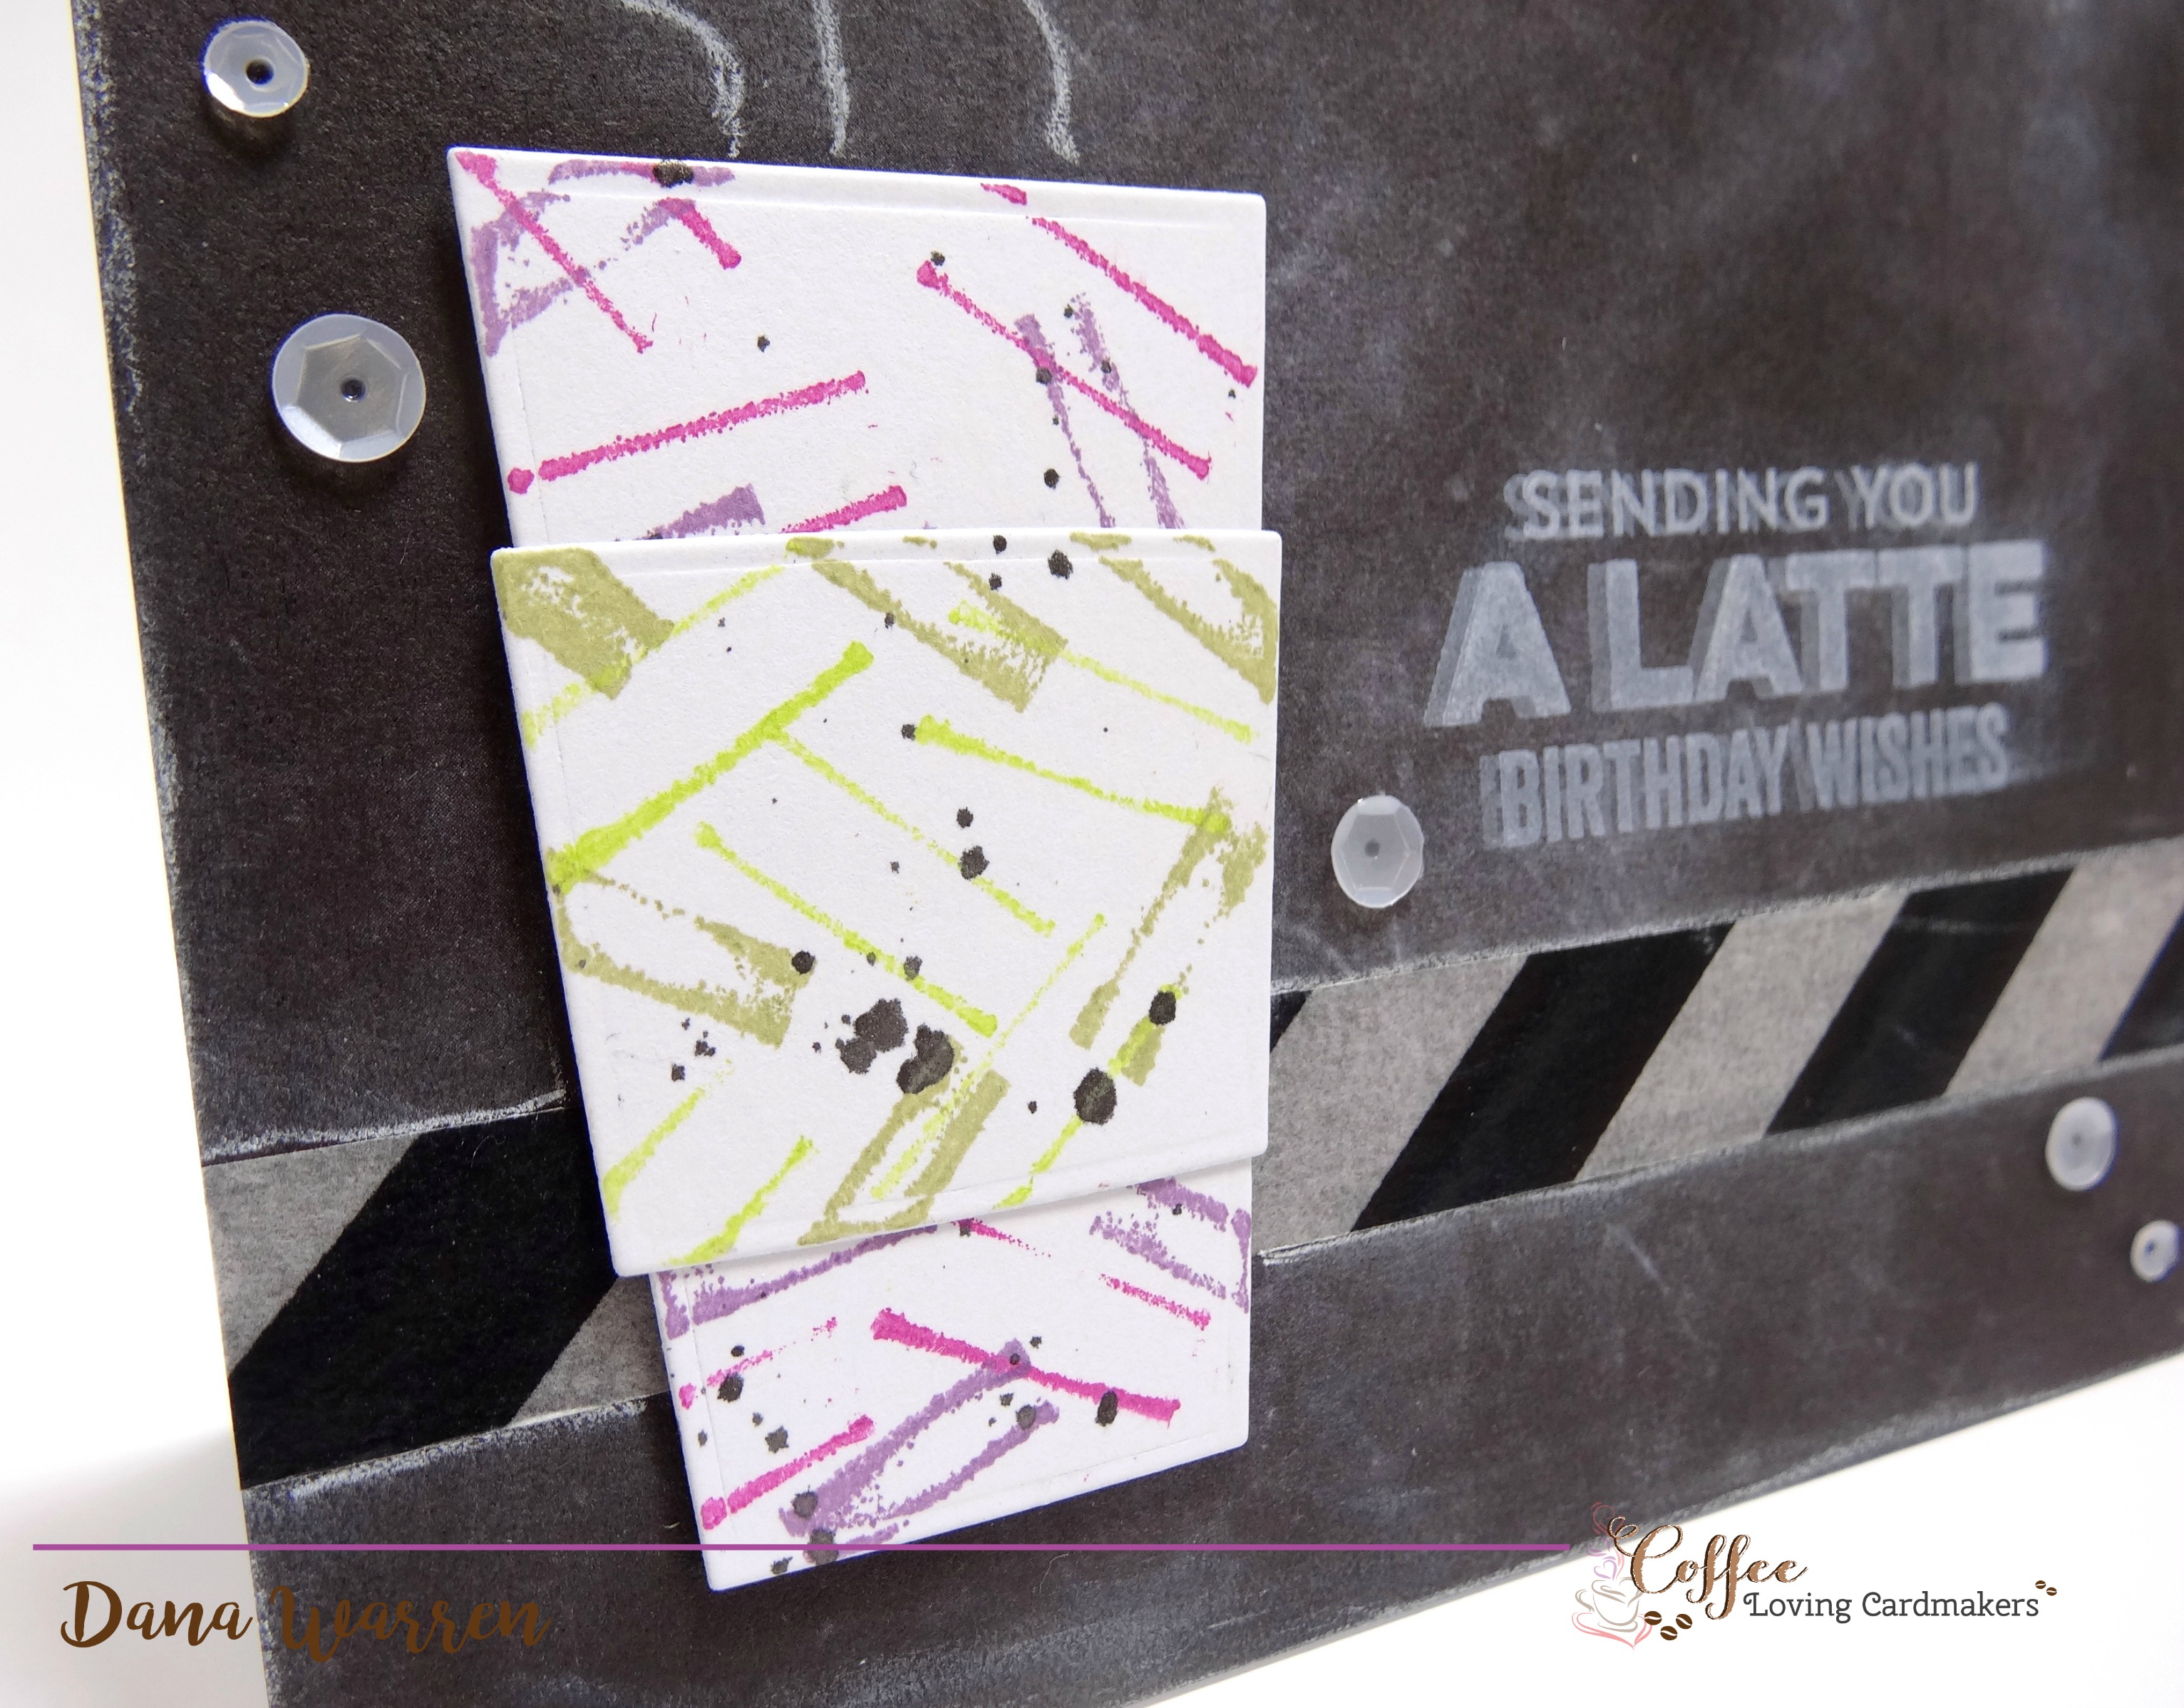
Then I placed my card in my Misti and used My Favorite Things Stay Cool stamp set to stamp in white ink the sentiment: Sending You a Latte Birthday Wishes. So, to make it cool (or so I thought) I moved my card base a little and inked and stamped it again. I thought It would make a nice shadow I could smudge with my finger (I used a white pigment ink). However, I really moved it too much and the smaller words were barely readable. So in hopes of rescuing it I inked and stamped the sentiment several more times (thank goodness I used my Misti) and it worked, it made the sentiment look 3D! Yay!!
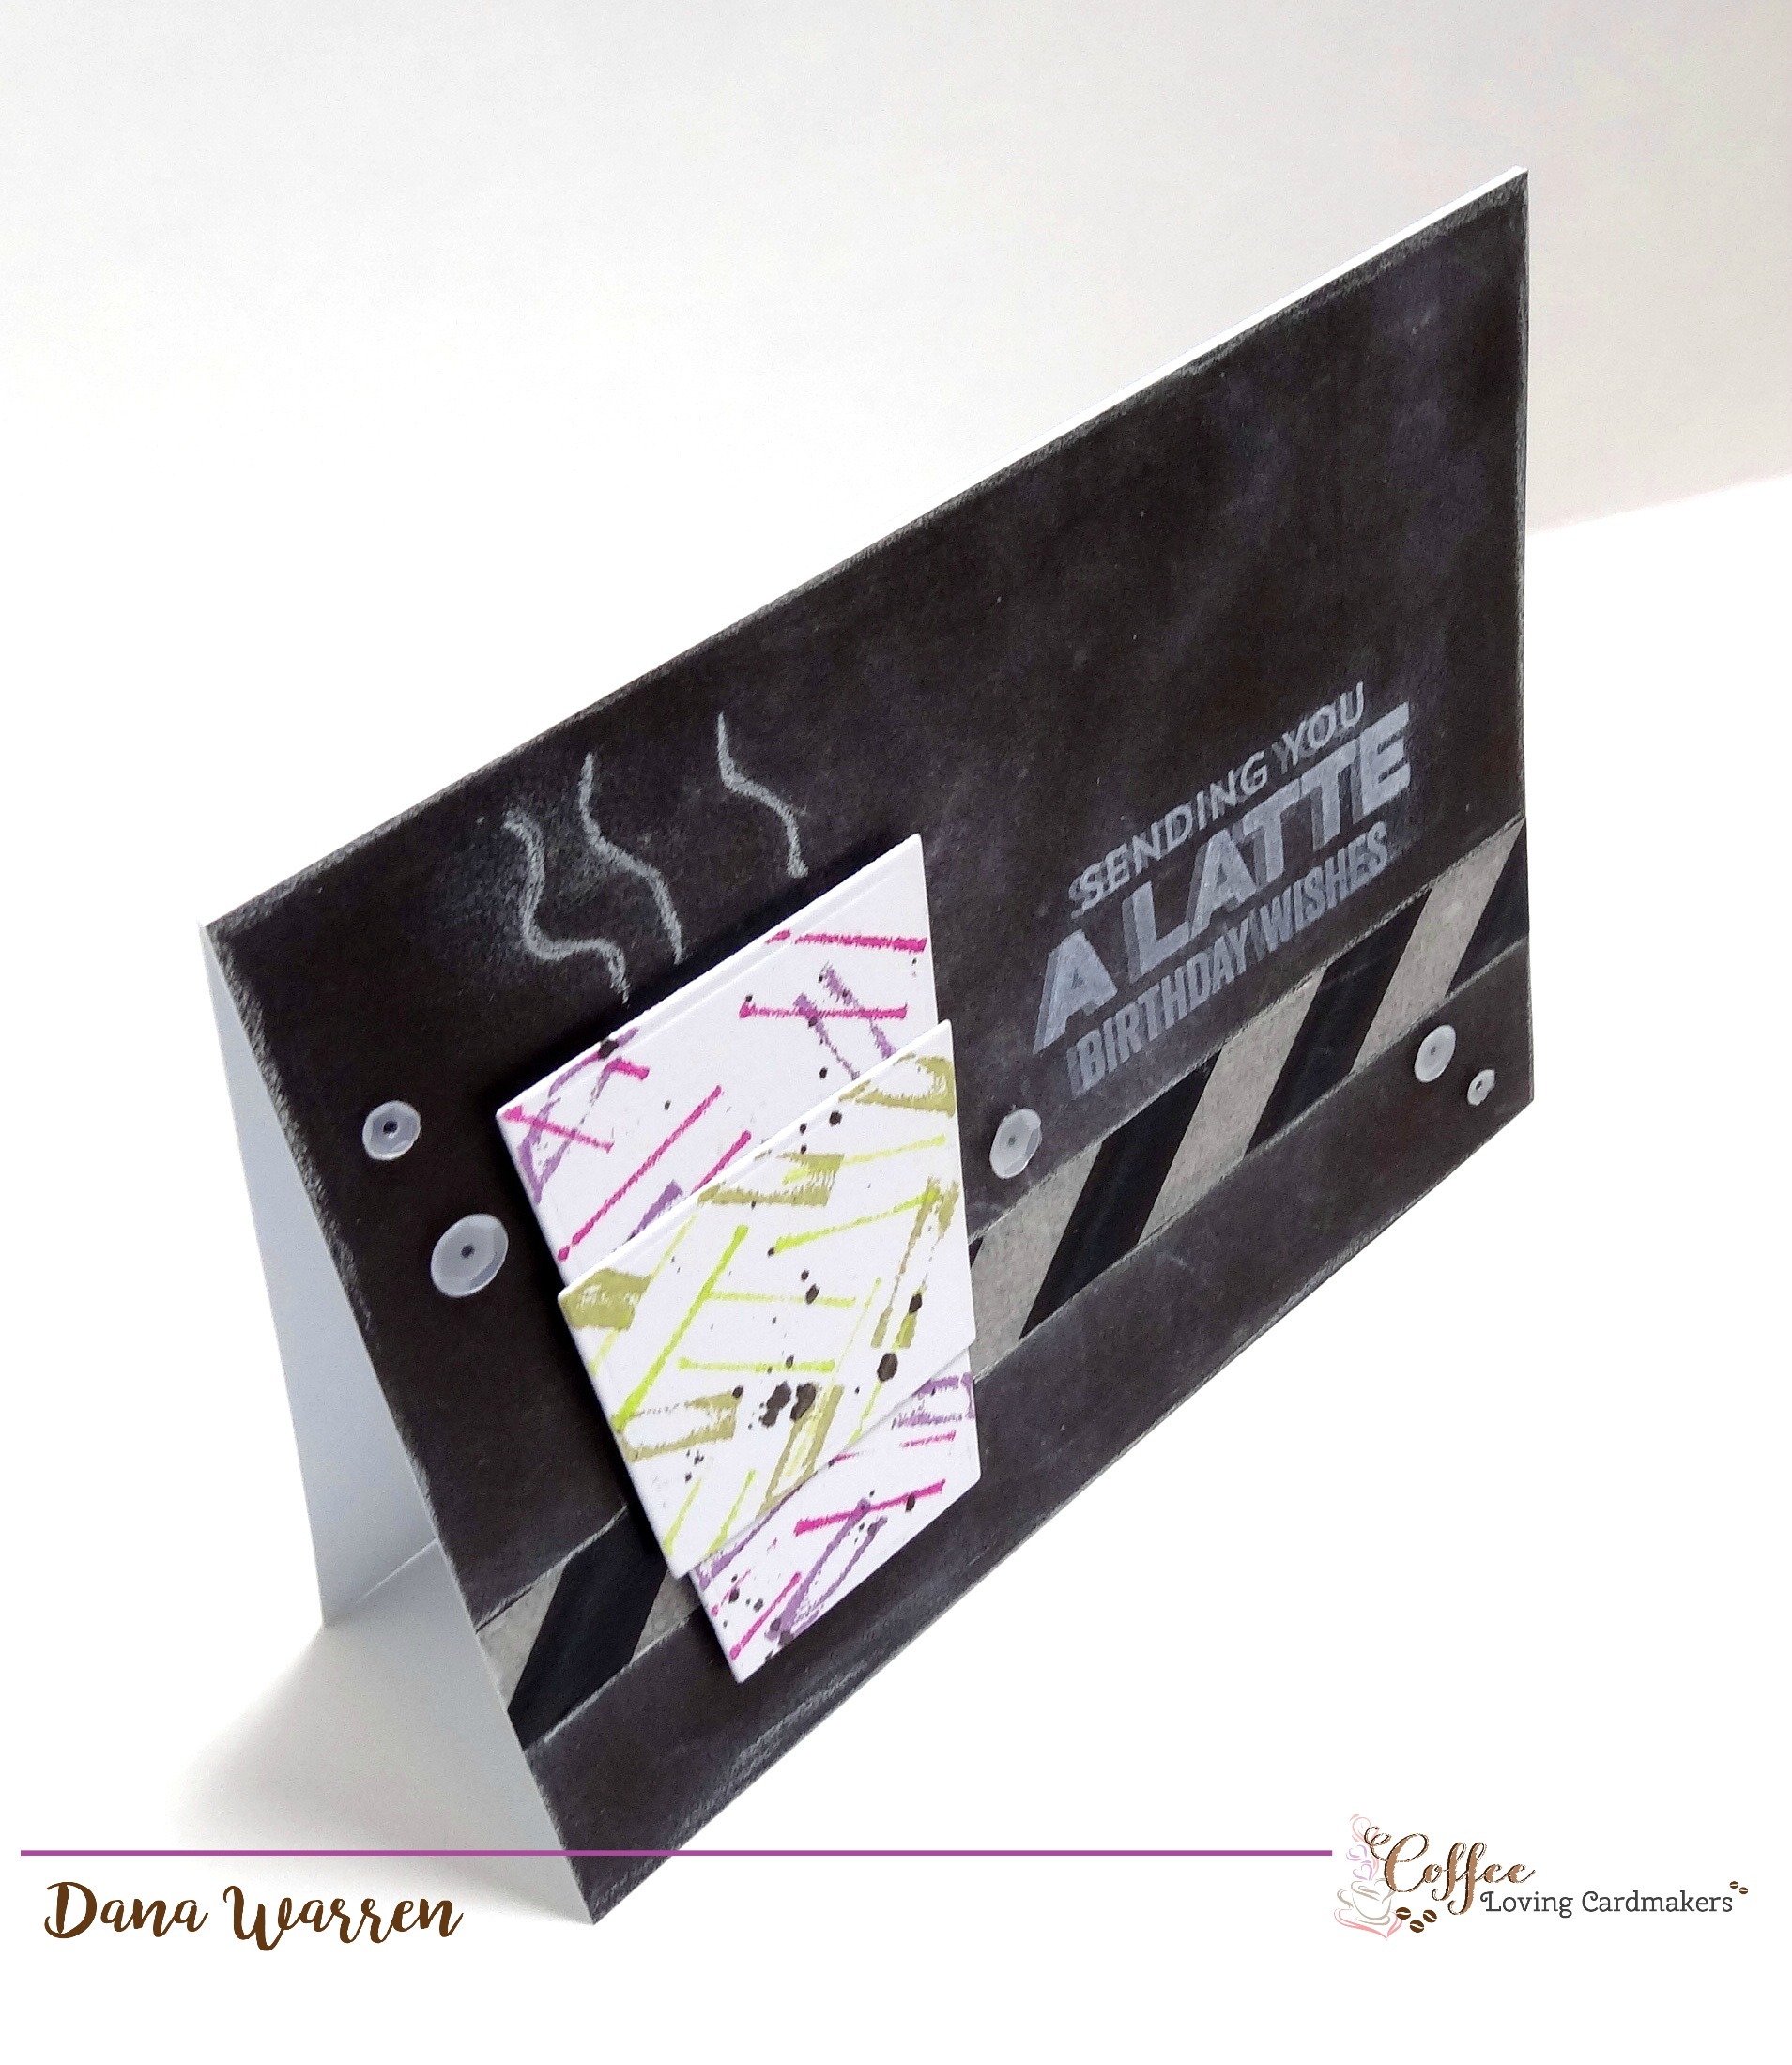
I added the coffee cup to the card with foam tape and to finish it off I added a few white sequins. Then I had an epiphany!! I used a white charcoal pencil and added some smoke above the cup and colored around the card edge and the edges of the washi tape. I just smudge it all with my finger to help give it that chalkboard feel!
Thanks so much for stopping by!! Now go out there and try your hand at Do It Yourself Stamping!! You never know what you might find!! 🙂
Dana
Supplies:
Stamps: My Favorite Things – Stay Cool
Die: My Favorite Things – Coffee Cup
Sequins: Pretty Pink Posh – Sweet Pea Mix
Ink: Papertrey Ink – Fresh Snow. Memento Luxe – Sweet Plum, Lilac Posies, Pear Tart, Pistachio
Pattern Paper: We R Memory Keepers -Chalkboard
White Charcoal Pencil & Washi tape


Leave a reply to Dana Gong Cancel reply