Hiya Coffee Lovers!!
Dana here with a new installment of Brew & Craft Your Stash!! Go brew some coffee, tea or in my case hot cider!! (trying to use my stash of it before it’s too warm to drink it! I know I’m weird, I just can’t drink hot cider when it’s warm outside!!) Anyway, to help you use up your craft stash, we are looking at dies!! If this is the first time see my feature, click here for my first post, it gives a little background explanation.
But as a recap, I am challenging myself to use my stash by with Paper Crafting Tips & Tricks, a Paper Crafts special issue magazine from 2012. My first post started in the Creating with Product section with Adhesives, today I am moving to the Applying Techniques section. I figured I would go from section to section to help keep it interesting!

So the first Applying Techniques is Die Cutting!!! Not only do die cuts match stamps, but there are a ton out there that cut rectangles, tags, objects, words and so on!! And of course, don’t forget electronic cutting machines that cut with a blade!! There are tons of possibilities! In the magazine designer, Stephanie Halinski gives a few samples including:
- Creating a personalized sentiment
- Make a window
- Make a banner
- Use a die cut as a mask
- Make a 3D embellishment
- Make a symmetrical shape
I recently created a pattern background with stamps for a card challenge, and that got me to thinking, what about creating a pattern background with a die or two. There are plenty of dies that create a background all with one run through your die cutting machine, but that’s way too easy! 🙂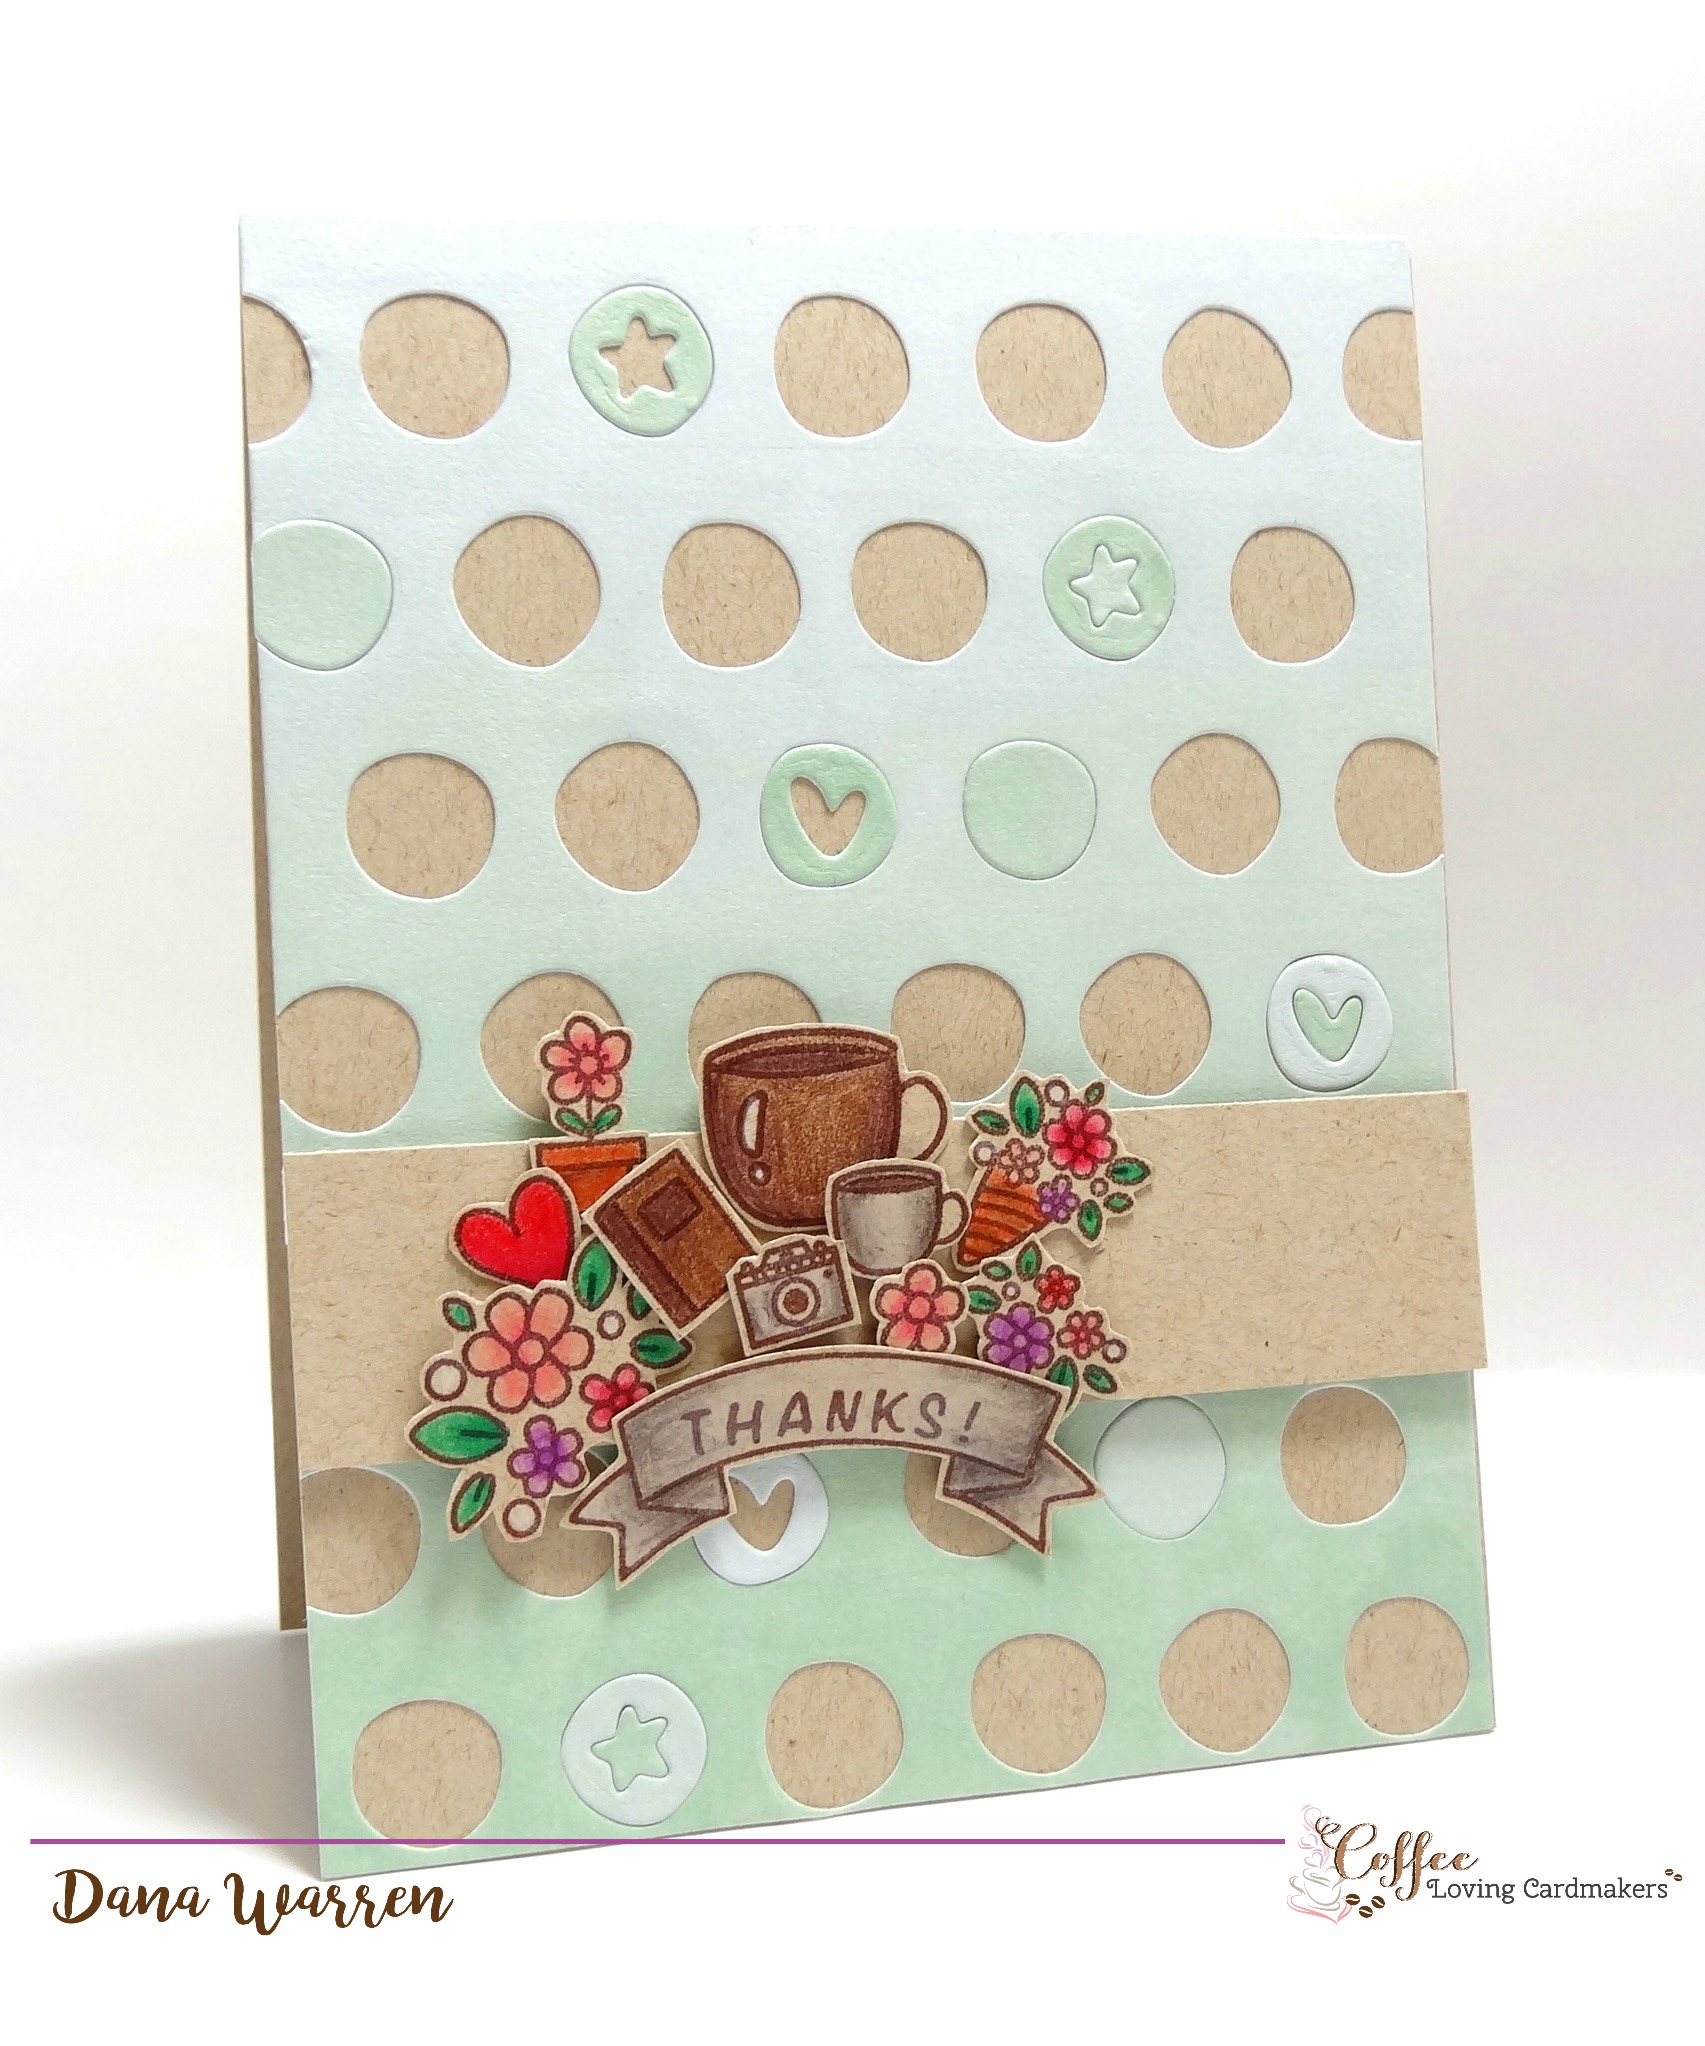 After going to through my stash of dies I decided to use Waffle Flower’s Tiny Die Trio to make my background. A little time consuming, but I love how it turned out! I used some Post-It Note paper tape (you can get it at most big box grocery stores like Walmart & Meijer) and placed the backside of the dies, in a row, on the sticky side fo the tape. I made sure they were in a straight line, just eyeballing it!! I trimmed some pretty ombre colored paper from We R Memory Keepers Chalkboard 6 x 6 paper pad to fit a card base.
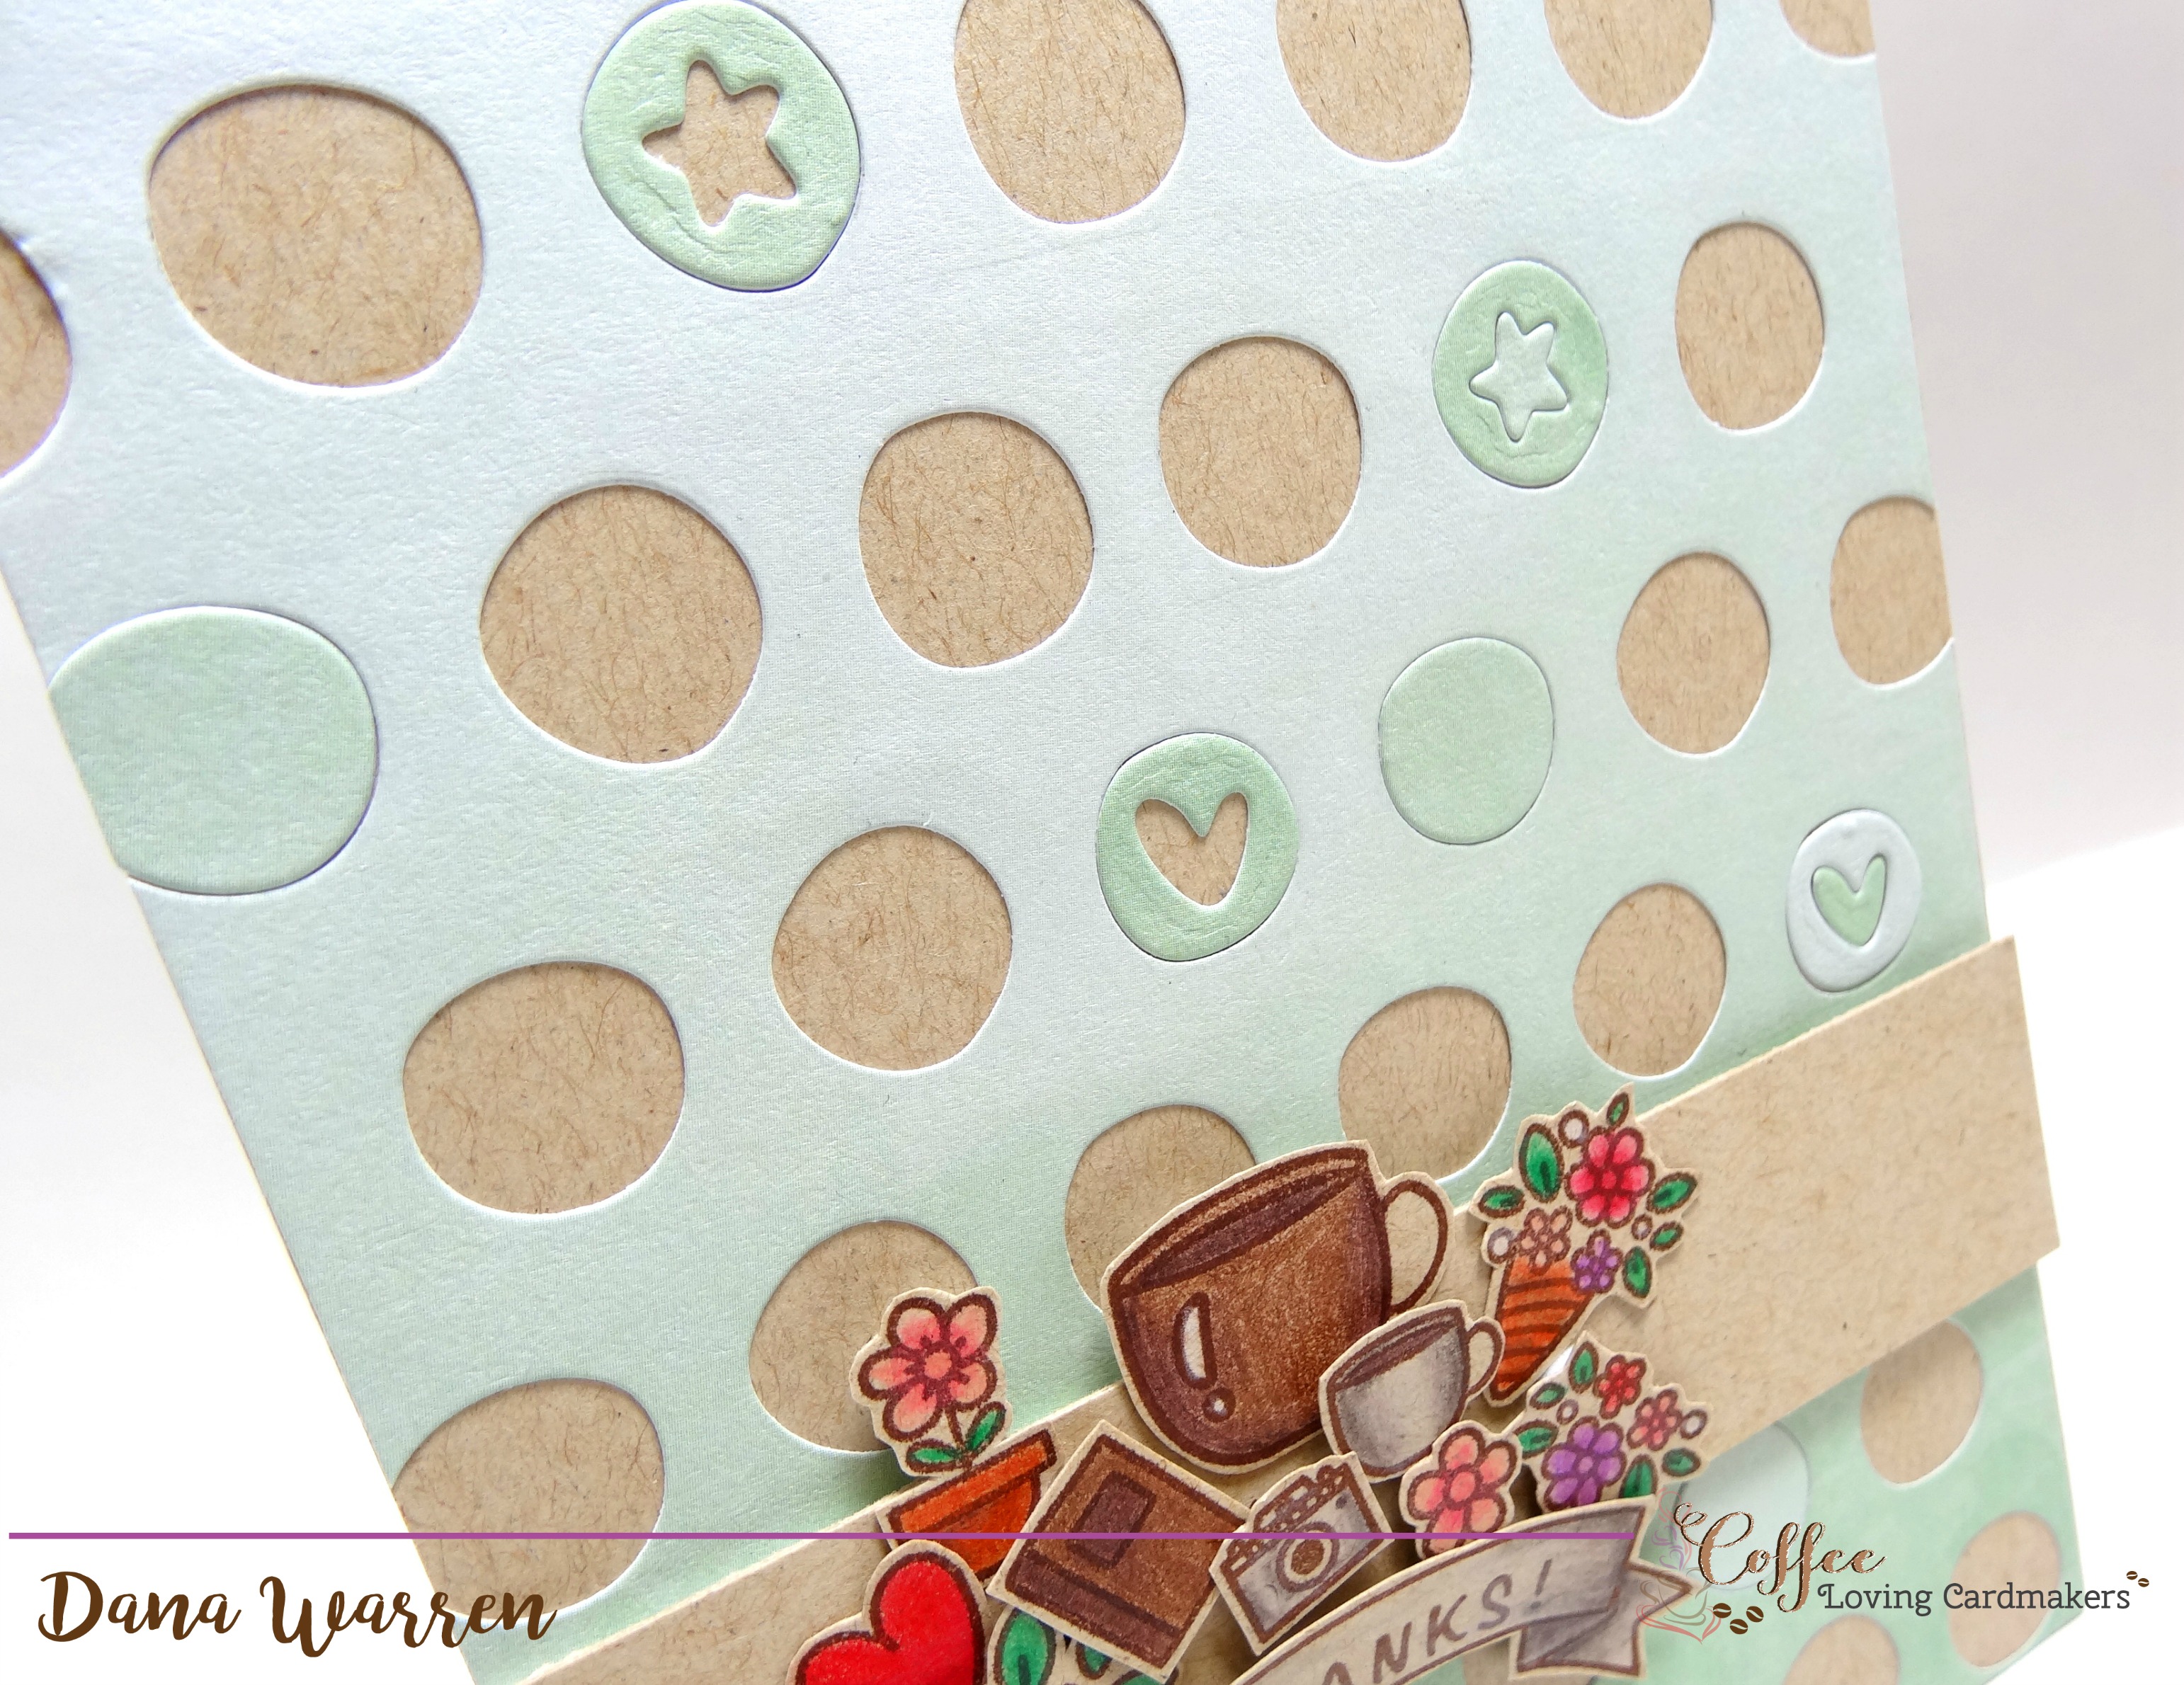
I placed the tape, now with the three dies lined up, on the panel and cut it. I repeated this until the whole panel was cut, the tape kept the dies in the same position, plus it held them in place while die cutting. To line it up every time, I just placed the edge of the tape at the edge of the die cut row above.
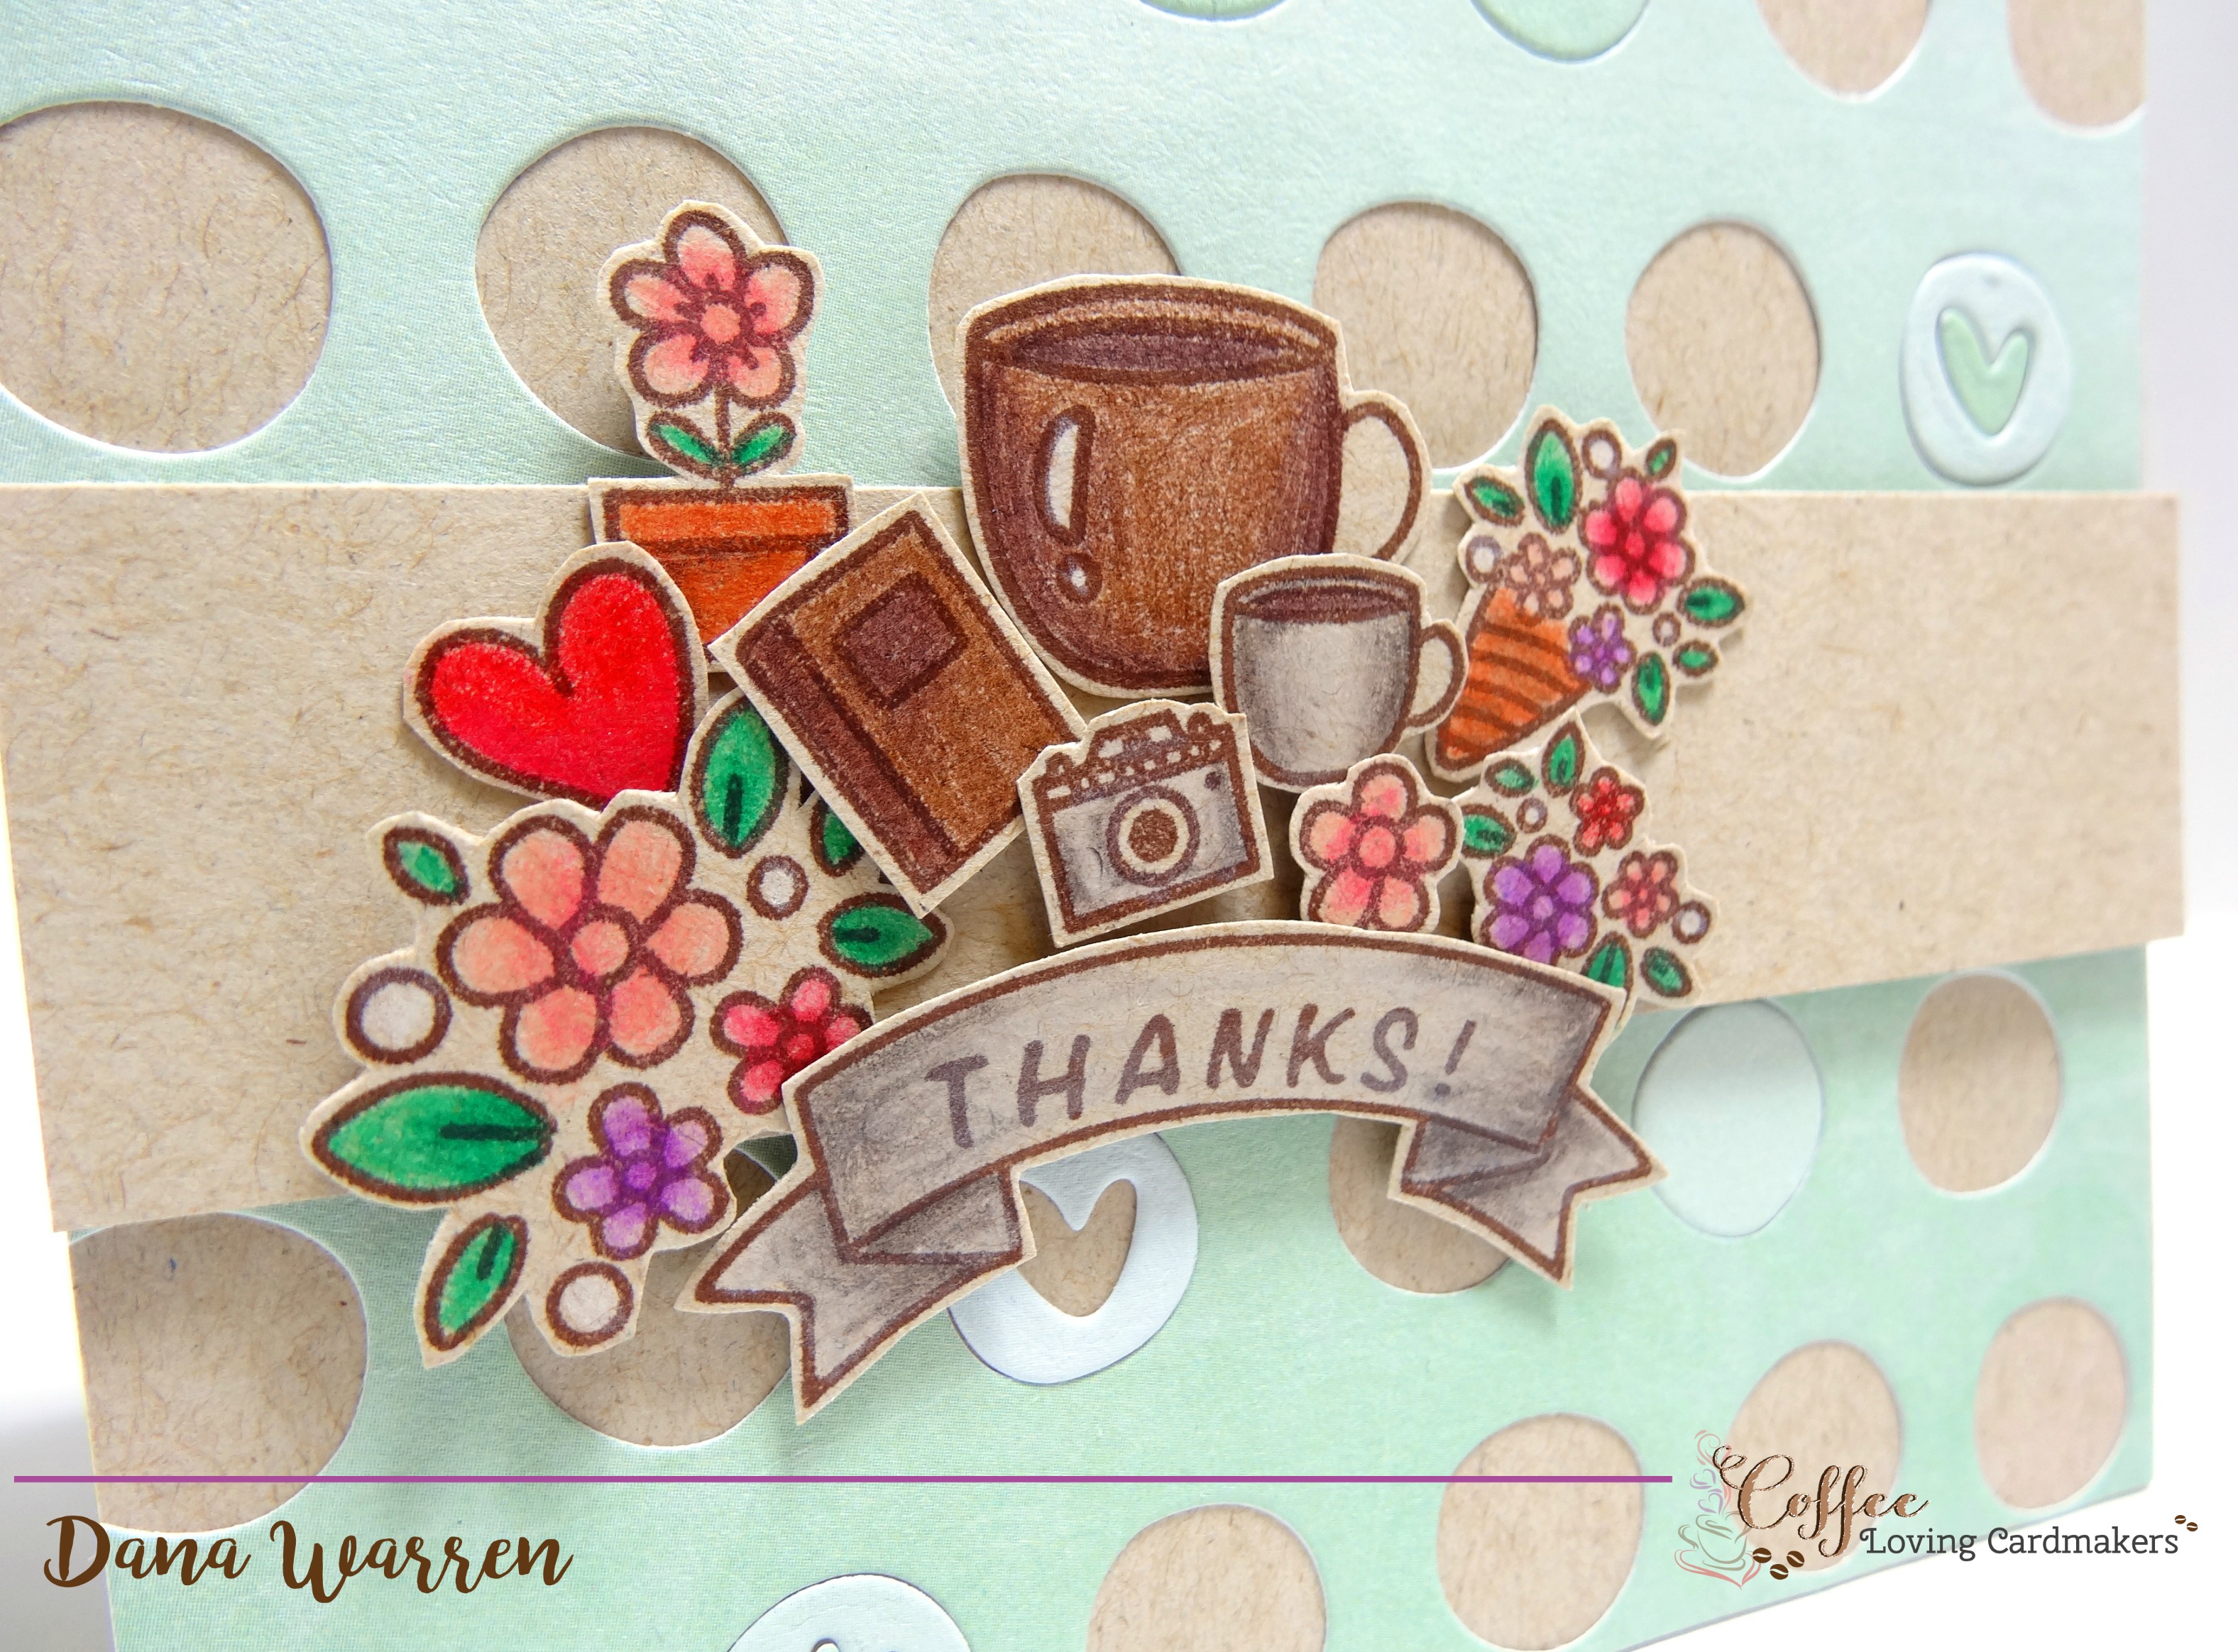
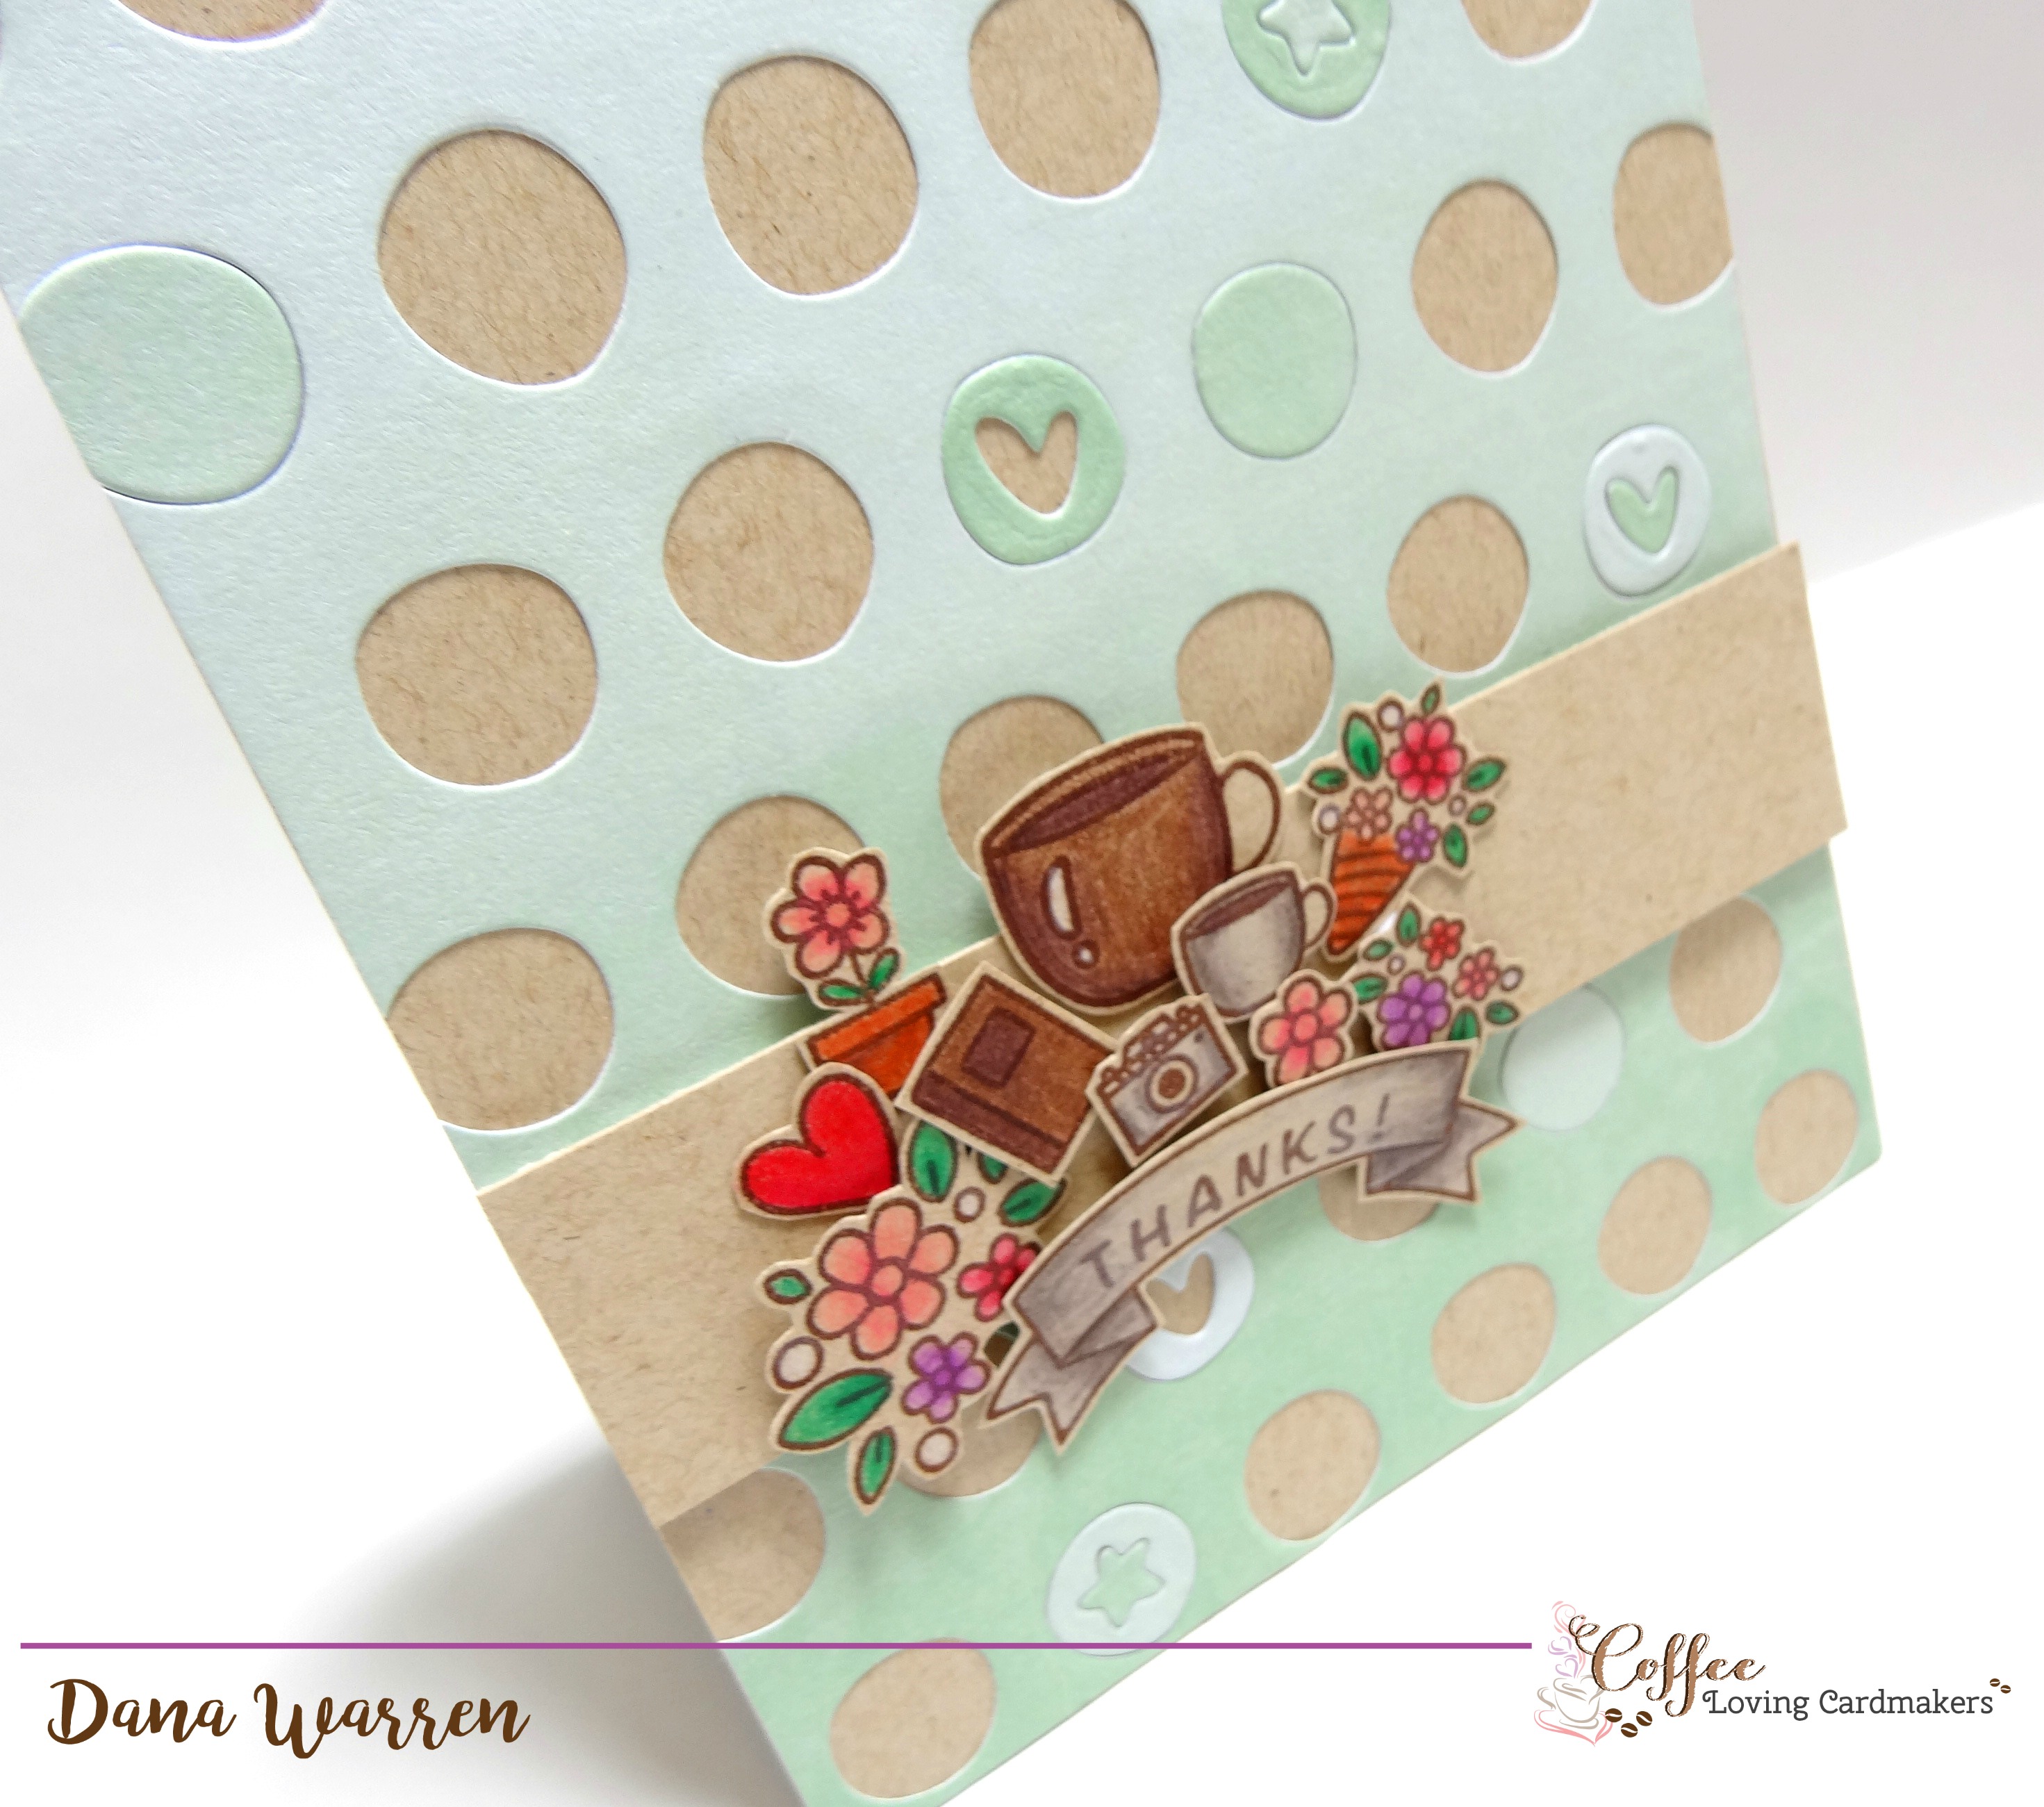
When my die cutting was done, I adhered my panel (now full of holes) to a Kraft card base. Then I placed some of the die cuts back into the holes, randomly. I didn’t adhere anything down until I was done creating what was going on the front of the card, I like to play with the placement of everything before I commit!
Next, I used Waffle Flowers Bear & Bird stamp set and stamped the coffee cups, most of the flowers, book, hearts and camera, along with the banner. I then stamped the Thanks! sentiment in the banner. Here I used my Misti to stamp everything at once, and was able to stamp it a few more times to make the lines nice and dark!
Before fussy cutting everything out I used my Spectrum Noir ColourBlend pencils to color everything that I had stamped. I’ve listed all the colors I used below along with all the supplies used.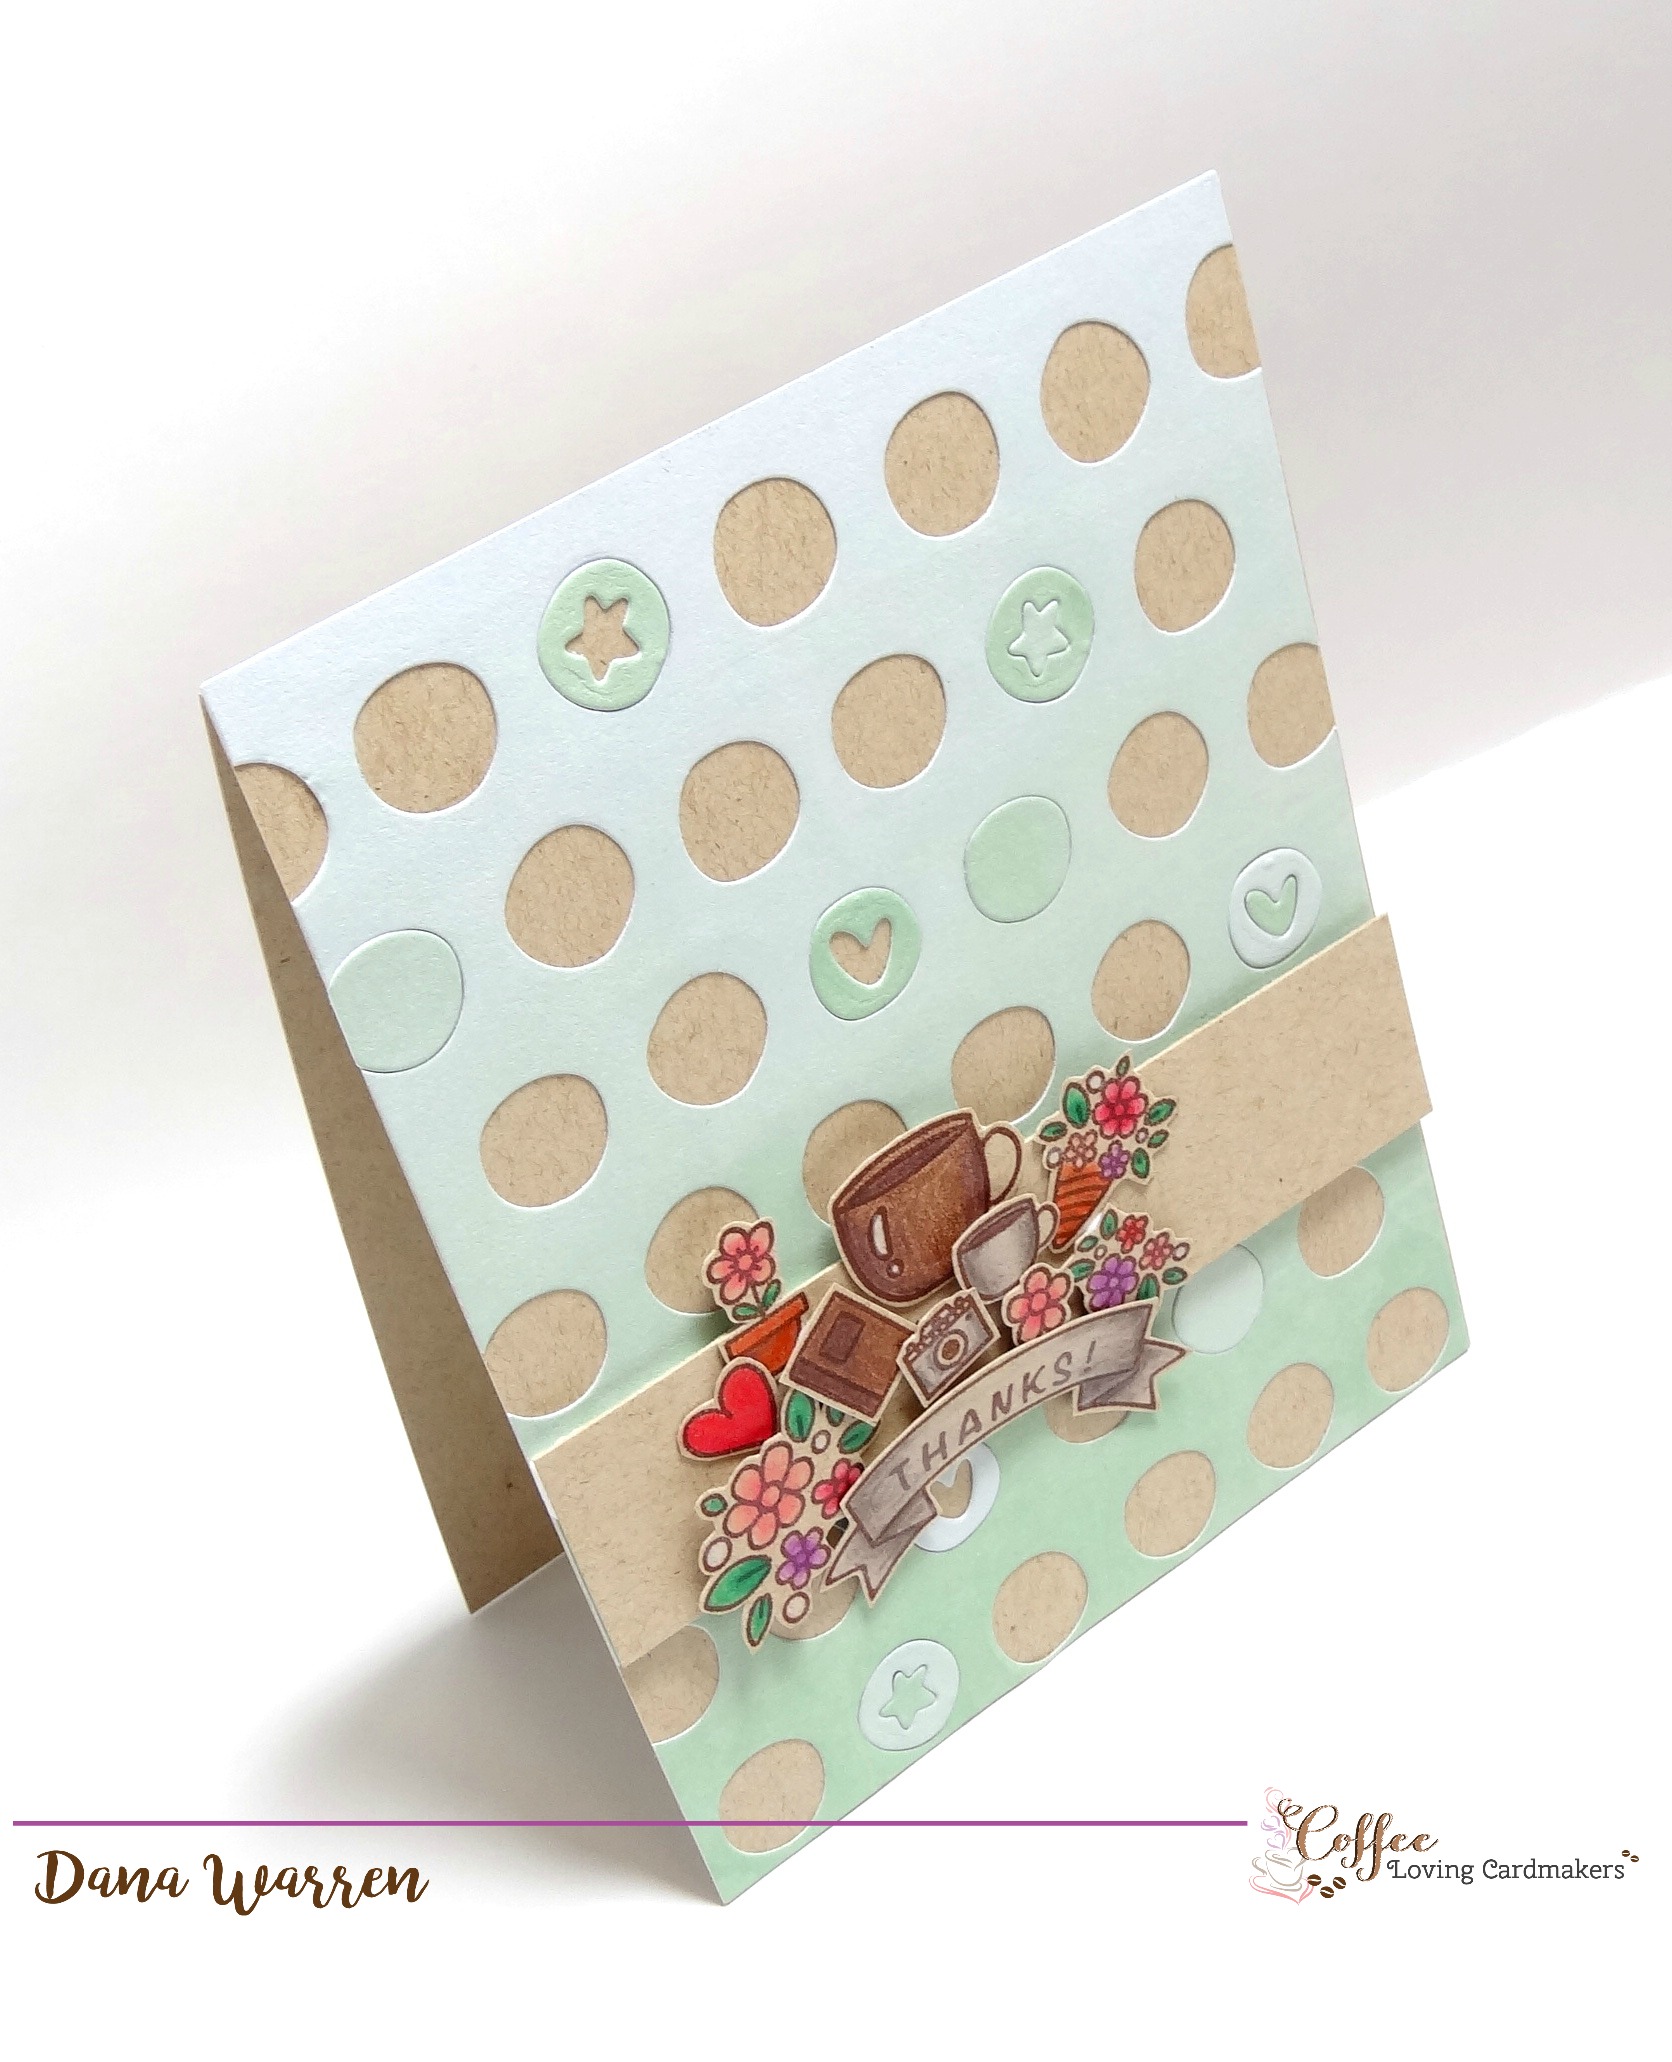 I also cut a strip of Kraft card stock, then I placed it over the background and played with the background circles to add a few here and there. I also played around with how I wanted all the images to be arranged. When I was happy I adhered the circles, stars, and hearts, then added the Kraft strip with foam tape. The background images went directly on the Kraft strip and the others adhered with foam tape.
Thanks so much for stopping by! I hope today’s post encourages you do try your hand at making a background with dies, or just use those dies any which way you want!! 🙂
Dana
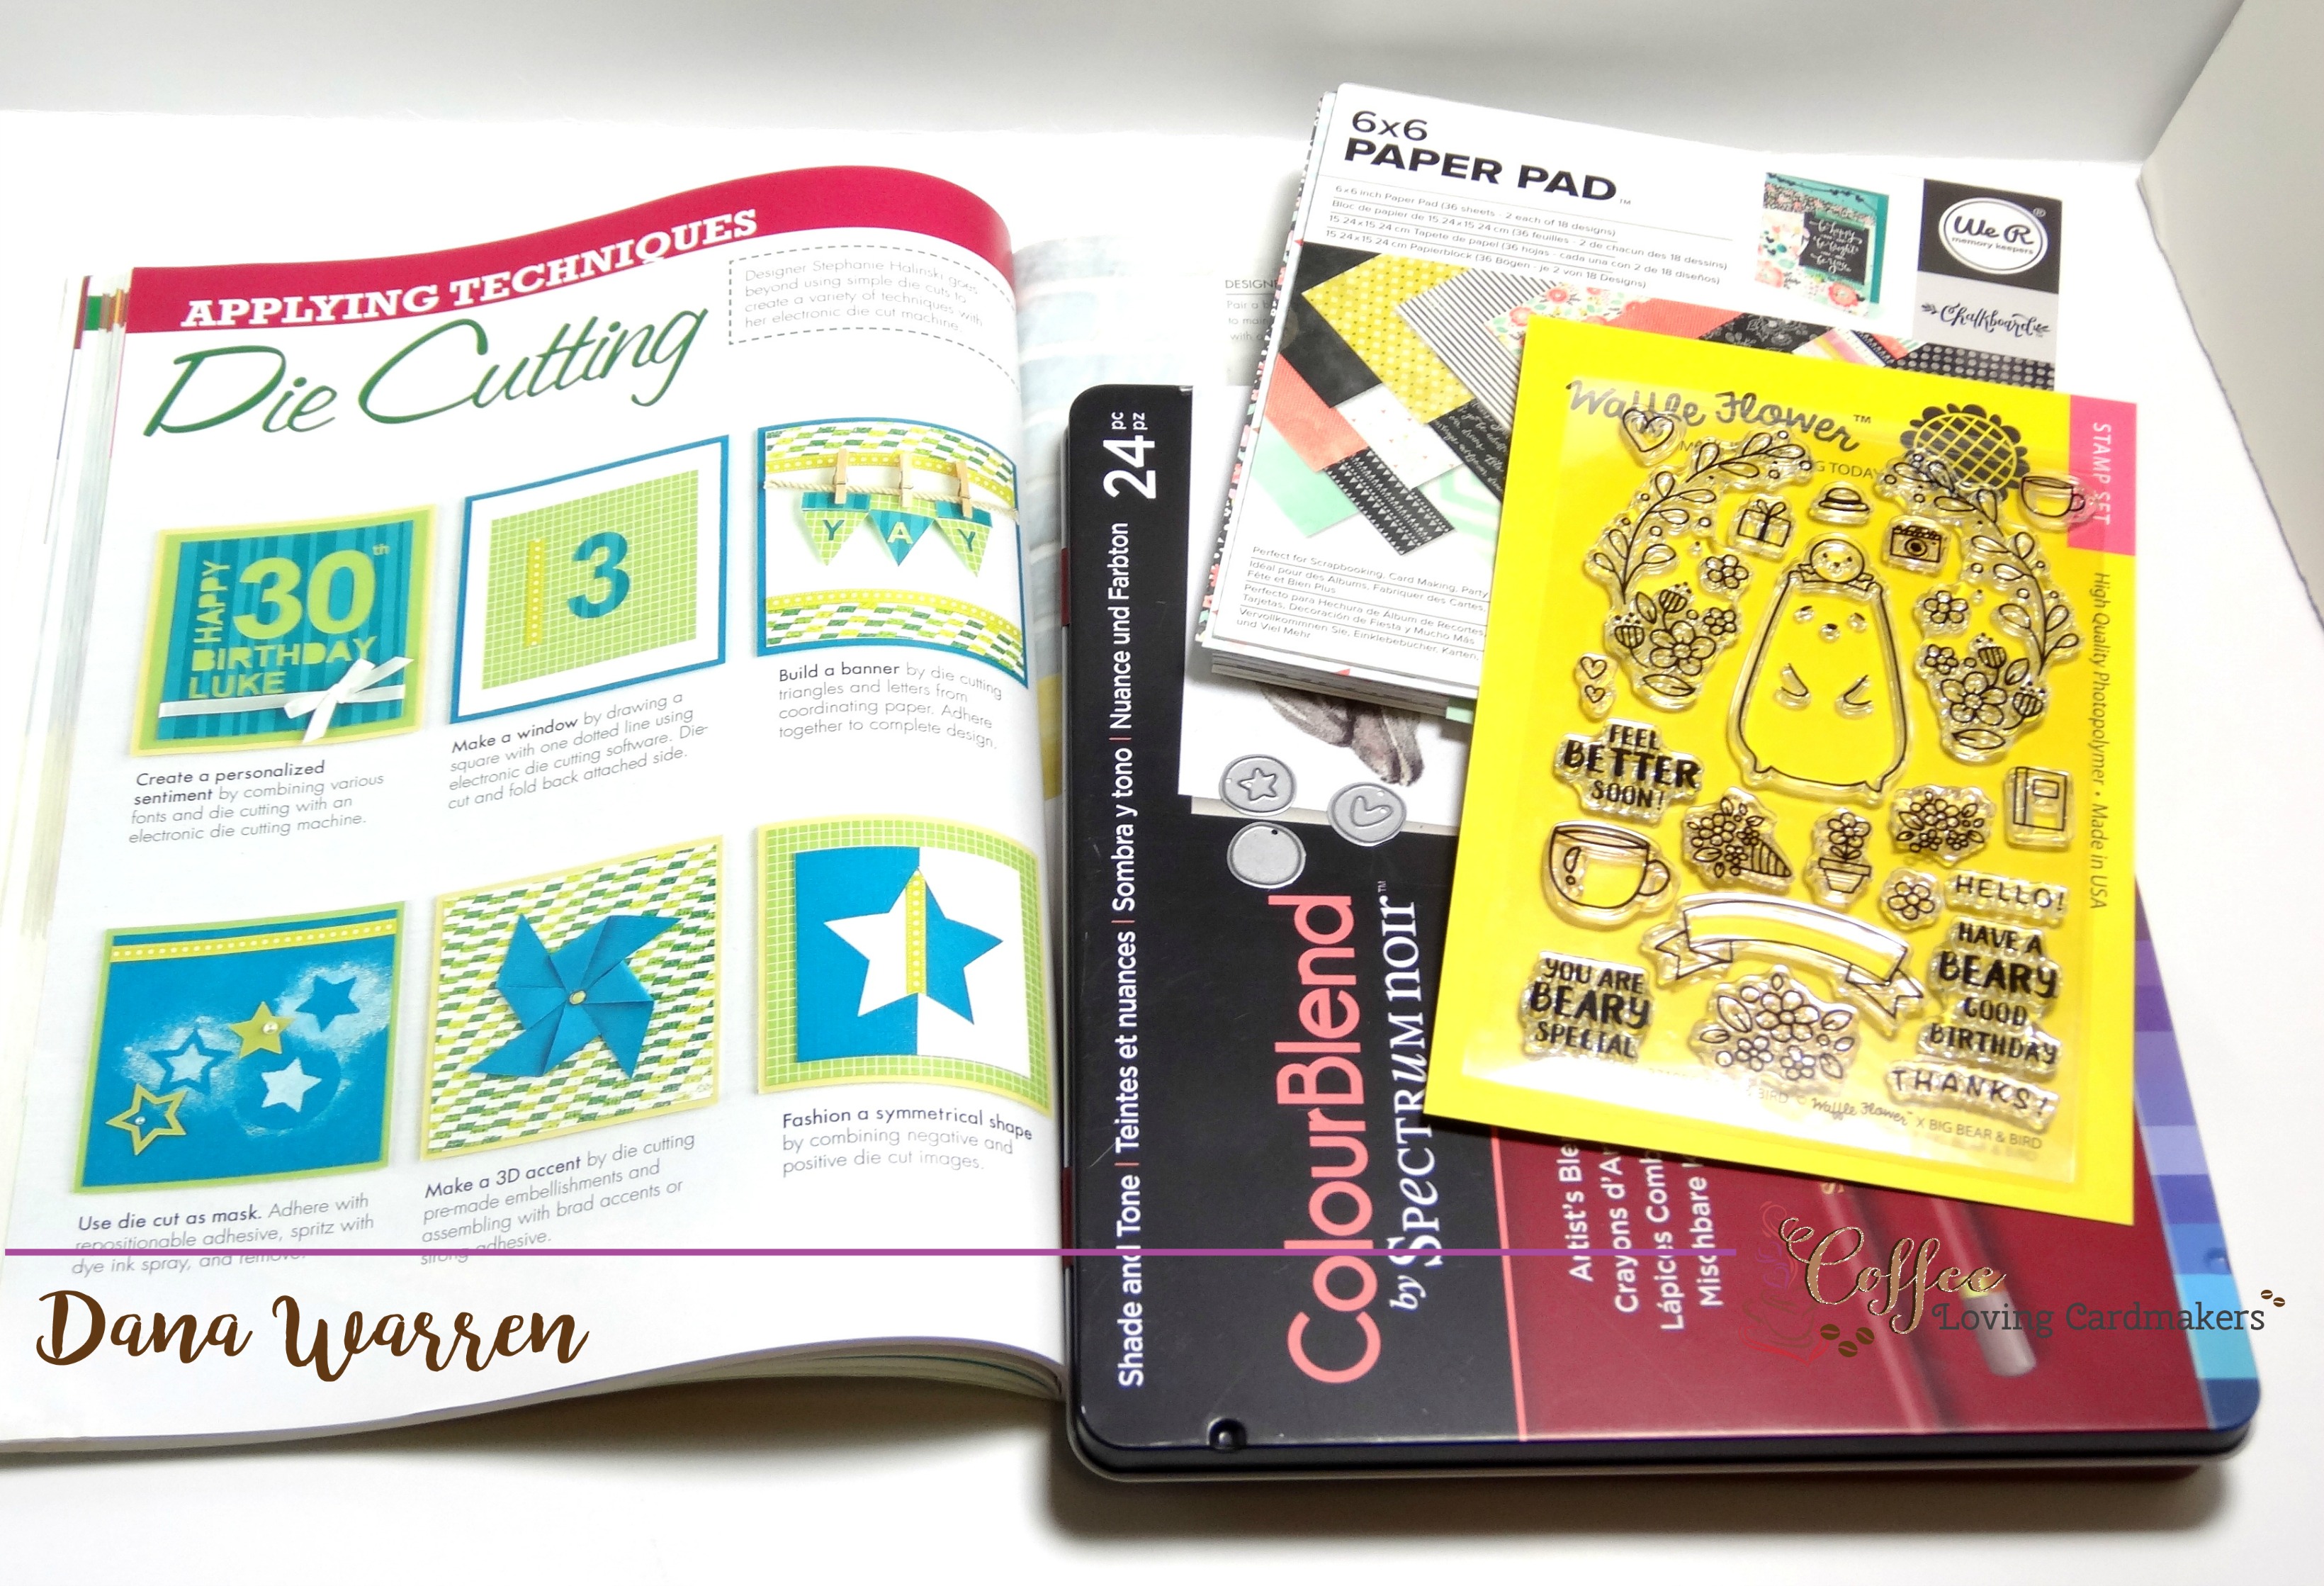
Supplies:
Stamps: Waffle Flower – Bear & Bird
Dies: Waffle Flower – Tiny Die Trio
Spectrum Noir ColourBlend Colored Pencils: Smoke, Spiced Brown, Taupe, Rose Peach, Peach, Geranium, White, Forset Green, Antique Rose, Paprika, Coffee Brown, Peacock Green, Mauve, Fireweed, Raspberry, Carmine
Pattern paper: We R Memory Keepers – Chalkboard
Kraft Cardstock: Crafter’s Companion


Leave a reply to Kerry Urbatch Cancel reply